manual setup
This guide will walk you through the setup steps to prepare production and development environments for your project.
Beside this there're two alternative ways to start the project:
-
Auto rollout - approx 10 minutes to complete. The recommended way where you're using the
rolloutscript to create and configure projects in semi-automatic mode, following CLI prompts and guides. - Demo setup - approx 1 minute to get. This one is good for non-tech people or for those who just want to quickly get look and feel of CMS-KIT-Sanity. It provides a personal setup but under FocusReactive orgs. Nevertheless staring this way you can switch later to a full-featured system setup. See details in the documentation.
Here, we will go through the same steps manually. While it's a more time-consuming process, it can give you more control and confidence in the process. This guide is aimed at more experienced developers. In case of issues, it is recommended to read the service documentation or look for community knowledge.
By the end of this tutorial, you will have a production-ready system, assembled from the following components:
- A GitHub repository containing your project code
- A Sanity project for content hosting
- A Vercel project for deploying your app and Sanity Studio
Approximately 30 minutes
On your local machine:
- Node.js: Version 20.0 or higher is required. Version 20 is recommended (any minor version).
-
PNPM: Version 9 of PNPM is required. Check it with
pnpm -v.
Note: We will create accounts and set up projects on Vercel, Sanity, and GitHub. You can use your existing accounts for this. All the services provide free plans, which are sufficient for our initial setup. You don't need to switch to paid accounts/plans until required by your project's growth.
Note: You likely already have everything set up. In this case, you don't need to repeat these steps. But please go through all the steps in this part to ensure you haven't missed anything.
Please log in or register with the following services:
Once done, let's check some settings that we will need in the next steps.
Open this page.
Build Step (Image 1)

Click on the "GitHub" button and follow the instructions on the page.
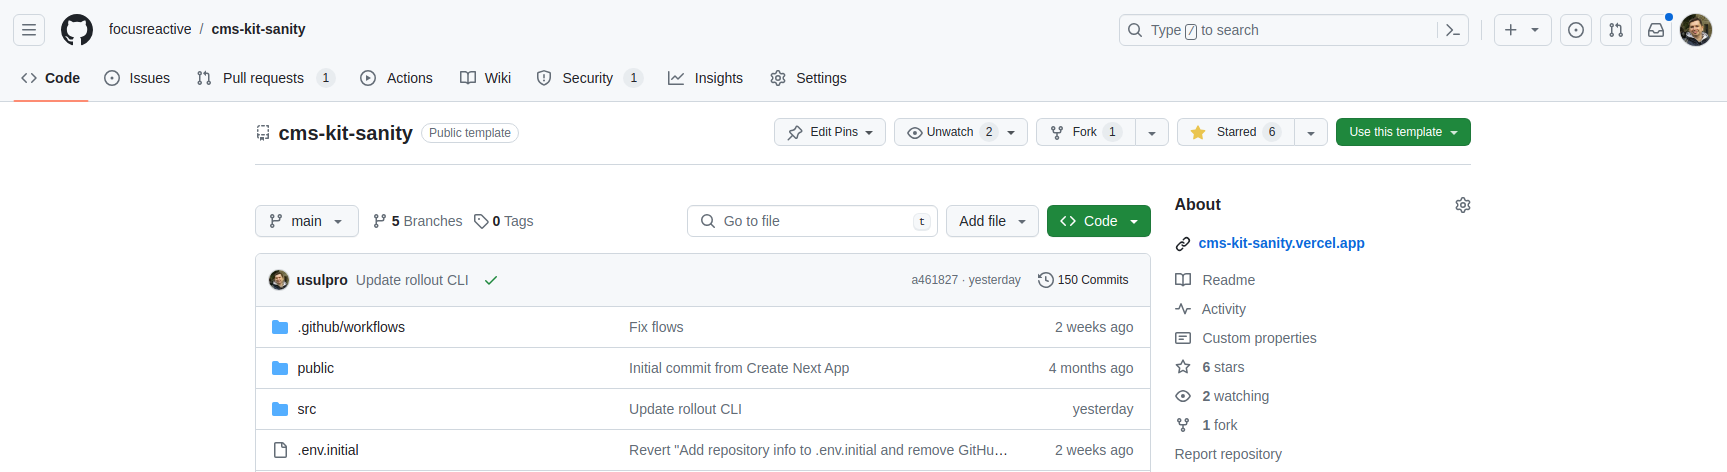
Open this page and use the "Use this template" button to create a new repo for your project. Name it as you wish. You can create it as your own repo or under a GitHub organization.
Creating Repository (Image 2)
Open this page.
Installing Vercel App (Image 3)
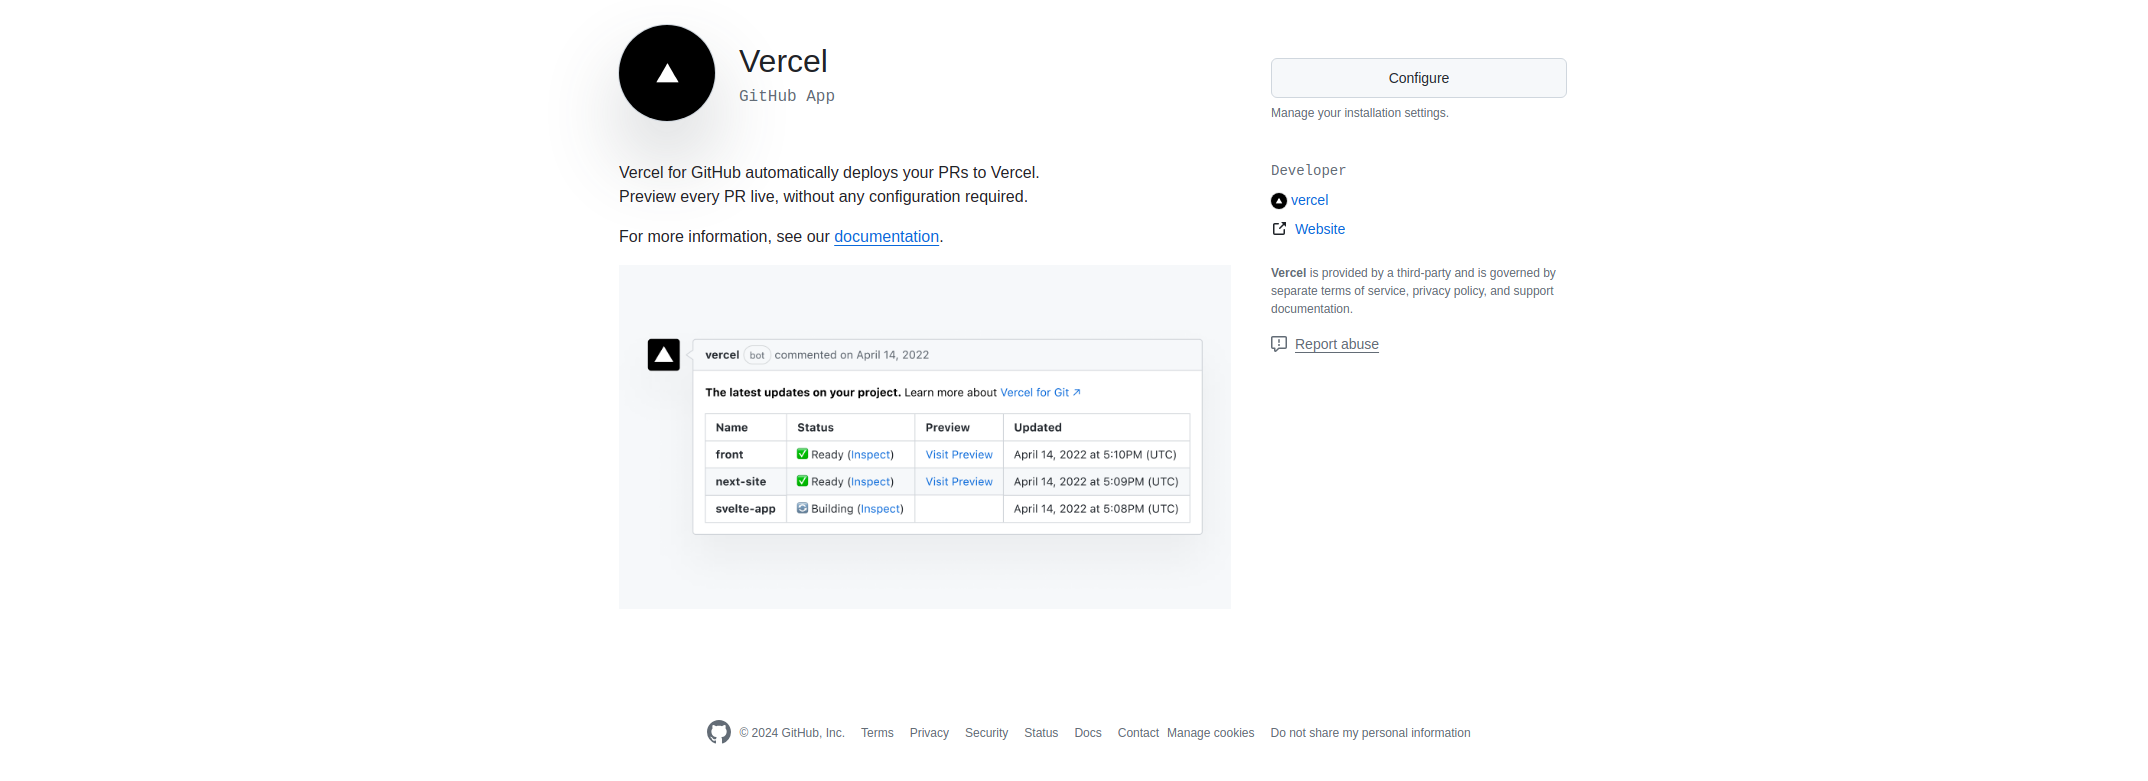
Press the "Configure" button. Select your personal account or an organization where you created the repository in the previous step. Give access to that project repository or to all repositories.
Create a new project on Vercel and connect it with your repository on GitHub.
Set up environment variables with values from the follow-up steps:
NEXT_PUBLIC_SANITY_PROJECT_ID
NEXT_PUBLIC_SANITY_DATASET
NEXT_PUBLIC_READ_TOKEN
REPO_ID
REPO_PROD_BRANCH
REPO_TYPE
VERCEL_PERSONAL_AUTH_TOKEN
VERCEL_FR_TEAM_ID
ROLL_OUT_API_TOKEN
SANITY_STUDIO_URL
NEXT_PUBLIC_PREVIEW_URL
Prepare your Vercel Personal Token. Get it on this page.
Create a new project in Sanity. Make sure you have at least one dataset created. Typically, it's the "production" dataset.
Go to API settings and add a GROQ-powered webhook:
-
URL:
https://{your vercel project name}.app/api/roll-out/deploy - Trigger on: "Create", "Update", "Delete"
- Dataset: all datasets
-
HTTP Headers: Name
Authorization, ValueBearer {your vercel personal token}
Go to API settings and specify the following CORS origins:
http://localhost:3000https://{your vercel project name}.vercel.app
Allow credentials for all URLs.
Go to API settings and specify and generate a preview read token with Viewer permissions.
Git clone your project.
Install dependencies with pnpm i.
Specify environment variables in the .env file:
ROLL_OUT_API_TOKEN
NEXT_PUBLIC_SANITY_DATASET
NEXT_PUBLIC_SANITY_PROJECT_ID
NEXT_PUBLIC_READ_TOKEN
Log in to Vercel with pnpm vercel login.
Link your project with Vercel using pnpm vercel link.
Log in to Sanity with pnpm sanity login.
Upload the initial content dump to the Sanity dataset with pnpm sanity dataset import initial-data.tar.gz.
Build the project with pnpm run build.
Now you can launch the production version locally with pnpm start or run a dev server with pnpm run dev.
In this tutorial, you have successfully set up a production-ready system for our Headless CMS-based project. Here's what we've accomplished:
- Created a GitHub repository containing your project code.
- Set up a Sanity project for content hosting.
- Configured a Vercel project for deploying your app and Sanity Studio.
- Connected these services to ensure seamless deployment and content management.
- Learned how to work with Sanity Studio to manage and edit content.
- Explored how to add content blocks and use the visual editor in Sanity Studio.
- Set up a local development environment for ongoing development and testing.
With this setup, you can efficiently manage your content, make updates, and deploy your application with ease. You're now ready to start building and managing your website.