-
Make sure you have the latest node
-
Install dependencies:
pnpm install
-
DRAFT: setup sanity env variables
Copy
.env.local.exampleto.env.local:cp .env.local.example .env.local
Then set these variables in
.env.local:NEXT_PUBLIC_SANITY_PROJECT_IDshould be the "Project ID" from Sanity project dashboard .NEXT_PUBLIC_SANITY_DATASETshould be the desired dataset from Sanity project (develop).SANITY_API_READ_TOKENcreate an API token withread-onlypermissions on https://manage.sanity.io/:- Go to API and the Tokens section at the bottom, launch its Add API token button.
- Name it
SANITY_API_READ_TOKEN, set Permissions toViewer. - Hit Save and you can copy/paste the token.
Running website:
pnpm devSite should be up and running on http://localhost:3000
TODO.
Sanity Studio is customizable UI for sanity CMS. Using it requires editor access to the rs-site content.
cd studio
pnpm install
pnpm dev
Studio should be up and running on http://localhost:3333
Sanity studio is deployed separately from the main website.
TODO.
See CONTRIBUTING guide
Old next.js cms-sanity example README.md
https://github.com/vercel/next.js/blob/v13.2.0/examples/cms-sanity/README.md
This example showcases Next.js's Static Generation feature using Sanity as the data source.
You'll get:
- Next.js deployed with the Sanity Vercel Integration.
- Sanity Studio running on localhost and deployed in the cloud.
- Sub-second as-you-type previews in Next.js
- On-demand revalidation of pages with GROQ powered webhooks
Clone the repository that Vercel created for you and from the root directory of your local checkout. Then link your clone to Vercel:
npx vercel linkDownload the environment variables needed to connect Next.js and Studio to your Sanity project:
npx vercel env pullYou can also set up manually
If using the integration isn't an option. Or maybe you want to work locally first and deploy to Vercel later. Whatever the reason this guide shows you how to setup manually.
Execute create-next-app with npm, Yarn, or pnpm:
npx create-next-app --example cms-sanity cms-sanity-appyarn create next-app --example cms-sanity cms-sanity-apppnpm create next-app --example cms-sanity cms-sanity-appRun this to select from your existing Sanity projects, or create a new one:
(cd studio && npx @sanity/cli init)The CLI will update sanity.json with the project ID and dataset name.
Copy the .env.local.example file in this directory to .env.local (which will be ignored by Git):
cp .env.local .env.localThen set these variables in .env.local:
NEXT_PUBLIC_SANITY_PROJECT_IDshould be theprojectIdvalue fromsanity.json.NEXT_PUBLIC_SANITY_DATASETshould be thedatasetvalue fromsanity.json.SANITY_API_READ_TOKENcreate an API token withread-onlypermissions:- Run this to open your project settings or go to https://manage.sanity.io/ and open your project:
(cd studio && npx @sanity/cli manage) - Go to API and the Tokens section at the bottom, launch its Add API token button.
- Name it
SANITY_API_READ_TOKEN, set Permissions toViewer. - Hit Save and you can copy/paste the token.
- Run this to open your project settings or go to https://manage.sanity.io/ and open your project:
Your .env.local file should look like this:
NEXT_PUBLIC_SANITY_PROJECT_ID=...
NEXT_PUBLIC_SANITY_DATASET=...
SANITY_API_READ_TOKEN=...Needed for live previewing unpublished/draft content.
npm --prefix studio run cors:add -- http://localhost:3000 --credentialsnpm install && npm run devyarn install && yarn devYour blog should be up and running on http://localhost:3000! If it doesn't work, post on GitHub discussions.
In another terminal start up the studio:
npm run studio:devYour studio should be up and running on http://localhost:3333!
Create content in Sanity Studio and live preview it in Next.js, side-by-side, by opening these URLs:
We're all set to do some content creation!
-
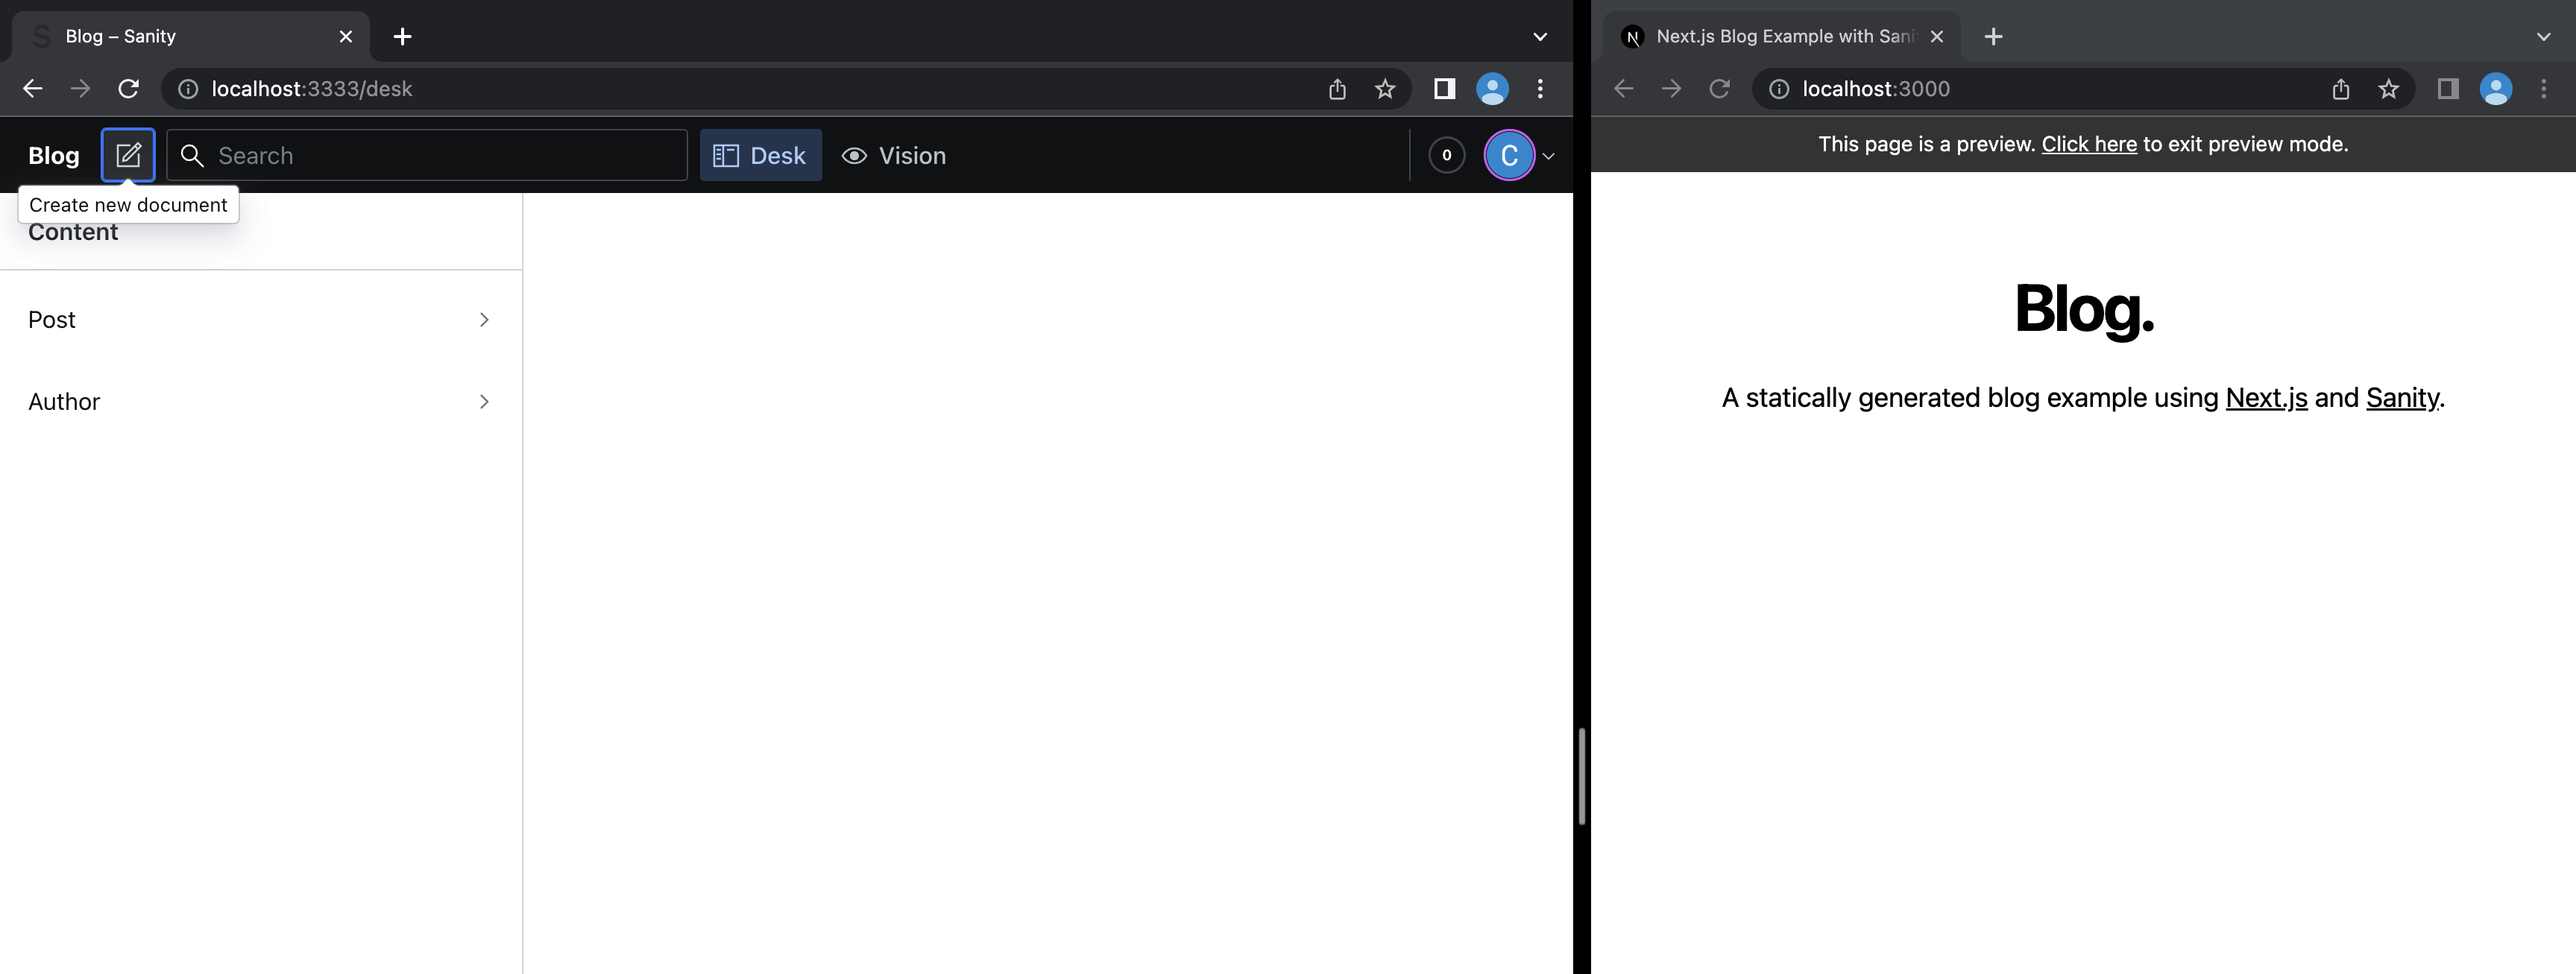
Click on the "Create new document" button top left and select Post
-
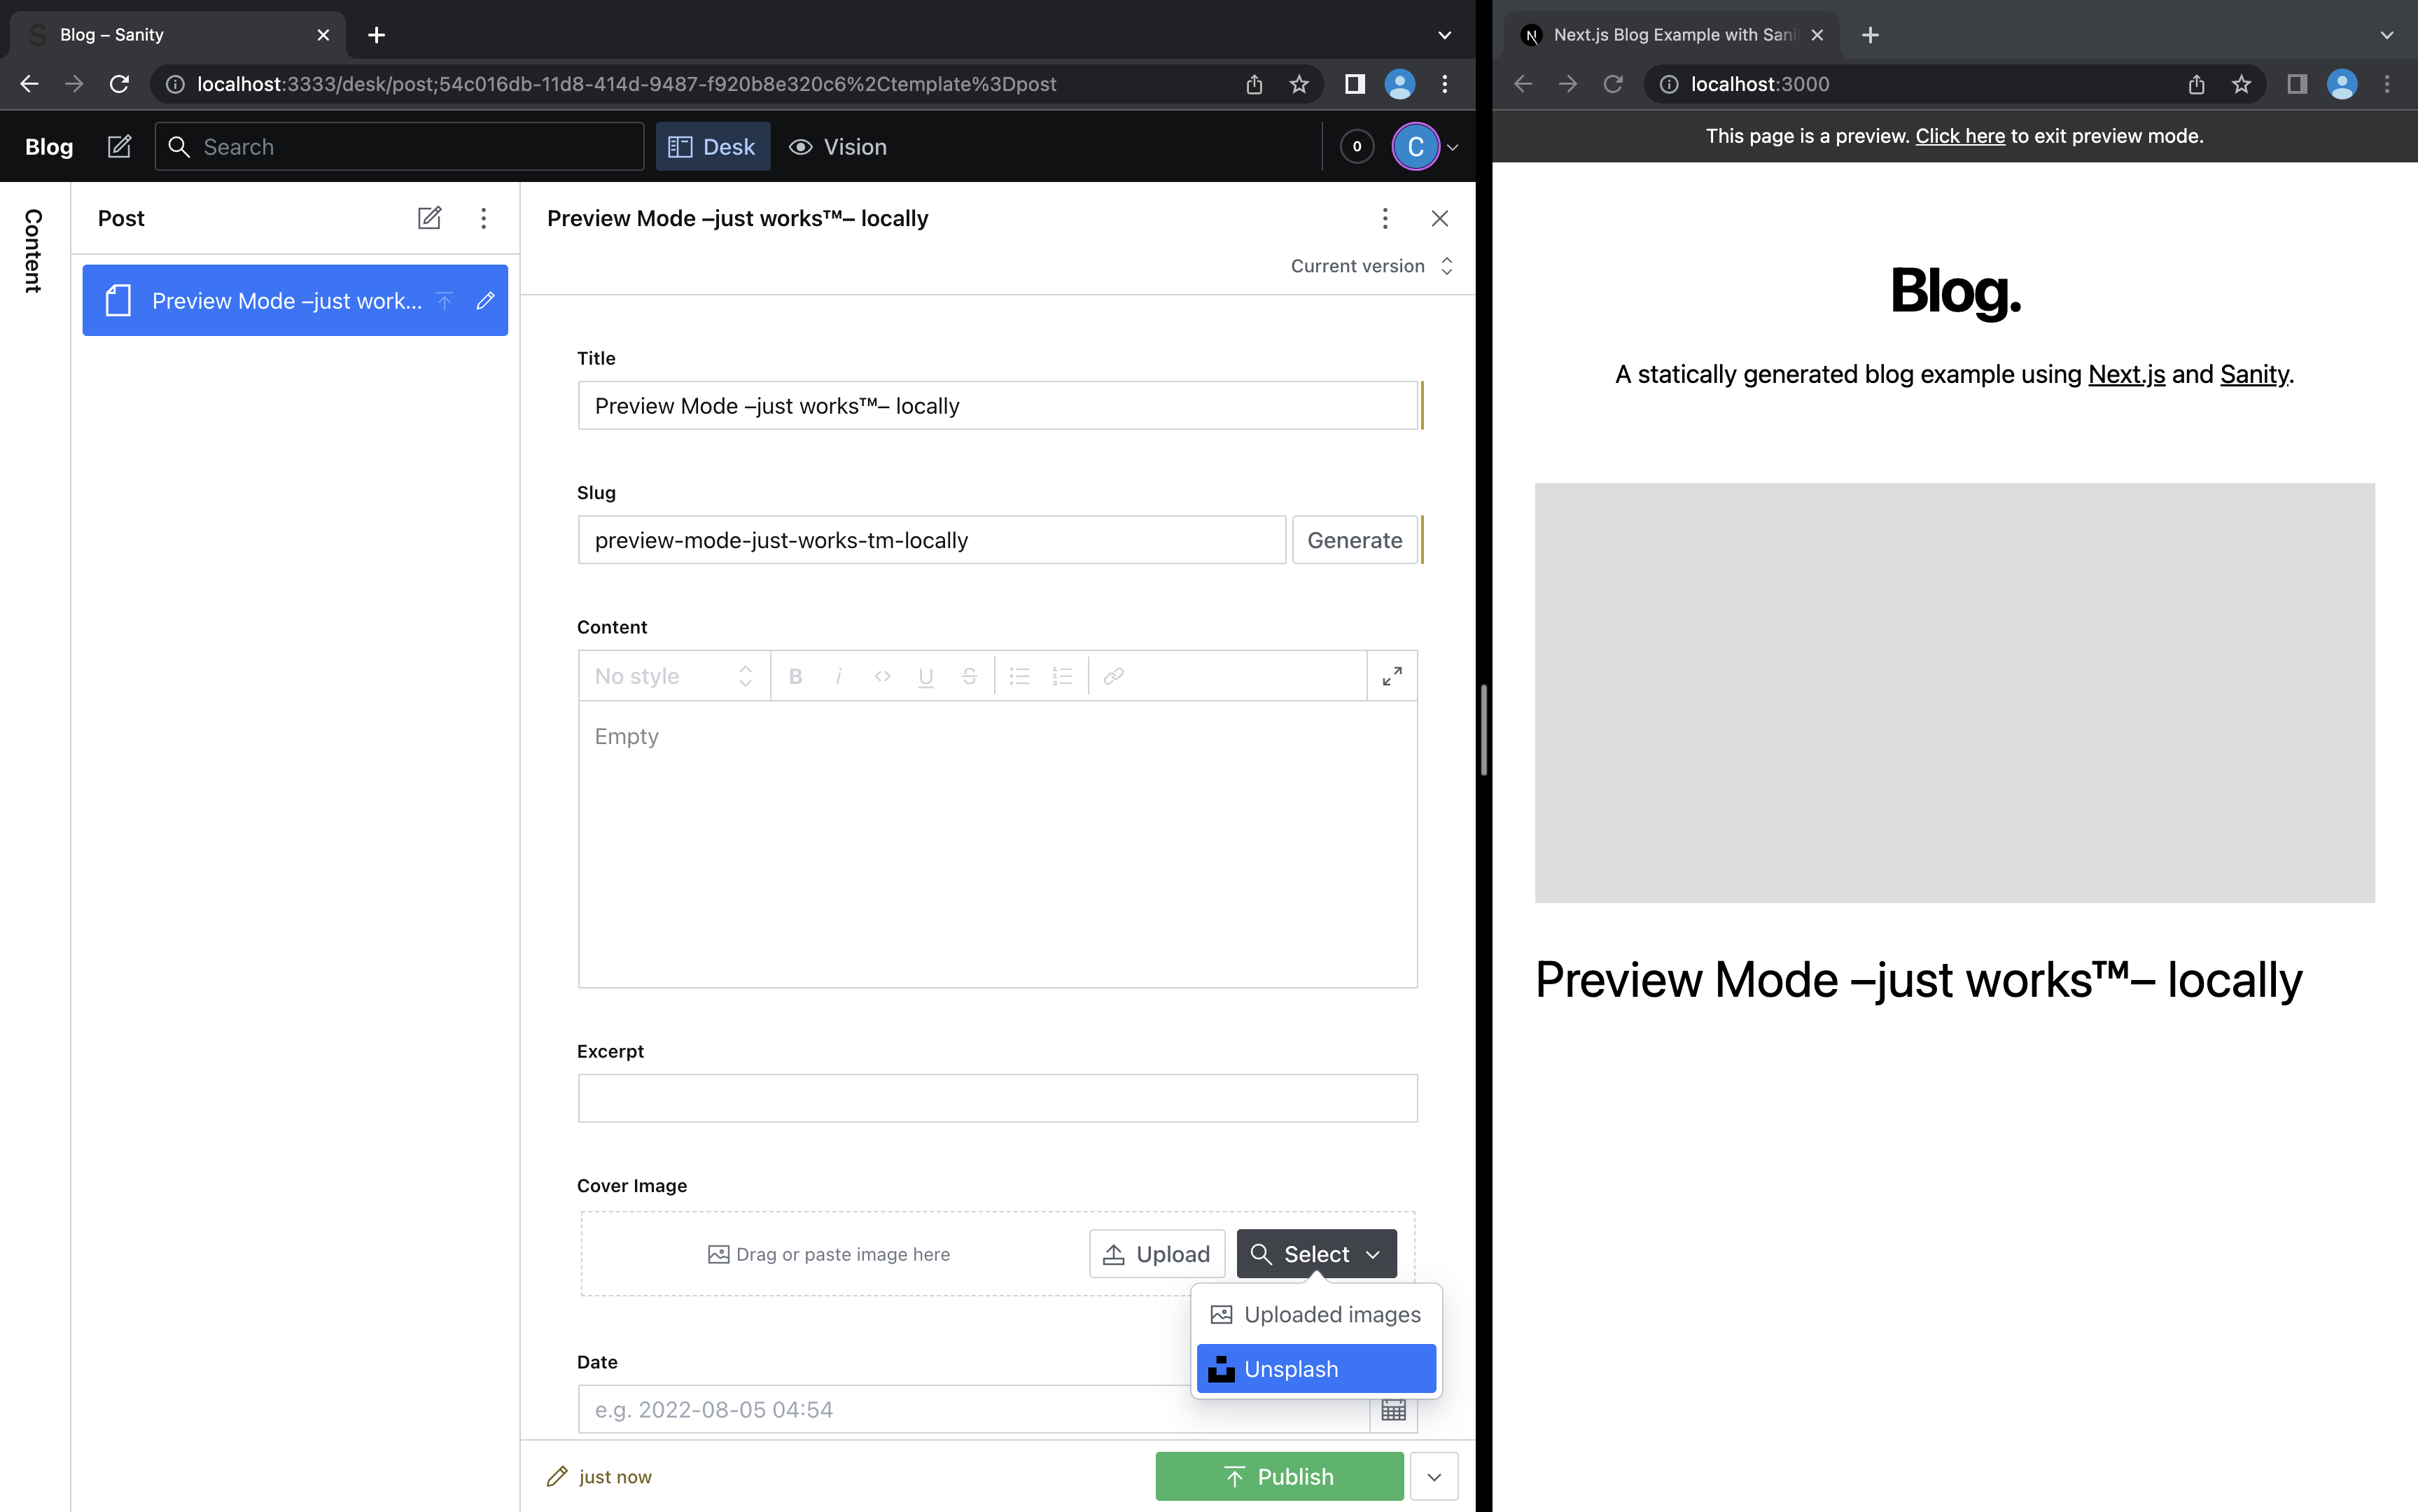
Type some dummy data for the Title
-
Generate a Slug
-
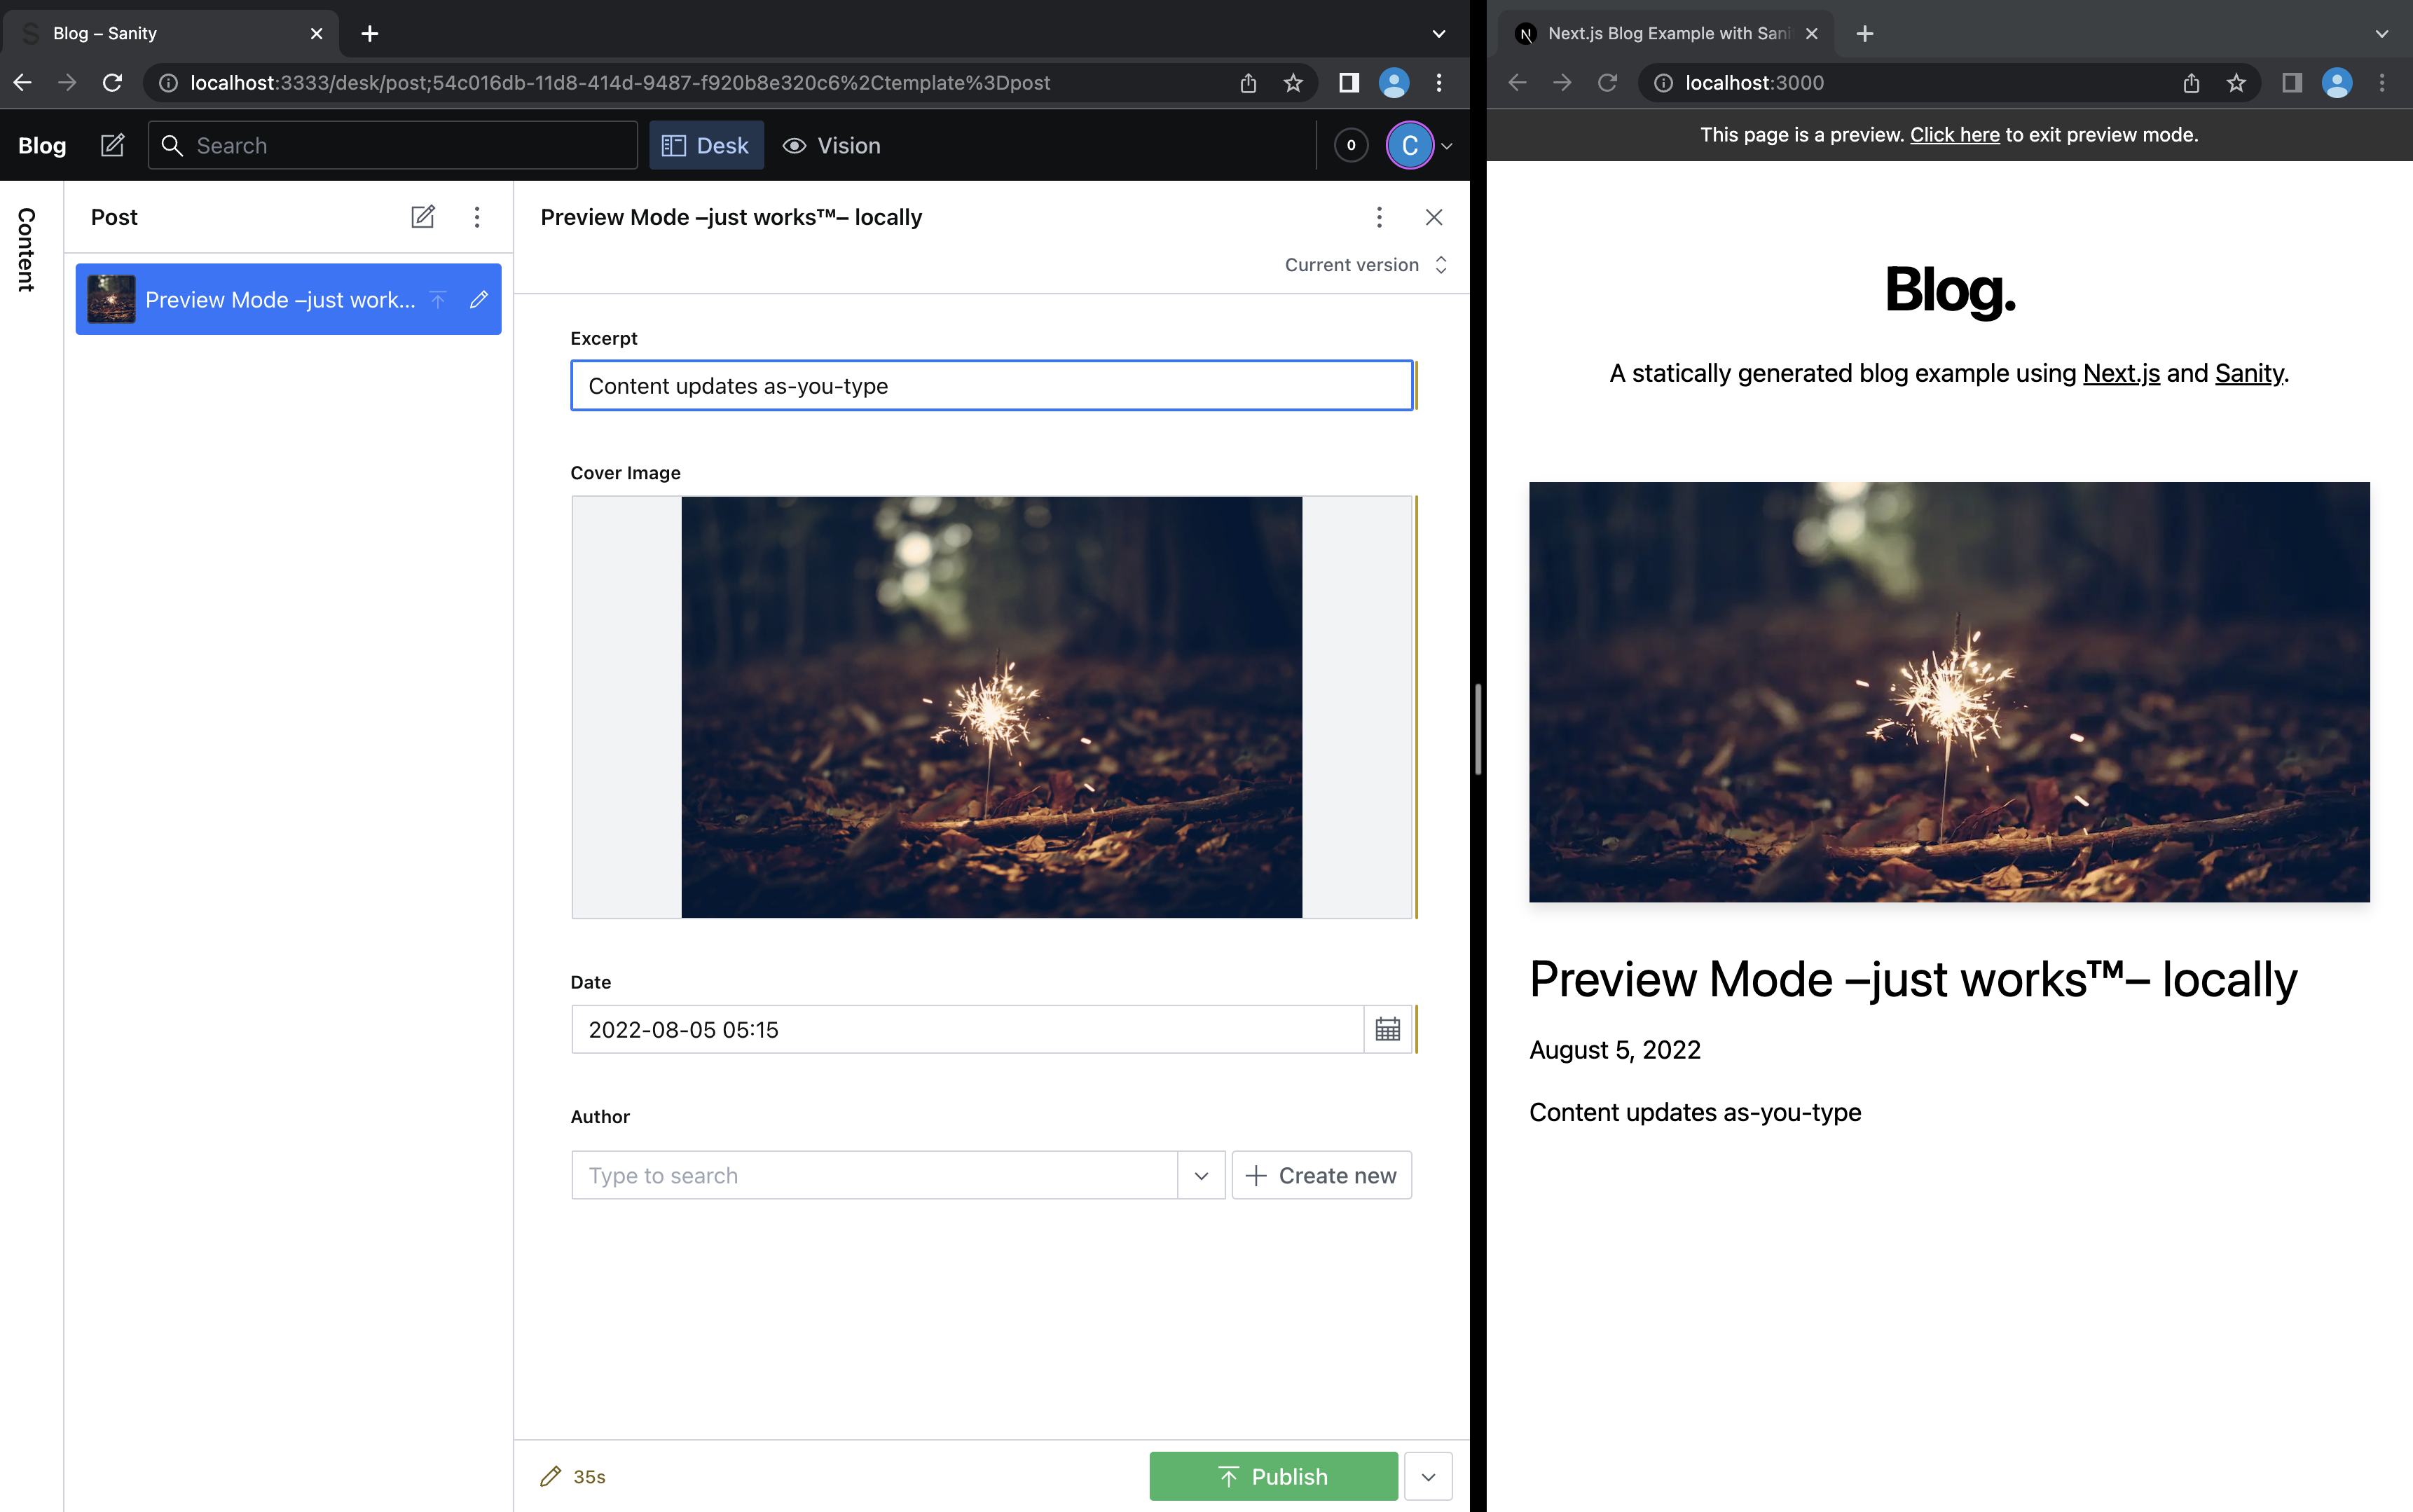
Set the Date
-
Select a Cover Image from Unsplash.
-
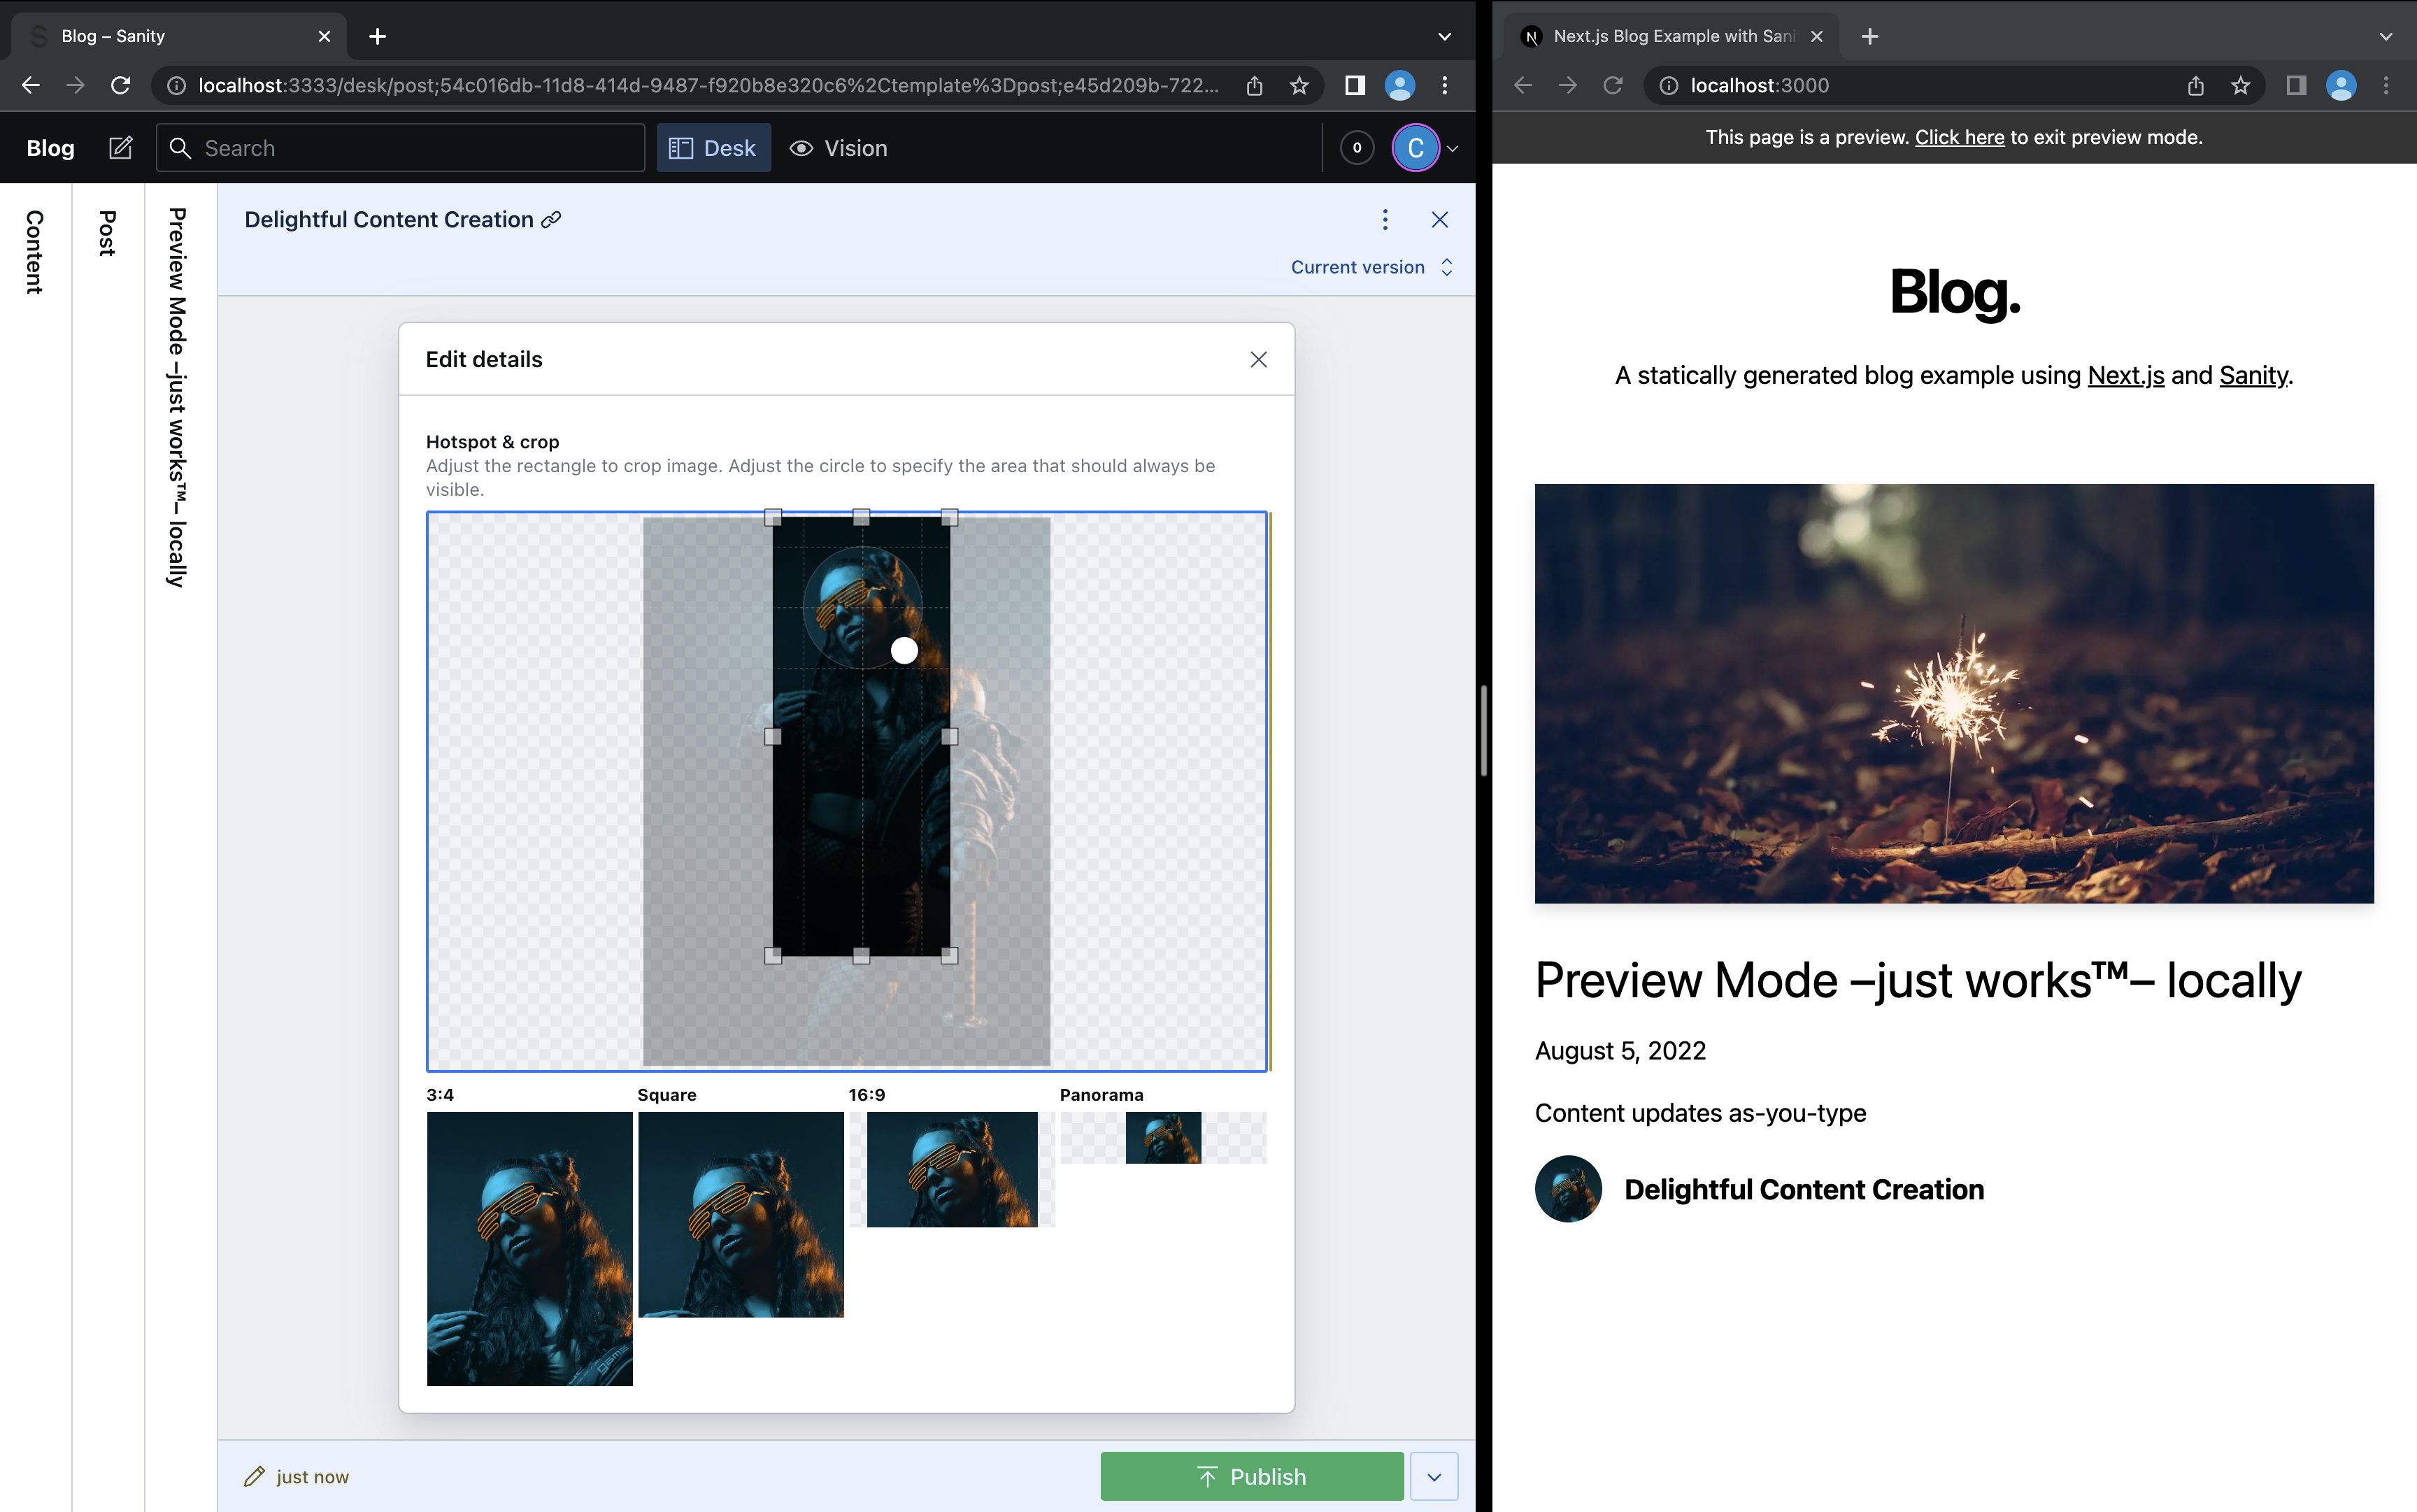
Let's create an Author inline, click Create new.
-
Give the Author a Name.
-
After selecting a Picture of a face from Unsplash, set a hotspot to ensure pixel-perfect cropping.
-
Create a couple more Posts and watch how the layout adapt to more content.
Important: For each post record, you need to click Publish after saving for it to be visible outside Preview Mode.
To exit Preview Mode, you can click on "Click here to exit preview mode" at the top.
If you didn't Deploy with Vercel earlier do so now
To deploy your local project to Vercel, push it to GitHub/GitLab/Bitbucket and import to Vercel.
Important: When you import your project on Vercel, make sure to click on Environment Variables and set them to match your .env.local file.
After it's deployed link your local code to the Vercel project:
npx vercel linkAdd your production url to the list over CORS origins.
Don't remember the production url? 🤔
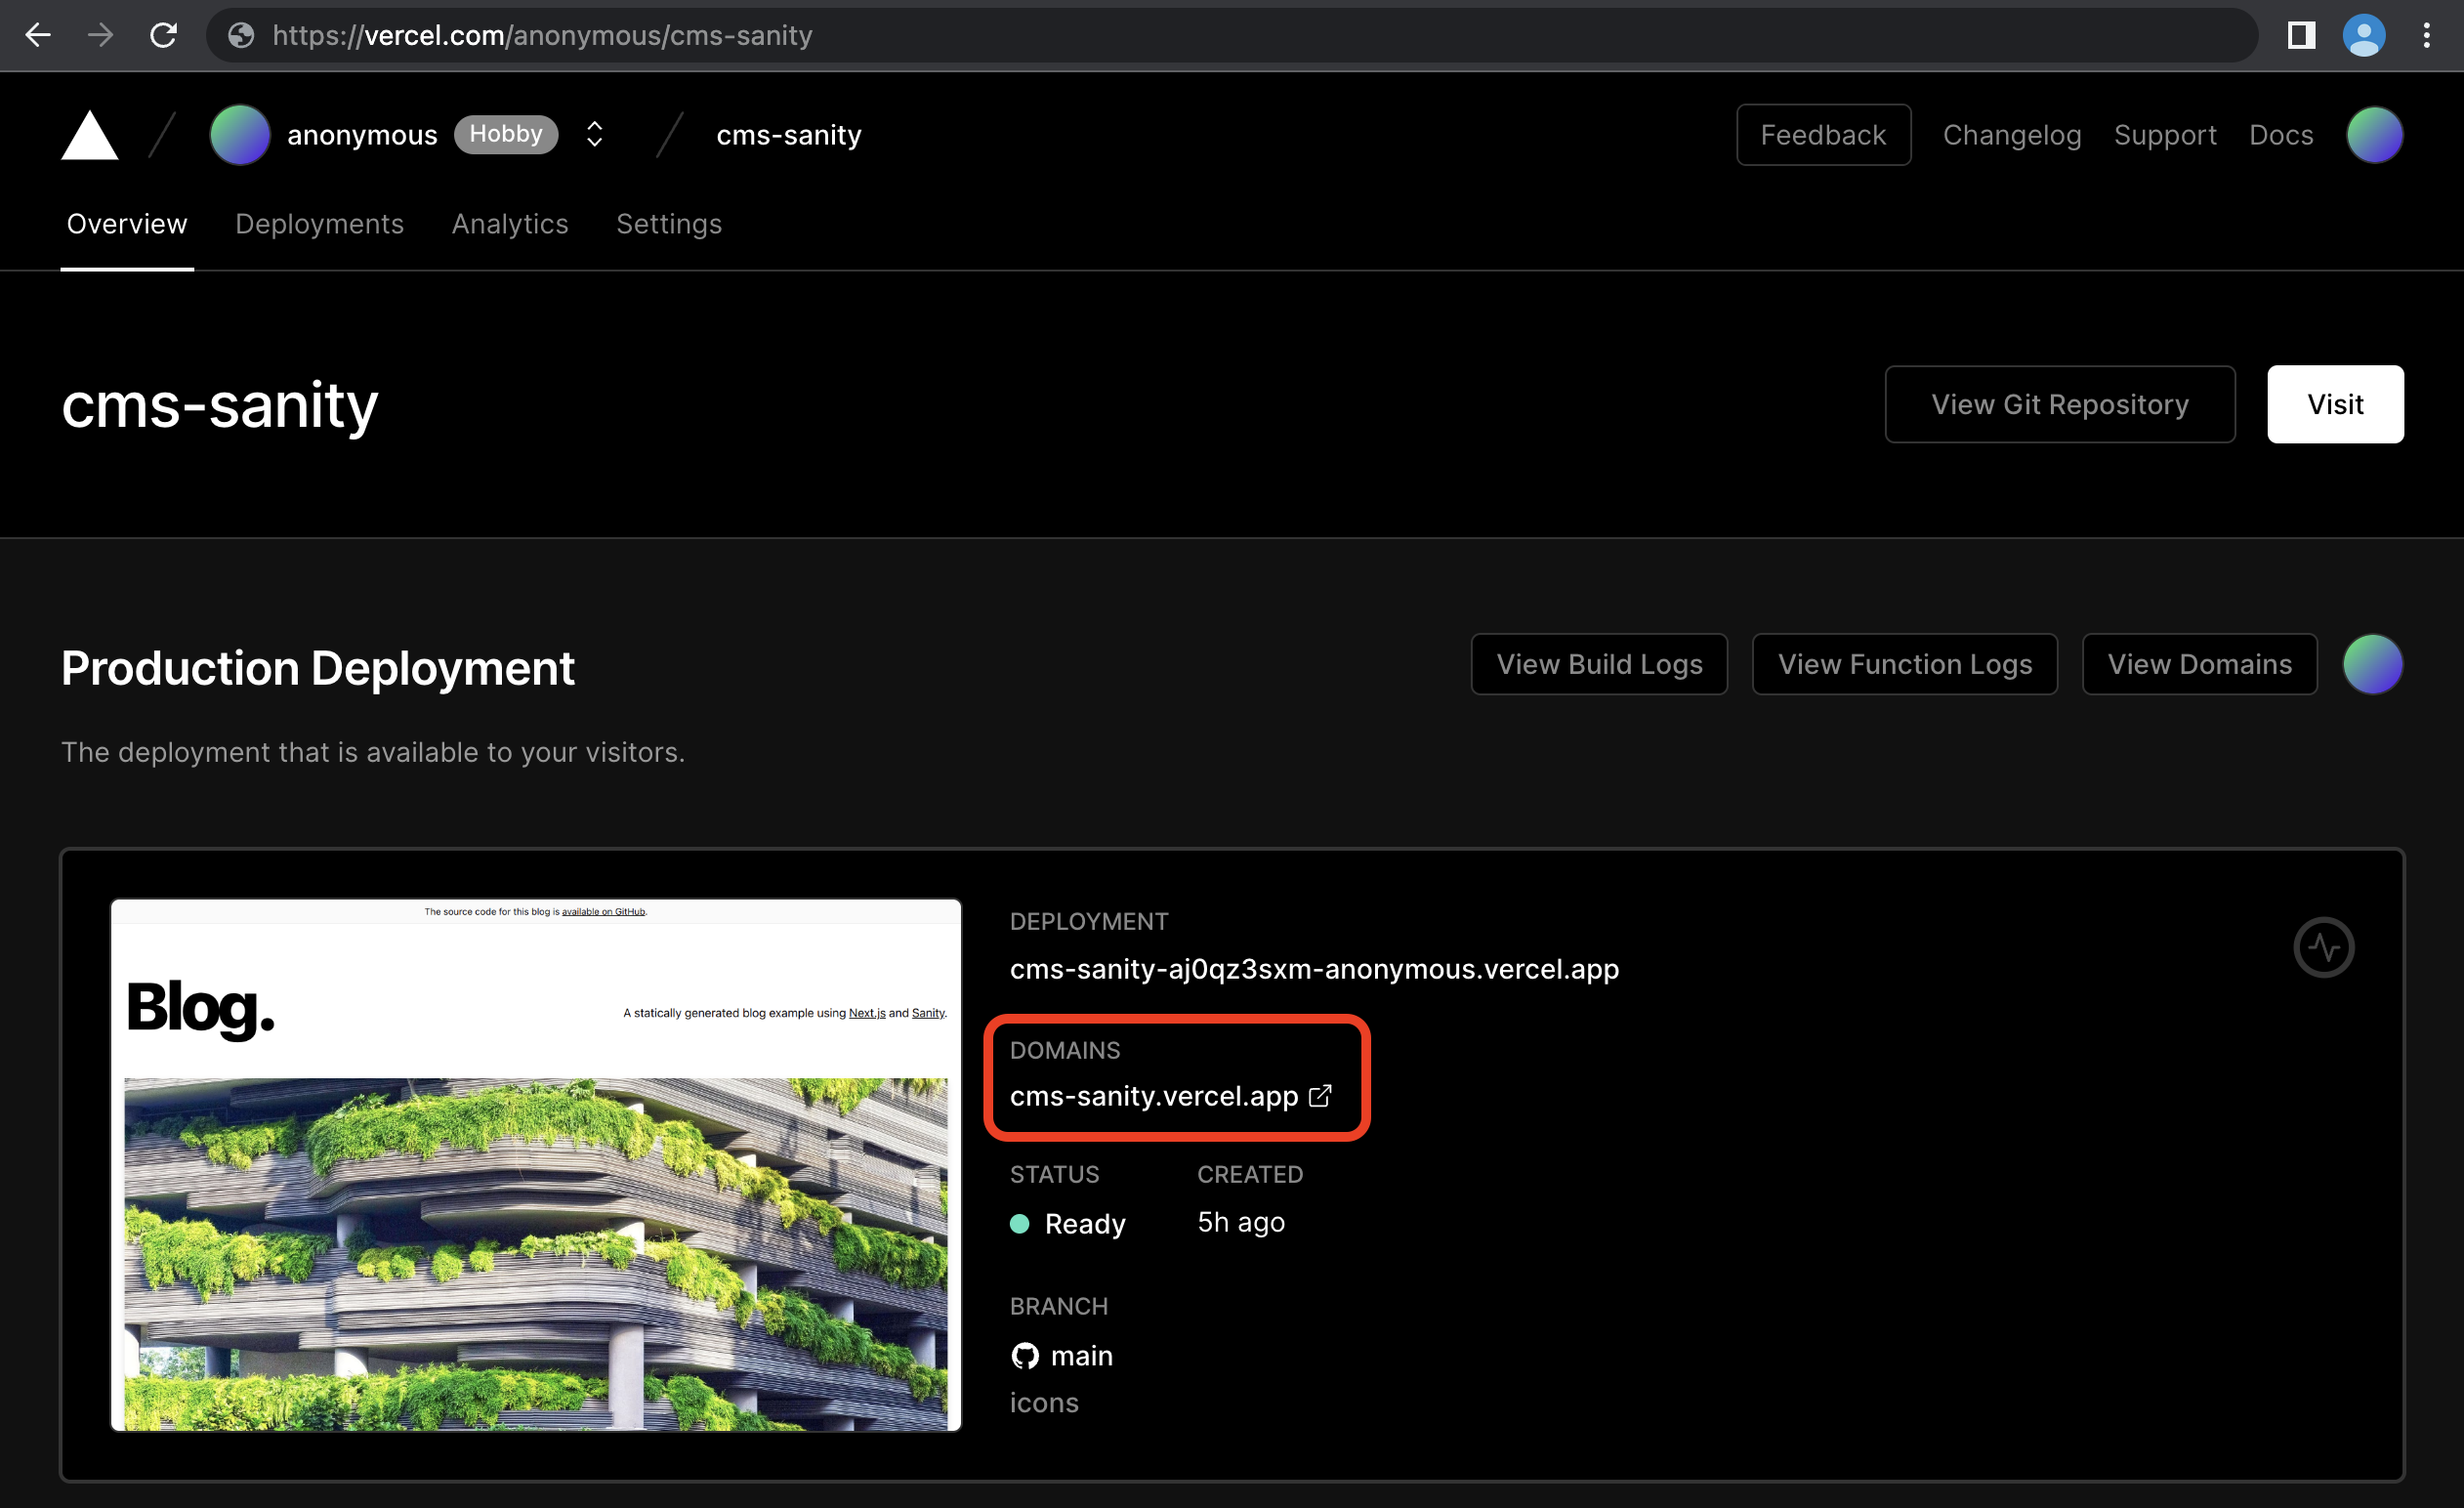
No worries, it's easy to find out. Go to your Vercel Dashboard and click on your project:
In the screenshot above the production url is https://cms-sanity.vercel.app.
npm --prefix studio run cors:add -- [your production url] --credentialsIt's required to set a secret that makes Preview Mode activation links unique. Otherwise anyone could see your unpublished content by just opening [your production url]/api/preview.
Run this and it'll prompt you for a value:
npx vercel env add SANITY_STUDIO_PREVIEW_SECRETThe secret can be any combination of random words and letters as long as it's URL safe.
You can generate one in your DevTools console using copy(Math.random().toString(36).substr(2, 10)) if you don't feel like inventing one.
You should see something like this in your terminal afterwards:
$ npx vercel env add SANITY_STUDIO_PREVIEW_SECRET
Vercel CLI 27.3.7
? What’s the value of SANITY_STUDIO_PREVIEW_SECRET? 2whpu1jefs
? Add SANITY_STUDIO_PREVIEW_SECRET to which Environments (select multiple)? Production, Preview, Development
✅  Added Environment Variable SANITY_STUDIO_PREVIEW_SECRET to Project cms-sanity [1s]
Redeploy production to apply the secret to the preview api:
npx vercel --prodAfter it deploys it should now start preview mode if you launch [your production url]/api/preview?secret=[your preview secret]. You can send that preview url to people you want to show the content you're working on before you publish it.
In order to test that the secret will prevent unauthorized people from activating preview mode, start by updating the local .env with the secret you just made:
npx vercel env pullRestart your Next.js and Studio processes so the secret is applied:
npm run devnpm run studio:devAnd now you'll get an error if [secret] is incorrect when you try to open https://localhost:3000/api/preview?secret=[secret].
Run this to make the Studio open previews at [your production url]/api/preview instead of http://localhost:3000/api/preview
SANITY_STUDIO_PREVIEW_URL=[your production url] npm run studio:devRevoke their access by creating a new secret:
npx vercel env rm SANITY_STUDIO_PREVIEW_SECRET
npx vercel env add SANITY_STUDIO_PREVIEW_SECRET
npx vercel --prodLive previewing content is fun, but collaborating on content in real-time is next-level:
SANITY_STUDIO_PREVIEW_URL=[your production url] npm run studio:deployIf it's successful you should see something like this in your terminal:
SANITY_STUDIO_PREVIEW_URL="https://cms-sanity.vercel.app" npm run studio:deploy
? Studio hostname (<value>.sanity.studio): cms-sanity

Including the following environment variables as part of the JavaScript bundle:
- SANITY_STUDIO_PREVIEW_URL
- SANITY_STUDIO_PREVIEW_SECRET
- SANITY_STUDIO_API_PROJECT_ID
- SANITY_STUDIO_API_DATASET

✔ Deploying to Sanity.Studio

Success! Studio deployed to https://cms-sanity.sanity.studio/
This snippet is stripped from verbose information, you'll see a lot of extra stuff in your terminal.
Using GROQ Webhooks Next.js can rebuild pages that have changed content. It rebuilds so fast it can almost compete with Preview Mode.
Create a secret and give it a value the same way you did for SANITY_STUDIO_PREVIEW_SECRET in Step 4. It's used to verify that webhook payloads came from Sanity infra, and set it as the value for SANITY_REVALIDATE_SECRET:
npx vercel env add SANITY_REVALIDATE_SECRETYou should see something like this in your terminal afterwards:
$ npx vercel env add SANITY_REVALIDATE_SECRET
Vercel CLI 27.3.7
? What’s the value of SANITY_REVALIDATE_SECRET? jwh3nr85ft
? Add SANITY_REVALIDATE_SECRET to which Environments (select multiple)? Production, Preview, Development
✅  Added Environment Variable SANITY_REVALIDATE_SECRET to Project cms-sanity [1s]
Apply the secret to production:
npx vercel --prodWormhole into the manager by running:
(cd studio && npx @sanity/cli hook create)- Name it "On-demand Revalidation".
- Set the URL to
[your production url]/api/revalidate, for example:https://cms-sanity.vercel.app/api/revalidate - Set the Trigger on field to Create Update Delete
- Set the Filter to
_type == "post" || _type == "author" - Set the Secret to the same value you gave
SANITY_REVALIDATE_SECRETearlier. - Hit Save!
- Open the Deployment function log. (Vercel Dashboard > Deployment > Functions and filter by
api/revalidate) - Edit a Post in your Sanity Studio and publish.
- The log should start showing calls.
- And the published changes show up on the site after you reload.
