The .pzw file is a directory named Picsimlab_workspace with some files compressed with zip.
The structure of the unzipped file is this:
- Picsimlab_workspace/
- mdump_{bname}_{processor}.hex
- parts_{bname}.pcf
- picsimlab.ini
- Readme.html
The mdump_{bname}_{processor}.hex file is the .hex file to be loaded into the simulator. Where {bname} defines the board and {processor} defines the processor to be used;
The parts_{bname}.pcf file contains the Spare parts window configuration. (Optional);
The picsimlab.ini file contains the configuration of simulator to run the file .hex;
And the Readme.html file contains information about the file. (Optional).
The structure of example directory is this:
- {bname}/{processor}/{example}
- mdump_{bname}_{processor}.hex (Mandatory)
- parts_{bname}.pcf (Optional)
- {example}.png (Mandatory)
- picsimlab.ini (Mandatory)
- Readme.html (Mandatory)
- src/ (Optional)
The simplest way is using PICSimLab.
- Load your code and make all your settings.
- With everything working, in the File menu, use the Save Workspace option to generate a .pzw file.
- Rename the .pzw file to .zip and unzipped it.
- Add in the unzipped directory:
- The Readme.html file containing the example information.
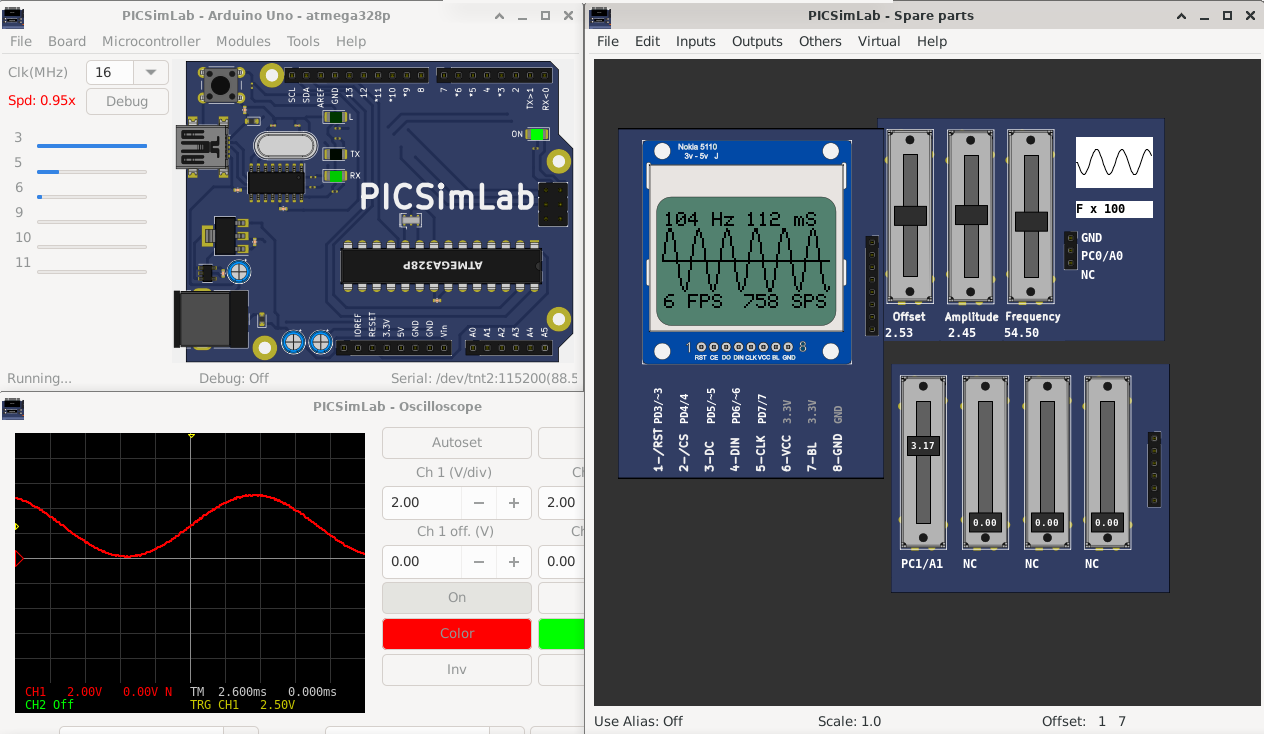
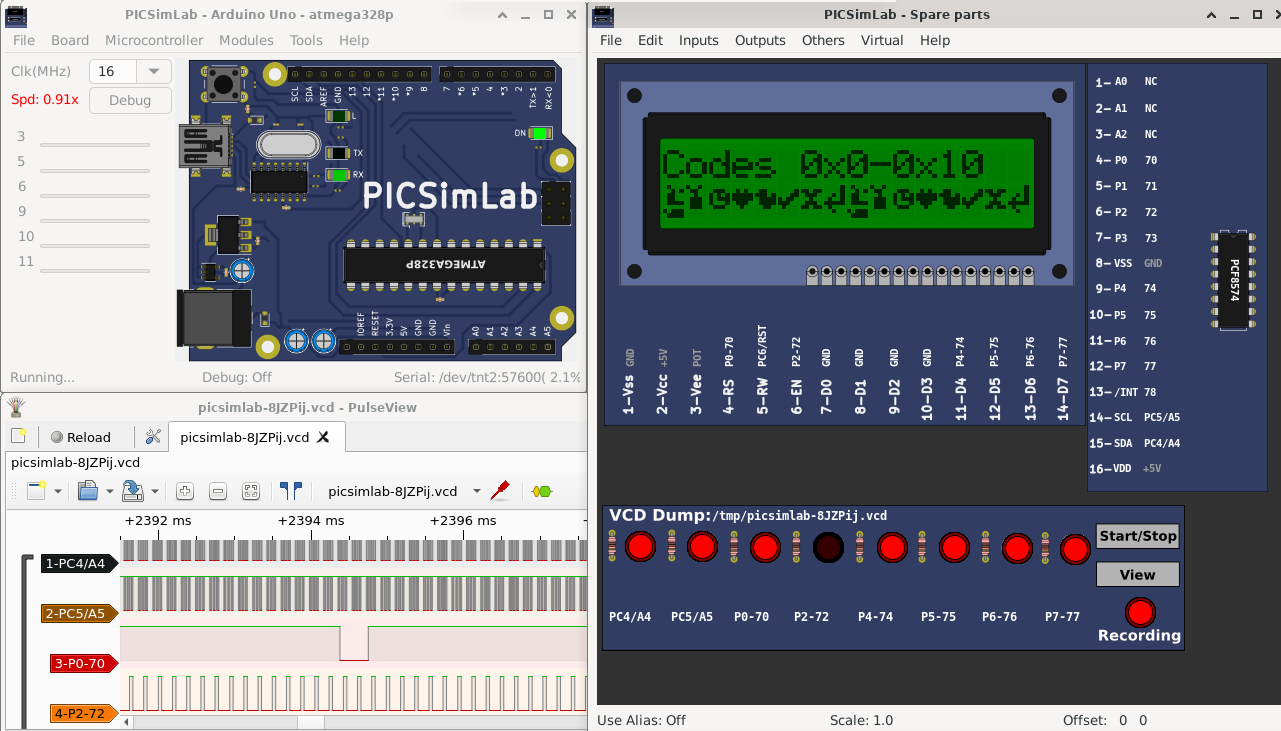
- The {example}.png file with an example figure.
- (Optional) One src/ directory containing the source code, to be referenced by the Readme.html file
The most suitable is using github:
- Make a fork of repository.
- Put your new example in directory examples/unpacked/{bname}/{processor}/{example}
- Create a Pull request.
Another way would be to send to me the compressed folder of the example by email. (less recommended)

