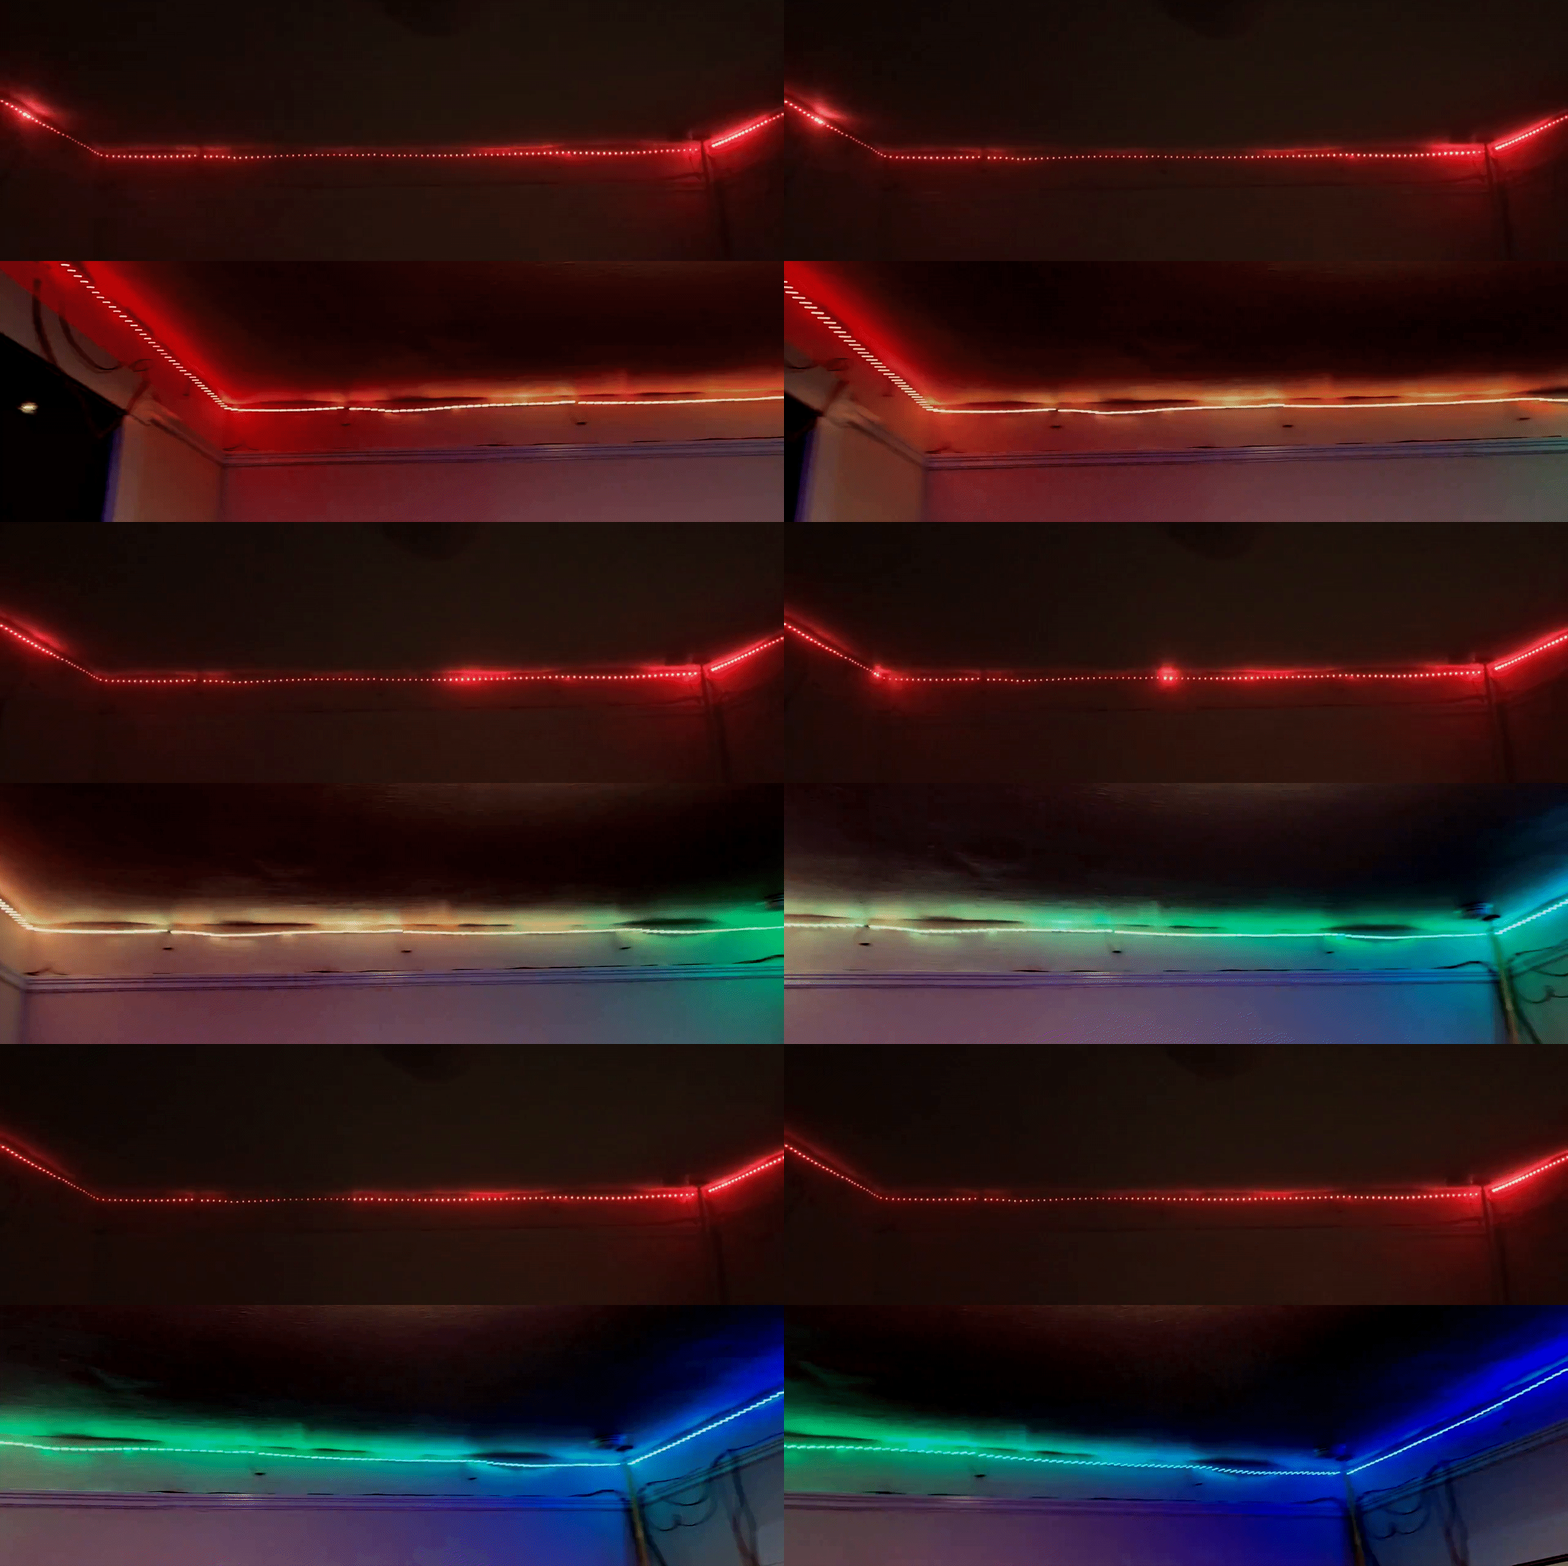
An extensible plug-and-play Arduino library for controlling multiple Neopixel LED strips
https://fishbotwilleatyou.com/bin/images/showcase_lights.gif
nato-lights is an aggressively efficient library designed to help you beautify a space with thoughtful, interactive light shows displayed on long chains of LED strips that you can hang around, say, the walls of your room.
It owes its entire inspiration to Hell Lighting, but was rewritten from scratch so that we could support over 17 meters (55 feet) of lights using only a single Arduino Uno.
-
Patterns
nato-lights maintains from its predecessor the core concept of patterns, which are modular and intuitively-written light show designs. One pattern is active at a time, and you can switch between patterns using the "next pattern" button. During each frame of the execution loop, the active pattern is responsible for updating the global
ledsvariable with the sequence of colors to output to the LED strips. -
Chains
The LED strips to controlled can be divided among up to three chains. These chains are connected in parallel to the Arduino, while the strips within each chain are connected in series. This is primarily to address dissipation issues when sending signals down a very long series of LED strips—three chains of 180 LEDs will perform a lot more reliably than a single chain of 540 LEDs.
Patterns don't need to worry about how the LED strips are organized into chains and need only treat
ledsas a single long array of colors. The library will automatically direct output to the correcte chains as long as config.h is set up properly.
This project is designed to work with a variety of hardware arrangements, depending on the dimensions of the space to be decorated and the availability of components used.
Out of the box—that is, with only changes to config.h as described in Configuration—it supports one button for toggling between patterns, up to two potentiometers for interactivity in patterns, up to three chains of light strips with as many lights as memory will allow, and as many patterns as memory will allow.
My reference design consists of the following components:
- individually addressable ws2812b WS2812 RGB 5050 LED Strip Smart Full color Pixel IC Ditigal waterproof tape light DC5V 1m/4m/5m (1m 30led ip30, white PCB) × 20
- 12 GAUGE WIRE RED & BLACK POWER GROUND 100 FT EACH PRIMARY STRANDED COPPER CLAD × 1
- ALITOVE 5V 60A 300W Power Supply Transformer Adapter Converter AC110V/220V to DC 5V 60amp LED Driver for WS2812B WS2811 WS2801 APA102 LED Strip Pixel Light CCTV Camera Security System × 1
- Proto Advantage Solder Breadboard (10 row 5 column) × 1
- SparkFun Electronics Tactile Button × 1
- TT Electronics P160KNP Panel Pot × 1
- Arduino Uno × 1
I used one potentiometer even though the library supports two out of the box.
| Diagram | Front | Back |
|---|---|---|
 |
 |
 |
In addition, I 3D-printed a wall-mounted encasement for the complete control box. The SolidWorks assembly and STL files are available in the encasement directory.
| Front | Side |
|---|---|
 |
 |
- Install the Arduino IDE.
- Open nato-lights.ino in the Arduino IDE.
- Install the FastLED library.
- Connect your Arduino Uno by USB and ensure that the board is selected.
- Click Sketch > Upload to compile and upload the project.
If you're on Linux, you may need to add yourself to the dialout
group
in order to avoid a permissions error while uploading.
If your hardware setup is reasonably similar to mine, you'll only need to modify config.h.
-
BUTTON_DEBOUNCEMilliseconds within which to ignore button signals.
You only need to modify this if the "next pattern" button is having trouble detecing single presses.
-
LED_DUPLICATIONNumber of times to repeat each color in each frame of a pattern. For example, if a pattern outputs a frame with colors
[A, B, C, D, E, ...], the physical LED strip will display[A, B, C, D, E, ...]withLED_DUPLICATION = 1,[A, A, B, B, C, ...]withLED_DUPLICATION = 2,[A, A, A, B, B, ...]withLED_DUPLICATION = 3, etc.Increase this value to visually stretch out the displayed patterns and to decrease memory usage. Decrease this value to make the displayed patterns appear more compact.
-
LED_PIN_1,LED_PIN_2,LED_PIN_3The PWM-capable digital pins to which the LED strip chains are connected.
-
LED_COUNT_1,LED_COUNT_2,LED_COUNT_3The number of colors to output to each LED strip chain. The physical number of active LEDs in each chain will then be its count multiplied by
LED_DUPLICATION. -
LED_TYPEThe LED chipset as recognized by FastLED.
-
NEXT_BUTTON_PINThe digital pin to which the "next pattern" button is connected.
-
POT_1_MAX,POT_2_MAXThe maximum output value of the potentiometers.
-
POT_1_PIN,POT_2_PINThe analog pins to which the potentiometers are connected.
Adding a new pattern is easy! Take a look at how the existing patterns are defined in the patterns directory.
- Create patterns/pattern_name.h and patterns/pattern_name.cpp extending
Pattern. Theinitandstepmethods are responsible for initializing the globalledsvariable and updating it for each subsequent frame, respectively. - Add the line
#include "src/patterns/pattern_name.h"to nato-lights.ino.
Simply remove the line #include "src/patterns/pattern_name.h" from
nato-lights.ino.
Feedback and contributions are always welcome! If you have any bug reports, feature requests, or questions, please open a GitHub issue.
To contribute, follow the instructions below to set up local development and submit a GitHub pull request. You will need to have Git installed.
- Create a fork of deeptoaster/nato-lights to your own account and clone it.
- Follow the installation instructions above to set up and compile the project in the Arduino IDE using your cloned project directory.
- After making your changes, commit them, push them to your fork on GitHub, and create a pull request to deeptoaster/nato-lights.
