For this installation, the operational system used will be Ubuntu Server 20.04.4; The OpenNebula version is 6.4:
-
SO: Ubuntu Server 20.04.4
-
OpenNebula: 6.4
-
Hypervisor: KVM
The hypervisor choice will be understandable later. But, take in mind that choice can be different for your host.
wget -q -O- https://downloads.opennebula.org/repo/repo.key | sudo apt-key add -echo "deb https://downloads.opennebula.org/repo/6.4/Ubuntu/20.04 stable opennebula" | sudo tee /etc/apt/sources.list.d/opennebula.listsudo apt update && sudo apt install mariadb-server -ysudo mysql_secure_installationAccess the mariaDB, with your credentials previously configured, with below command:
sudo mysql -u root -pCREATE DATABASE opennebula;GRANT ALL PRIVILEGES ON opennebula.* TO 'oneadmin' IDENTIFIED BY 'StrongPassword';FLUSH PRIVILEGES;EXITsudo apt update && sudo apt install opennebula opennebula-sunstone opennebula-gate opennebula-flow opennebula-fireedge opennebula-provision -ysudo /usr/share/one/install_gemsAfter the installation of ONE dependencies, go and open in, with any text editor(VIM :)). the file oned.conf at /etc/one/; like below:
sudo vim /etc/one/oned.confSearch for a variable called DB, and insert the information like the below model:
DB = [ BACKEND = "mysql",
      SERVER = "localhost",
      PORT = 0,
      USER = "oneadmin",
      PASSWD = "StrongPassword",
      DB_NAME = "opennebula" ]
ℹ️ The passwd field is the same defined in the oneadmin user configuration of MariaDB server.
Using ufw tool or another one, opening 9869 port used by Sunstone:
sudo ufw allow proto tcp from any to any port 9869This installation can be optional, if you want another hypervisor. But, notice, any hypervisor need to be choosen. Below, there is a list with some options to choice:
- LXC
- LXD
- VMware Vcenter
- QEMU
- Firecracker
With KVM:
sudo apt install opennebula-nodeThe fireedge configuration allow in the deploy moment of a VM in the OpenNebula, can be possible visualize the console terminal of your virtual machine in your browser. So, for this, it's necessary go to in /etc/one/sunstone-server.conf, with sudo permissions, and change two variables, showed below:
:private_fireege_endpoint: http://localhost:2616
:public_fireedge_endpoint: http://localhost:2616
In this way, it's necessary replace http://localhost:2616 by your IP or DNS.
sudo systemctl start opennebula opennebula-sunstone opennebula-fireedge opennebula-flowsudo systemctl enable opennebula opennebula-sunstoneTo access the ONE dashboard, the called sunstone, is necessary to go in some browser and insert the below url, suiting for your server IP:
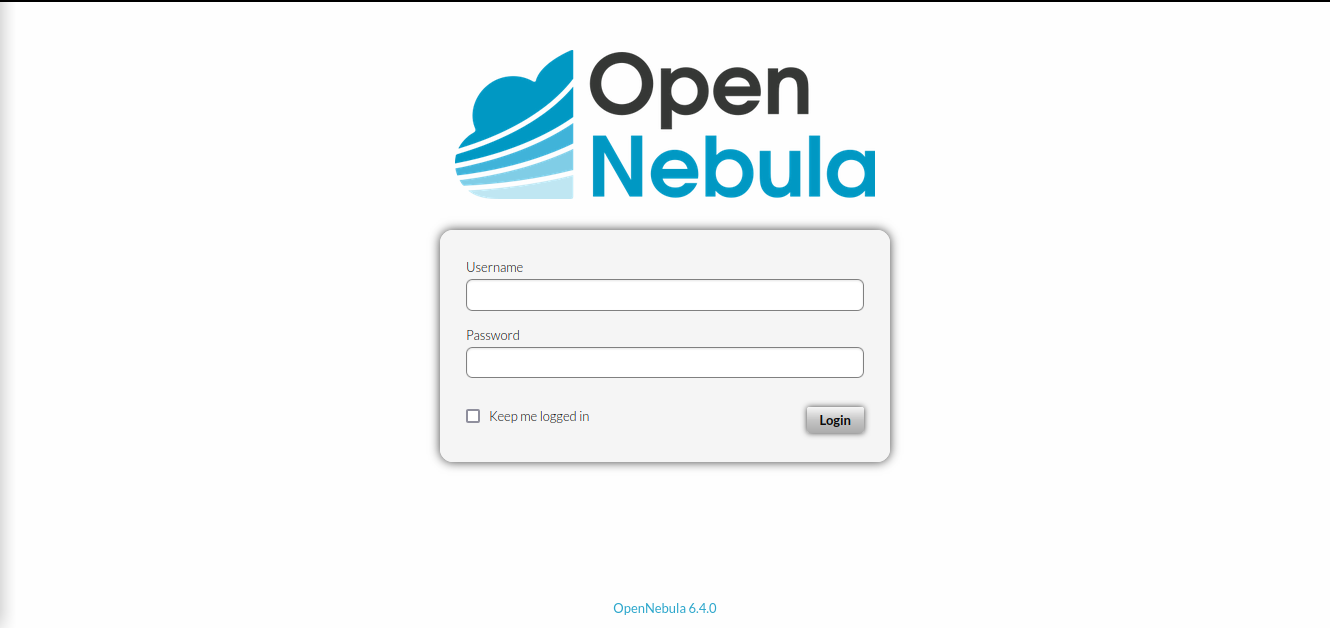
http://<server_IP>:9869And you will be welcomed with this screen:
To login in the system, it's necessary have in pocket, naturarally, the username and its password. The first is oneadmin, if nothing change in above configuration. The second can be get via command line in this way, being superuser:
cat /var/lib/one/.one/one_authExpected output:
oneadmin:jfgkd33438At in the left of (:) is the aforementioned user oneadmin, and in the right the password access of this user.
After finish all steps aforementioned, and to have access to OpenNebula Dashboard, some additional settings are necessary to assume the application order to use. So, let's do it.
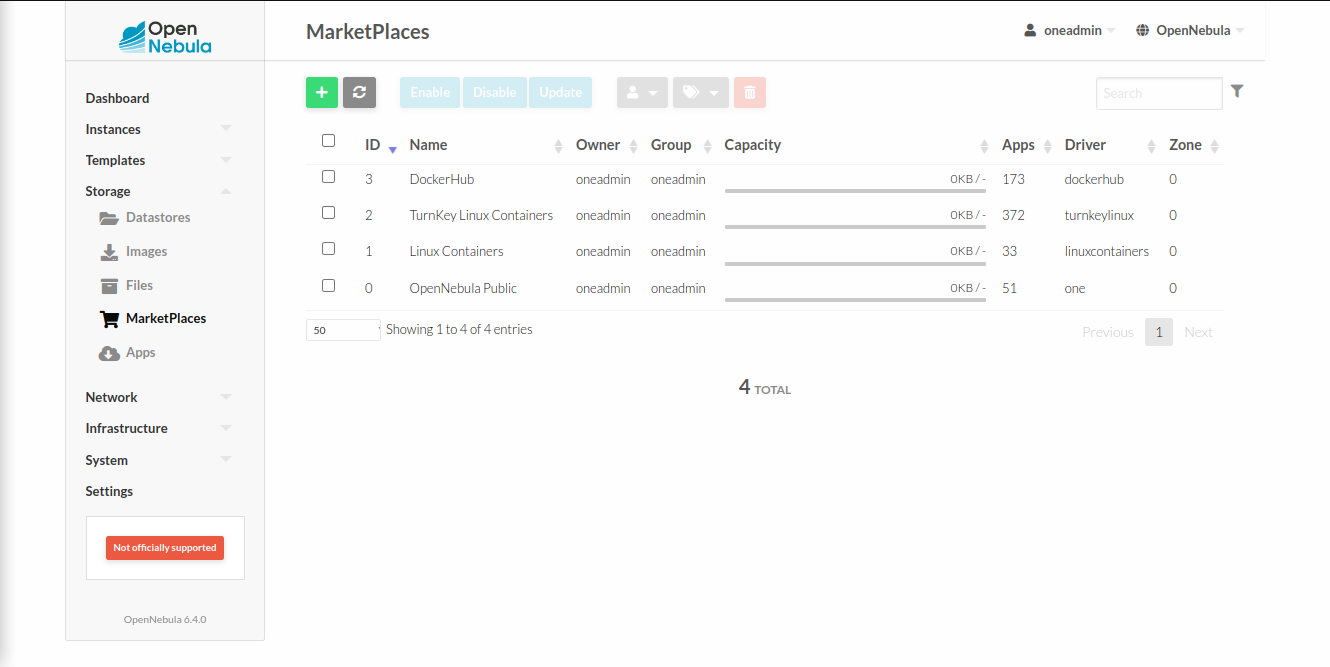
The first step that can be done is enable the ONE MarketPlace, to download several image templates for VMs ready to use. Hence, go to Storage > Marketplaces. And you will see the next screen.
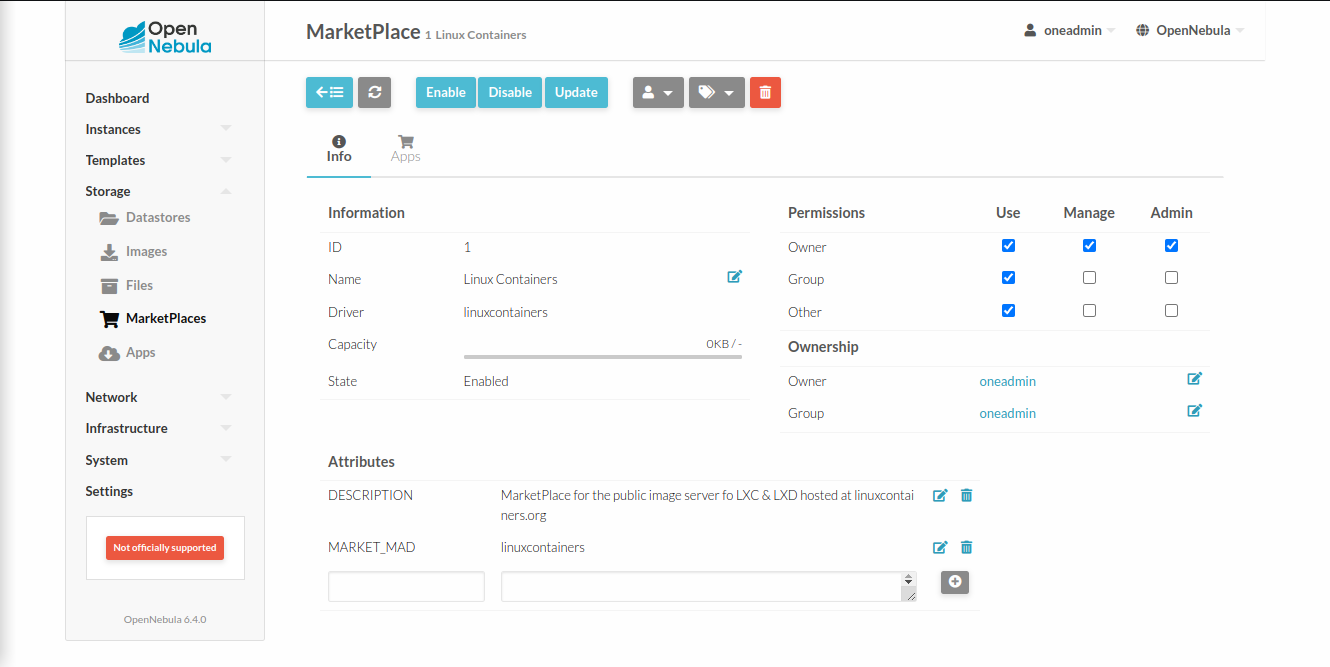
In this case, the repositories already be enable to use. since can be notice the quantities of apps available to download. To reach this, click in your interest repositories, and the next screen will appear.
In the case above, the repository chosen was Linux Containers, and to enable it, just click in Enable button. The same approach can be done for another repositories.
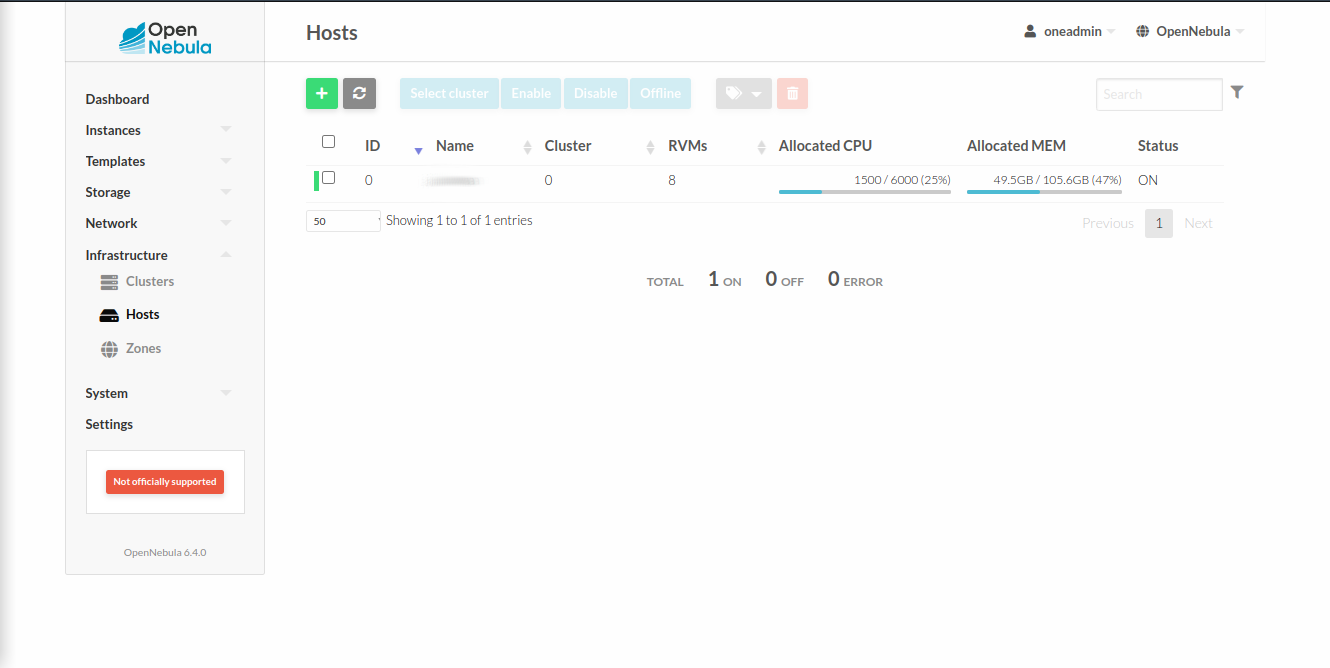
Most important to enable the marketplace repositories, it's configure a host for use on OpenNebula. Basically, this settings allow that new virtual machines be instatiates by some hypervisor. Remember it, in this documentation, the KVM hypervisor was chosen for this purpose. Therefore, in the next configuration, the first step for this is to go at Infrastructure > Hosts, and you will be welcomed with the next screen.
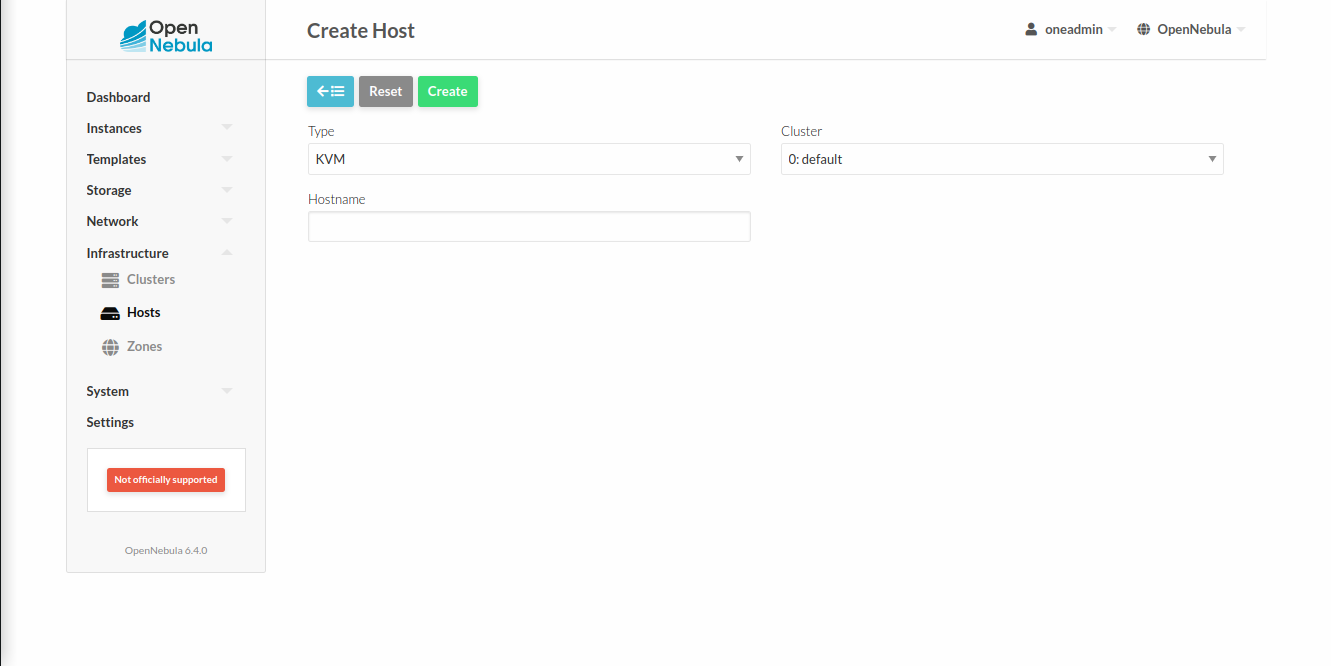
To start the the addition of a host, click in + button. The next screen will be appear:
In this screen, there is two fields that need to be filled up in accord of your situation. The first is what type of the host. that is, what hypervisor will be used. Well, we already have this conversation :). In this case, was KVM. The second is the IP of the machine with this hypervisor. In this way, if KVM node was installed in the same machine of the before procedure, then just repeat this IP in the Hostname field. Done this process, just click in Create button to finish.
The network configuration for the OpenNebula server is quite sensitive than host configuration. Although, it depends of NIC's quantities where server was installed. Hence, if this server was installed in a machine with two network interface, with IP assigned, internet access and DNS configured; then, the network configuration for VMs will be happen pretty much well and without additional concerns. Now, if the enviroment was configured with only one network interface, then, will be necessary have aware about some situations and careful about the procedures running in the next section.
The matter of the fact about this procedure, is to know the effects that from the configuration of this brigde, that is, what will happen with the server if the bridge was applied in one of two NIC available, or what will happen if this configuration will applied in the only NIC available.
For the first situation, aforementioned, little will happen depending what interface is being used, that is, if the opennebula service has not been configured with some IP of this interface, and the SSH service don't running through that interface either, then the brigde configuration will be ocurr without any freeze screen in your remote shell. Although, if those services running through this interface, then you have the same issues when only one interface is available.
