-
Notifications
You must be signed in to change notification settings - Fork 39
Web Arena Setup Guide For Windows
##1. VM Environment
Upon registration as a submitter or reviewer you will need to request an Arena VM in order to make Web Arena functioning properly. To request your image, please post in the corresponding challenge forum.
Before requesting your VM, you need to ensure that you have an SSH key created and in your member profile. Instructions to do so are here:
http://www.topcoder.com/wiki/display/projects/Generate+SSH+Key,
And instructions to connect afterwards are here:
http://www.topcoder.com/wiki/display/projects/Connect+Using+SSH+Key.
Once you get your VM IP, you need to add the following line in your hosts file as shown in section 2.13
<<vm-ip>> tc.cloud.topcoder.com
-
Go to http://nodejs.org/download and download 32-bit or 64-bit NodeJS installer based on your system.

-
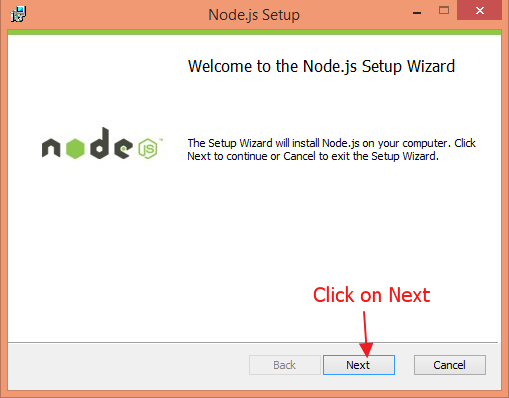
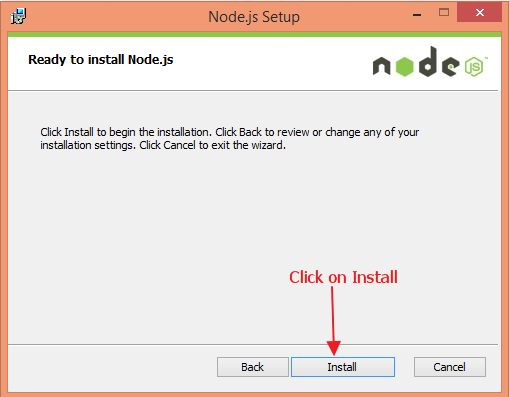
Click the downloaded installer and install NodeJS on your system.




-
Once the installation is done, open the command prompt and run following commands to verify the successful installation as shown below:
node –v
npm –v
These commands should display version of the installed node and npm
-
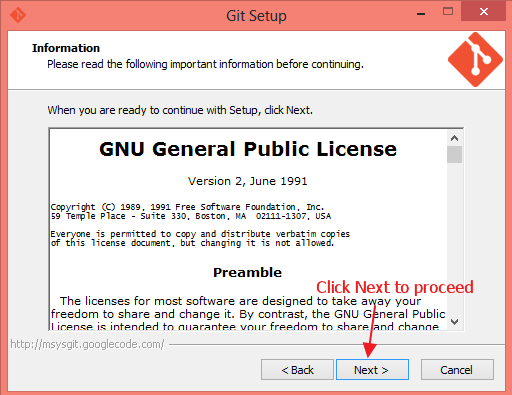
Next go to http://git-scm.com/download/win and download Git installer. Click the installer and install Git as below:


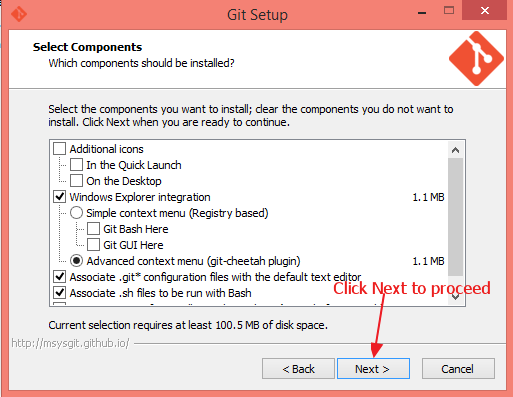


-
After finishing the setup, verify the installation by typing git in the windows command prompt as below (if it is not installed or not in the path it will print command not found):

-
Go to a directory of choice where you want to check out the code from Github and run following command to clone the arena-web:
-
Now you can go to the folder where you cloned the repository in step 6 & you should be able to see the source code in the arena-web folder.
-
Next, install bower globally by running following command in the command prompt:
npm install –g bower

Once bower is successfully installed you should be able to see screen something as below without any errors:
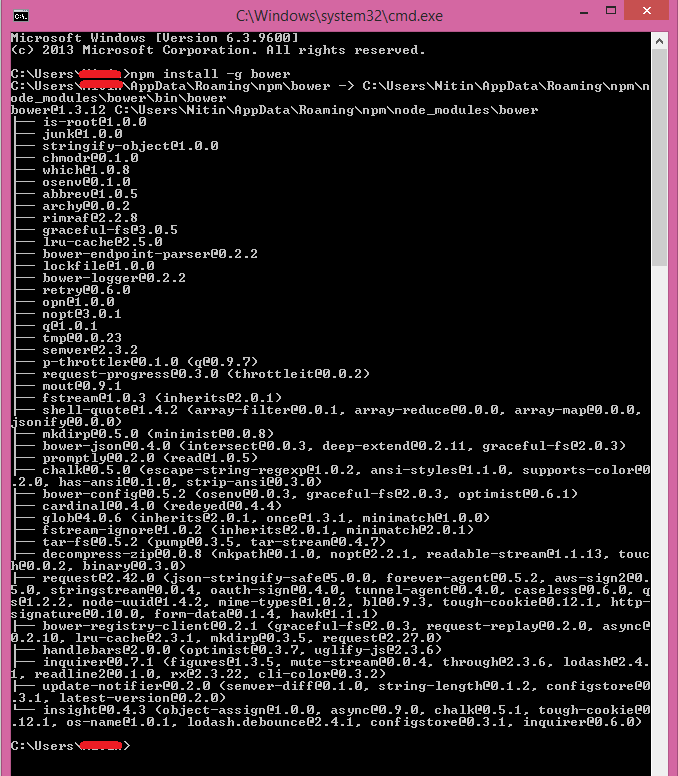
-
Now install grunt-cli in the same way using following command:
npm install –g grunt-cli

grunt-cli is successfully installed you should be able to see screen something as below without any errors:

-
Now to install all the dependencies, again go inside arena-web folder and run following command in the root directory where package.json is present:
npm install
[[setup/windows/arena_install_dependency.png|setup guide]]
If you are using bower for first time it may ask some additional parameters like report anonymous usage, press y or n based on your preference.
[[setup/windows/arena_dependency_install_progress.png|setup guide]]
Once everything is successfully installed, you should be able to see a screen as below without any errors:
[[setup/windows/arena_dependency_install_done.png|setup guide]]
-
Now, open the command prompt and navigate to config folder inside arena-web. Run following command to set all configuration properties as the environment variables:
dev-local

-
Once all the properties all set, go to parent directory arena-web and run grunt in the same window. This will build the application.
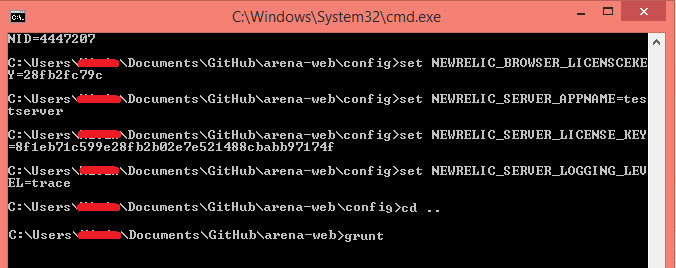
This will perform the following tasks: a. Clean the build directory. b. Populate config.js with the environment variables. c. Package all the JS code into a single file using Browserify and put it in build/js/bundle.js. d. Package and minify all css code into a single file using the cssmin grunt plugin, and put it in build/css/bundle.css. e. Copy all html and image file over to build.
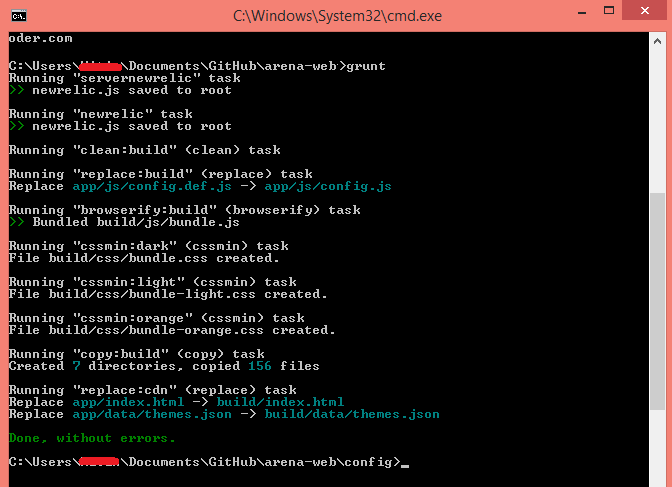
Also you we see a new build folder in arena-web directory if you are running it first time.

Also, if you want to release the app run: grunt release
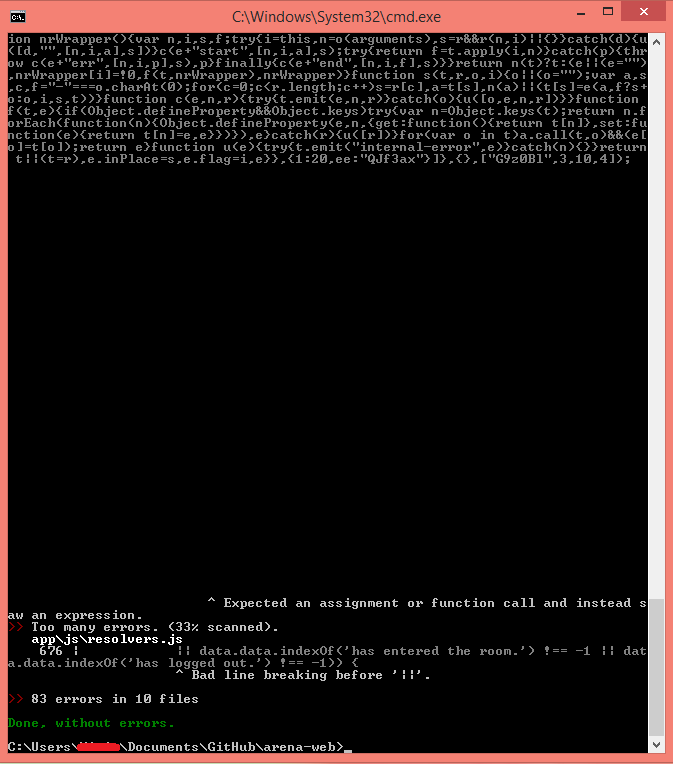
Release is similar to build, but it works out of the build directory and minifies all the javascript. It copies everything to release.Also, you can jslint to validate the js files. For this purpose execute following command inside web-arena folder:
grunt jslint
This will validate all js files by grunt-contrib-jshint.
-
Now edit the C:\Windows\System32\drivers\etc\hosts file to map loopback IP 127.0.0.1 to arena.cloud.topcoder.com. Also map IP address of the Topcoder VM you asked in section 6 to tc.cloud.topcoder.com. Make sure your text editor has administrator permissions, if not run it as administrator.


##3. Run the application http-server, a simple static webserver, is one of the dev dependencies. To serve the app from the build directory on port 3000, simply run following command in arena-web folder:
npm run start_win


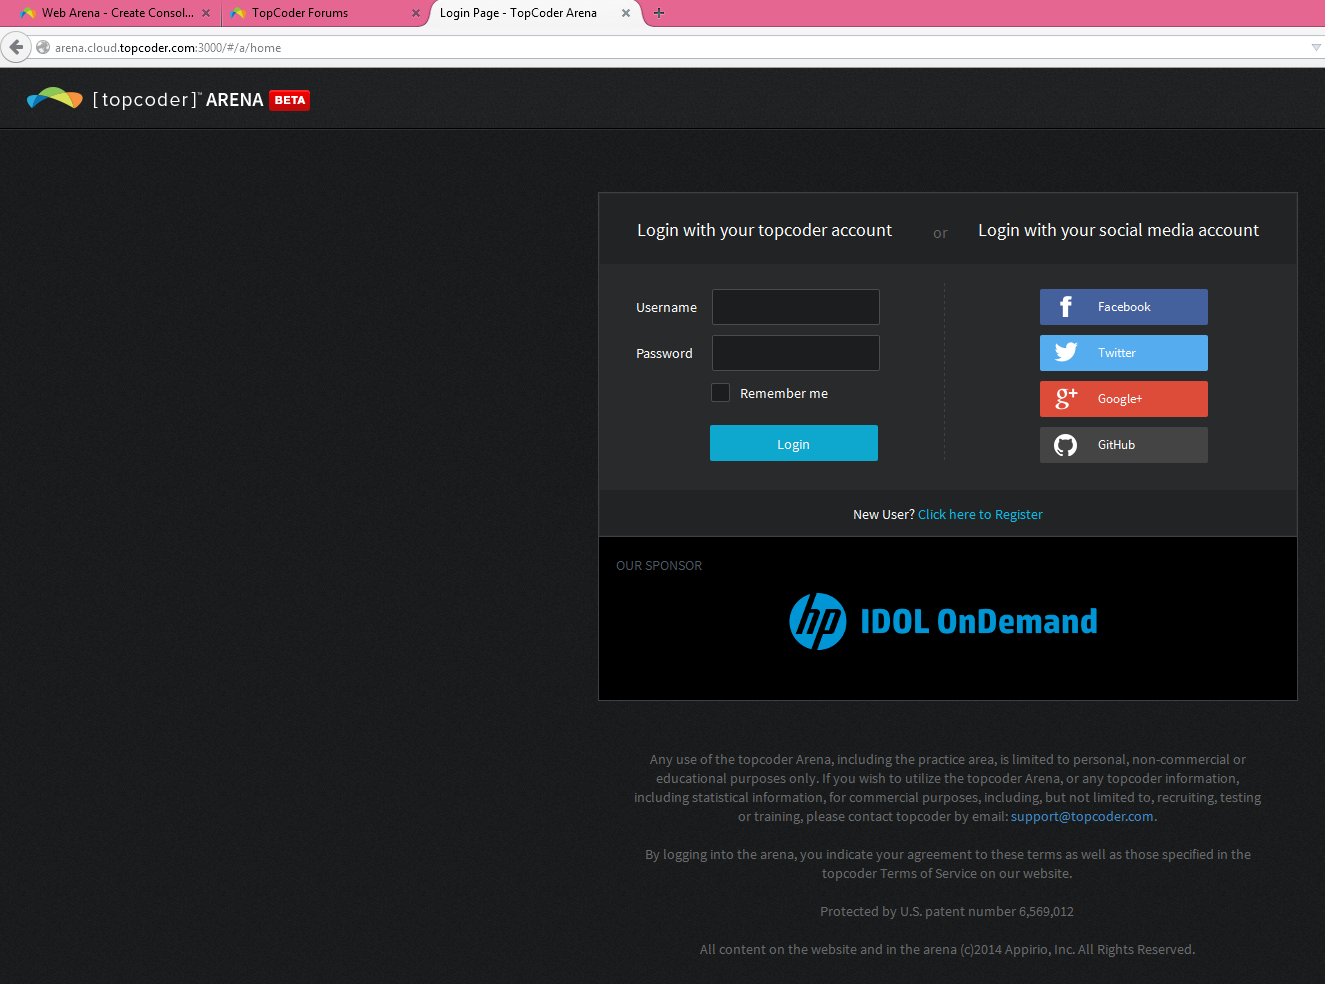
Open your browser and go to http://arena.cloud.topcoder.com:3000 to access the application.
