Installation
This guide is for a completely fresh set up of everything required to start working with the TLO project. Whilst we currently only have Windows & Mac setup, Linux steps will be similar.
NB. Windows users -- this is the (outdated but still useful - need to install Git-LFS) video showing the complete setup: https://www.dropbox.com/s/3ml5kmvh5nghj06/WindowsSetup.mp4?dl=0
- Navigate to https://account.jetbrains.com/login and sign in or create an account, making sure to click the verify email link
- Once logged in, navigate to https://www.jetbrains.com/student/ to get a staff/student license,
scrolling down the page to the
Apply Nowbutton. Most likely using your university email and a picture of your university ID card. The process should take a couple of days. In the meantime you can use the professional version of pycharm as a trial evaluation. - For those without access to a school account, the PyCharm Community Edition can be used. It can be downloaded from this link (https://www.jetbrains.com/pycharm/download/other.html). Although the community edition has a few limitations, it should suffice for most of the TLOModel requirements. So far, all tests and processes using the community edition have been successful.
MacOS users already have git installed. Windows users should install Git for Windows.
Both MacOS and Linux users need to install Git LFS to handle large files in the repository.
- Navigate to https://www.anaconda.com/download and provide your email to activate the download page below. While the model should be able to run on Python 3.6 or higher, the recommended version for Python is 3.11; this will ensure consistency with the entire development team. Based on the operating system you are running, click the download link under the OS of your choice, in this case, Mac OS.

- Run the installer, clicking continue and accepting as required, using the default settings
- Navigate to (https://www.jetbrains.com/pycharm/download/other.html)
- Click the
Downloadbutton underneath the Professional version
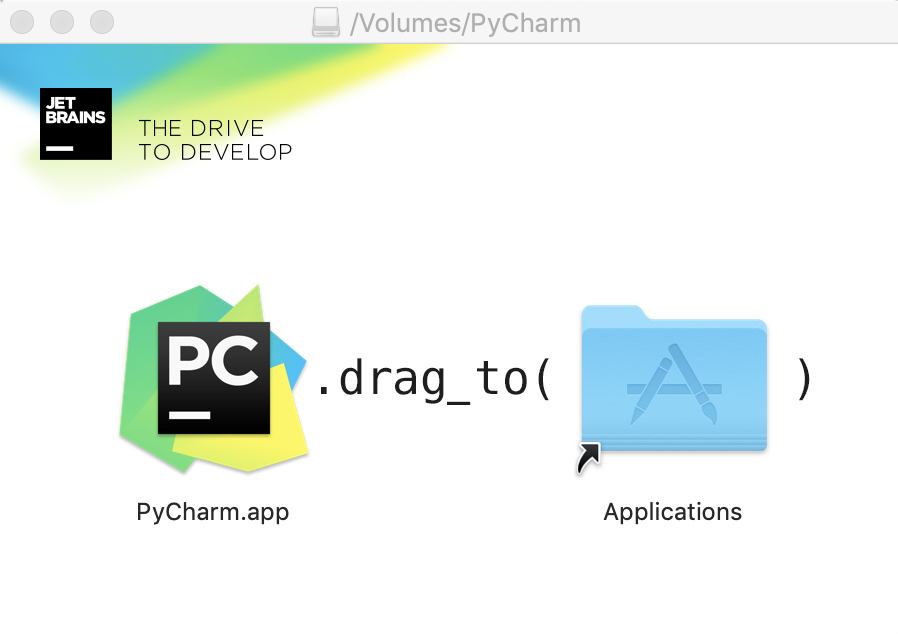
- Open the image and drag PyCharm into your Applications Folder
- Open PyCharm.app from your Applications folder, accepting the user agreement and clicking
Skip Remaining and Set Defaults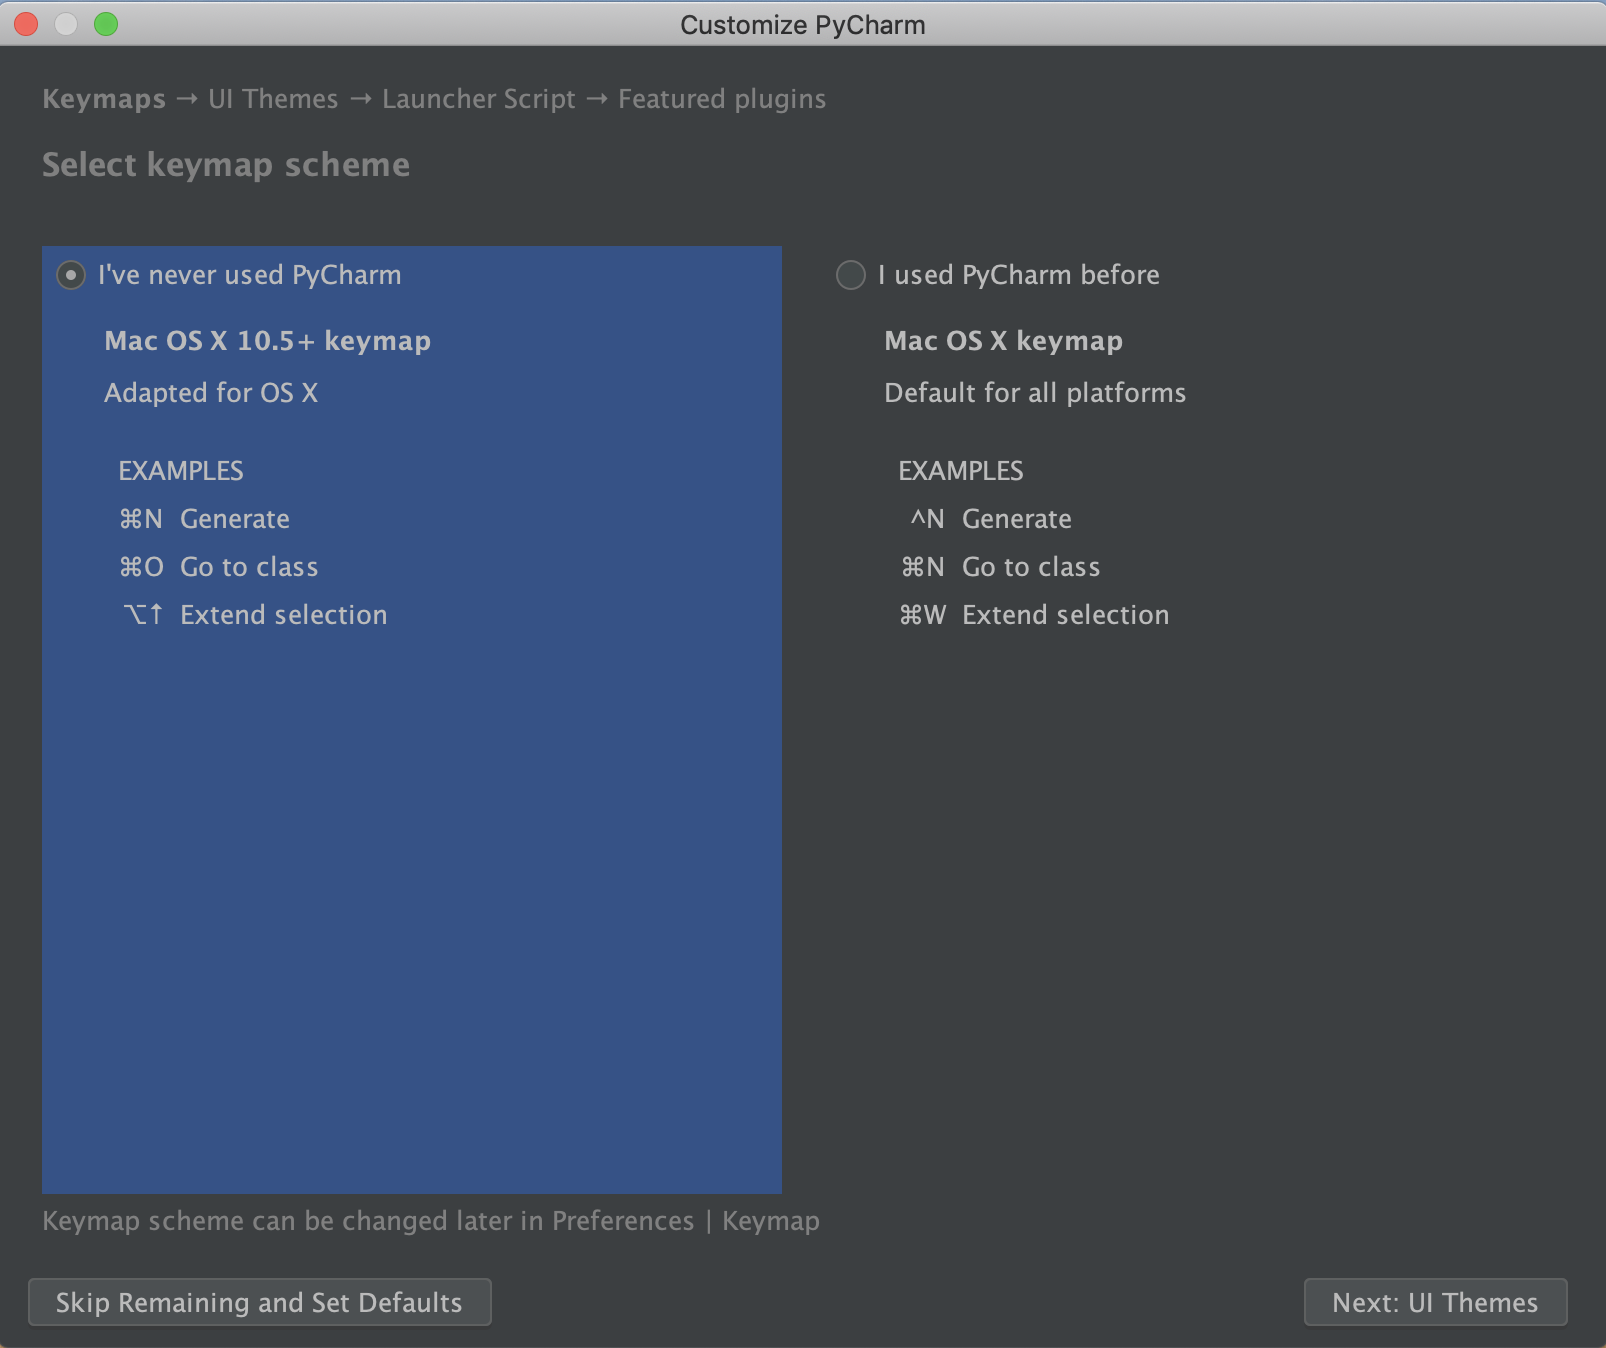
- A License Activation window will open, if you already have a license then enter in your login details
that you created your IntelliJ/PyCharm account with, otherwise click
evaluate for free(You can activate PyCharm later by going to the Menu barHelp>Register)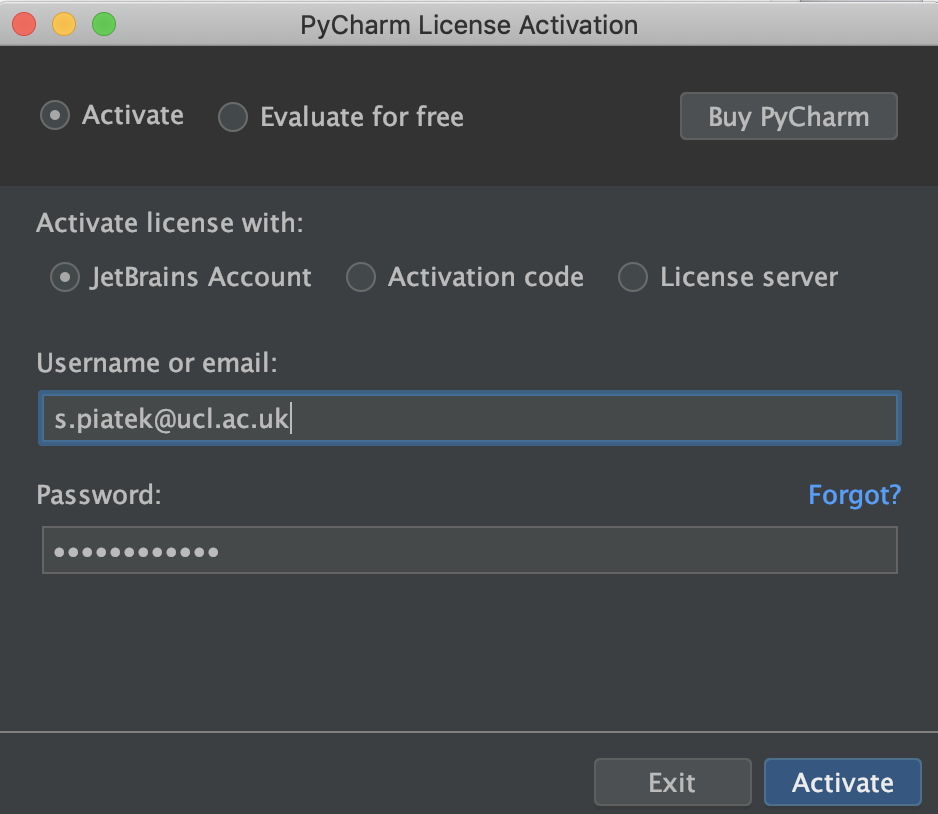
-
From the PyCharm welcome page, click
Check out from Version controland selectgit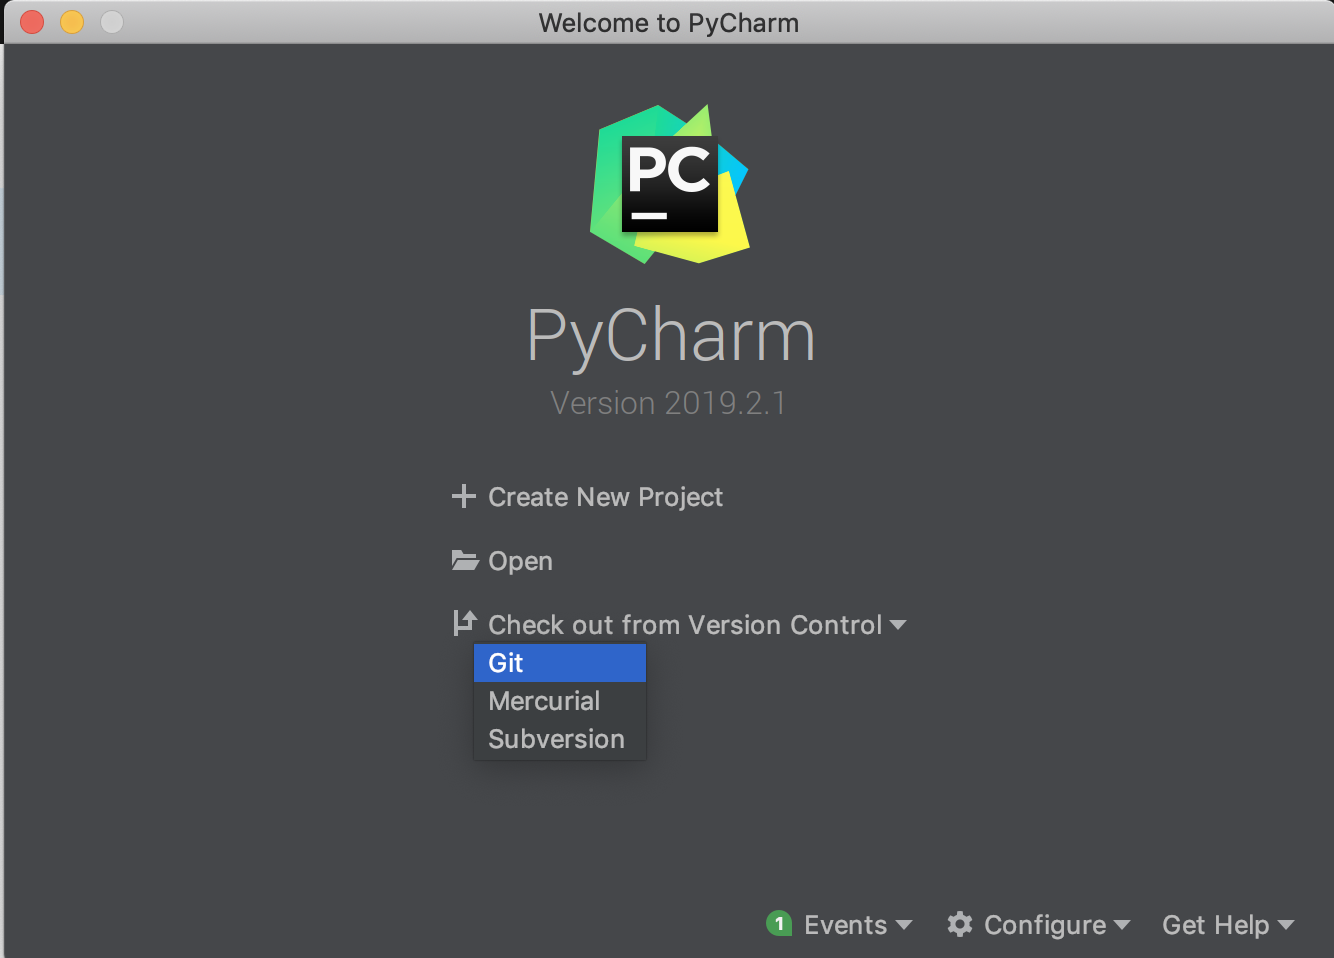
-
Select
Log in to Github...and enter in your GitHub login information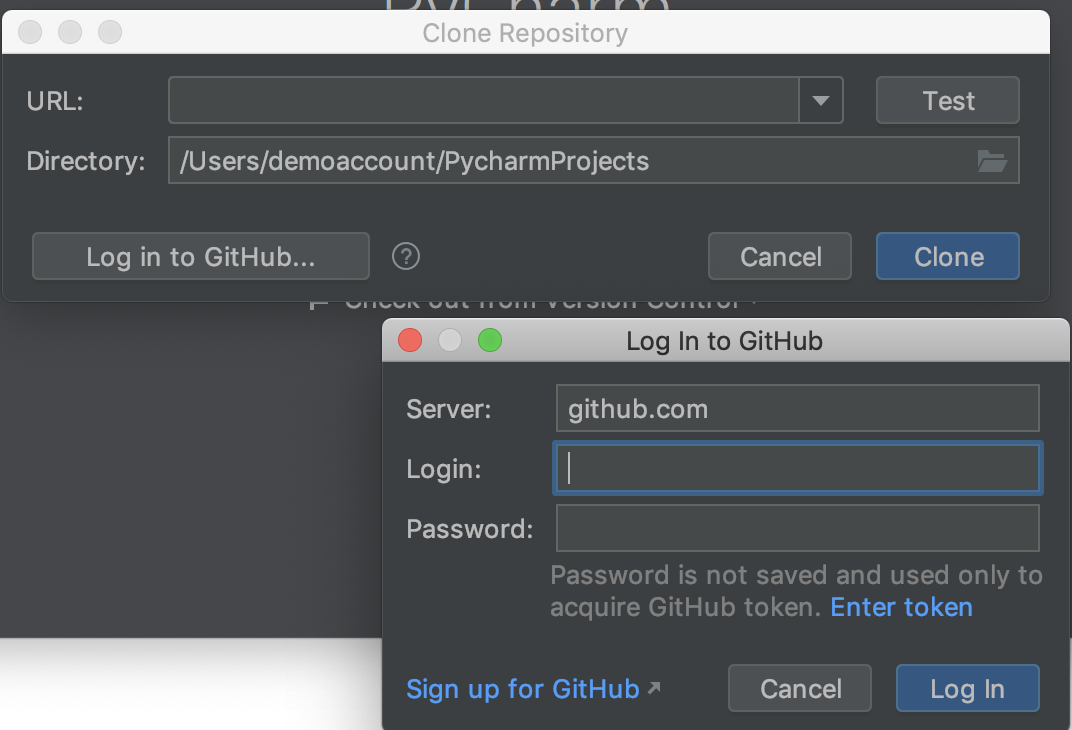
-
The TLOmodel repository should now be available from the dropdown
URLinput, select it and then click on theclonebutton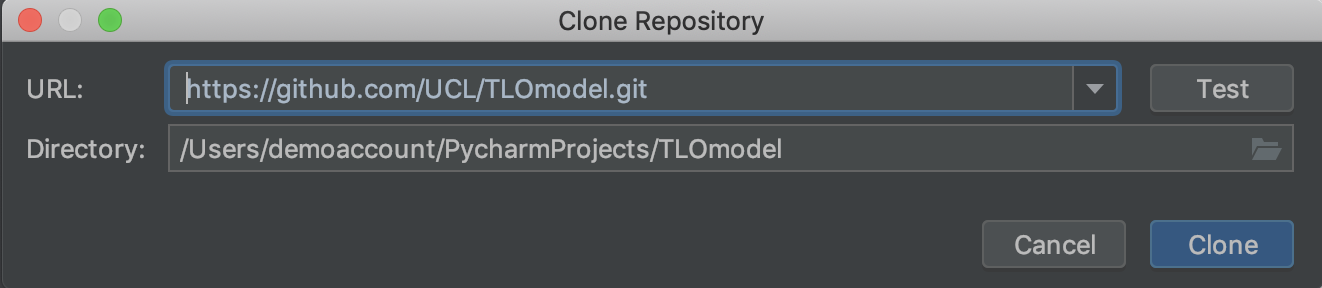
-
Click Yes on the dialogue box asking if you want to open the TLOmodel directory
-
Click the Menu bar
PyCharm>Preferences... -
In the dialogue box navigate to
Project: TLOmodel>Project Interpreter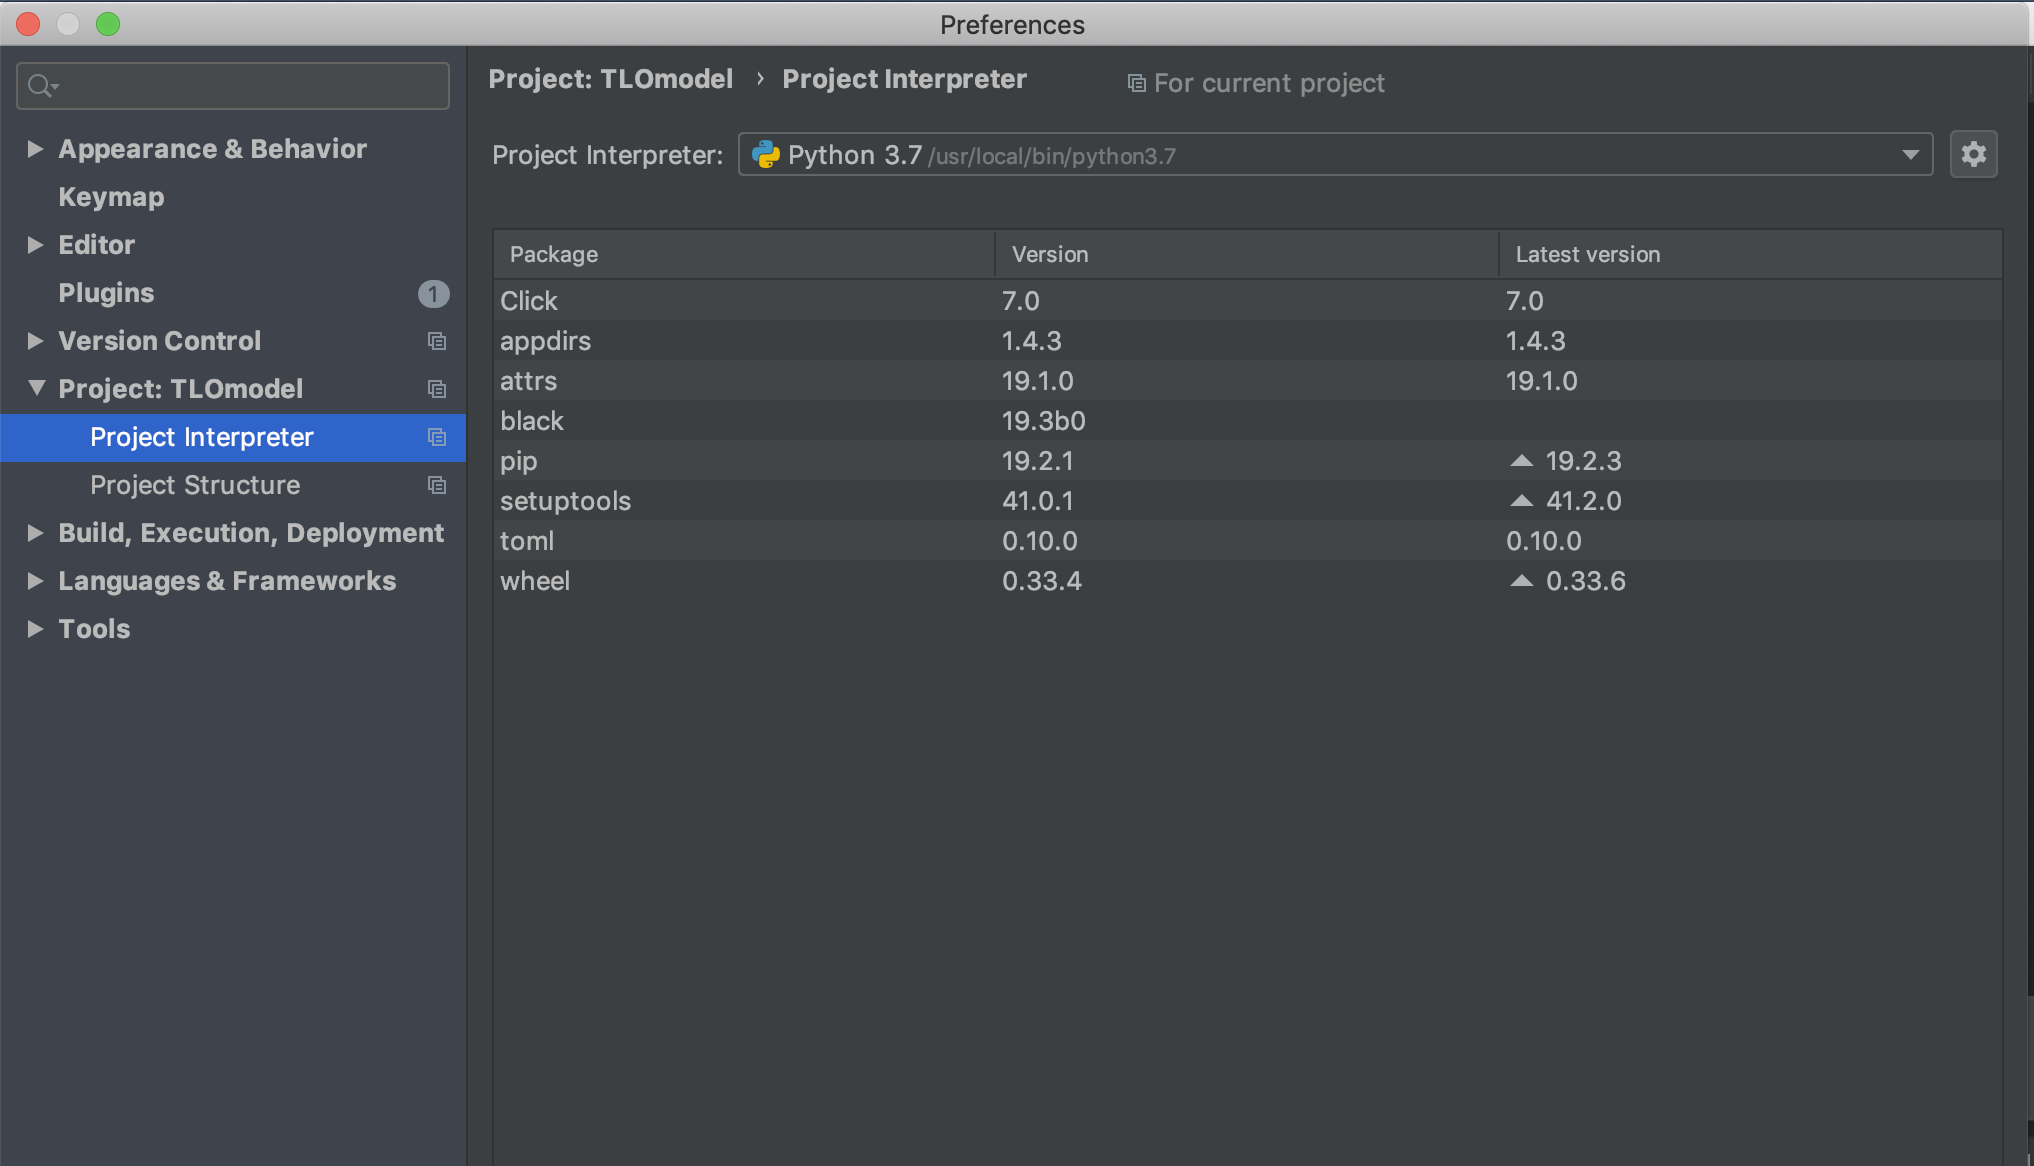
-
Click on the settings cog on the right and select
Add... -
Select
Conda environmentfrom the left hand panel, and set the Python Version to3.6(outdated: Version3.8should be used, also the print screens are outdated a bit) (now 3.11 should be used), then clickOK.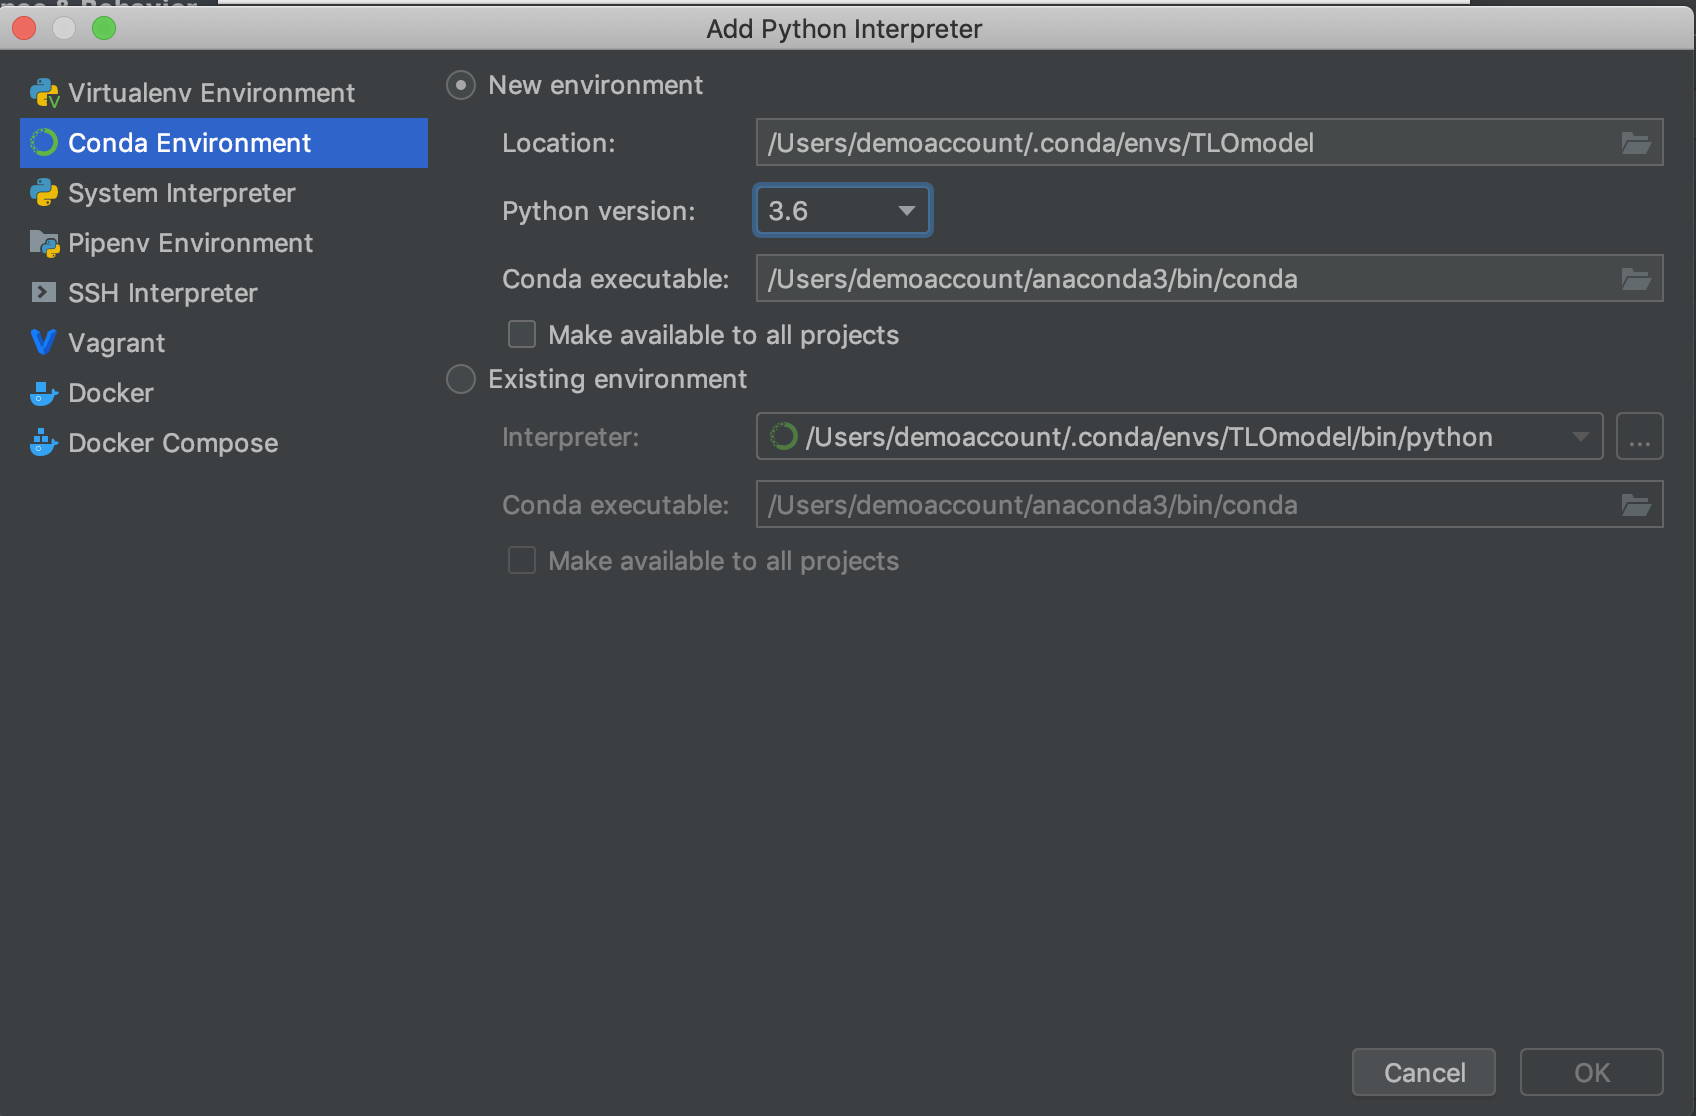
-
In the Preferences window there will be a green circle button that is highlighted, click it to remove the highlighting and then click
Apply(this will now install packages using pip, not conda).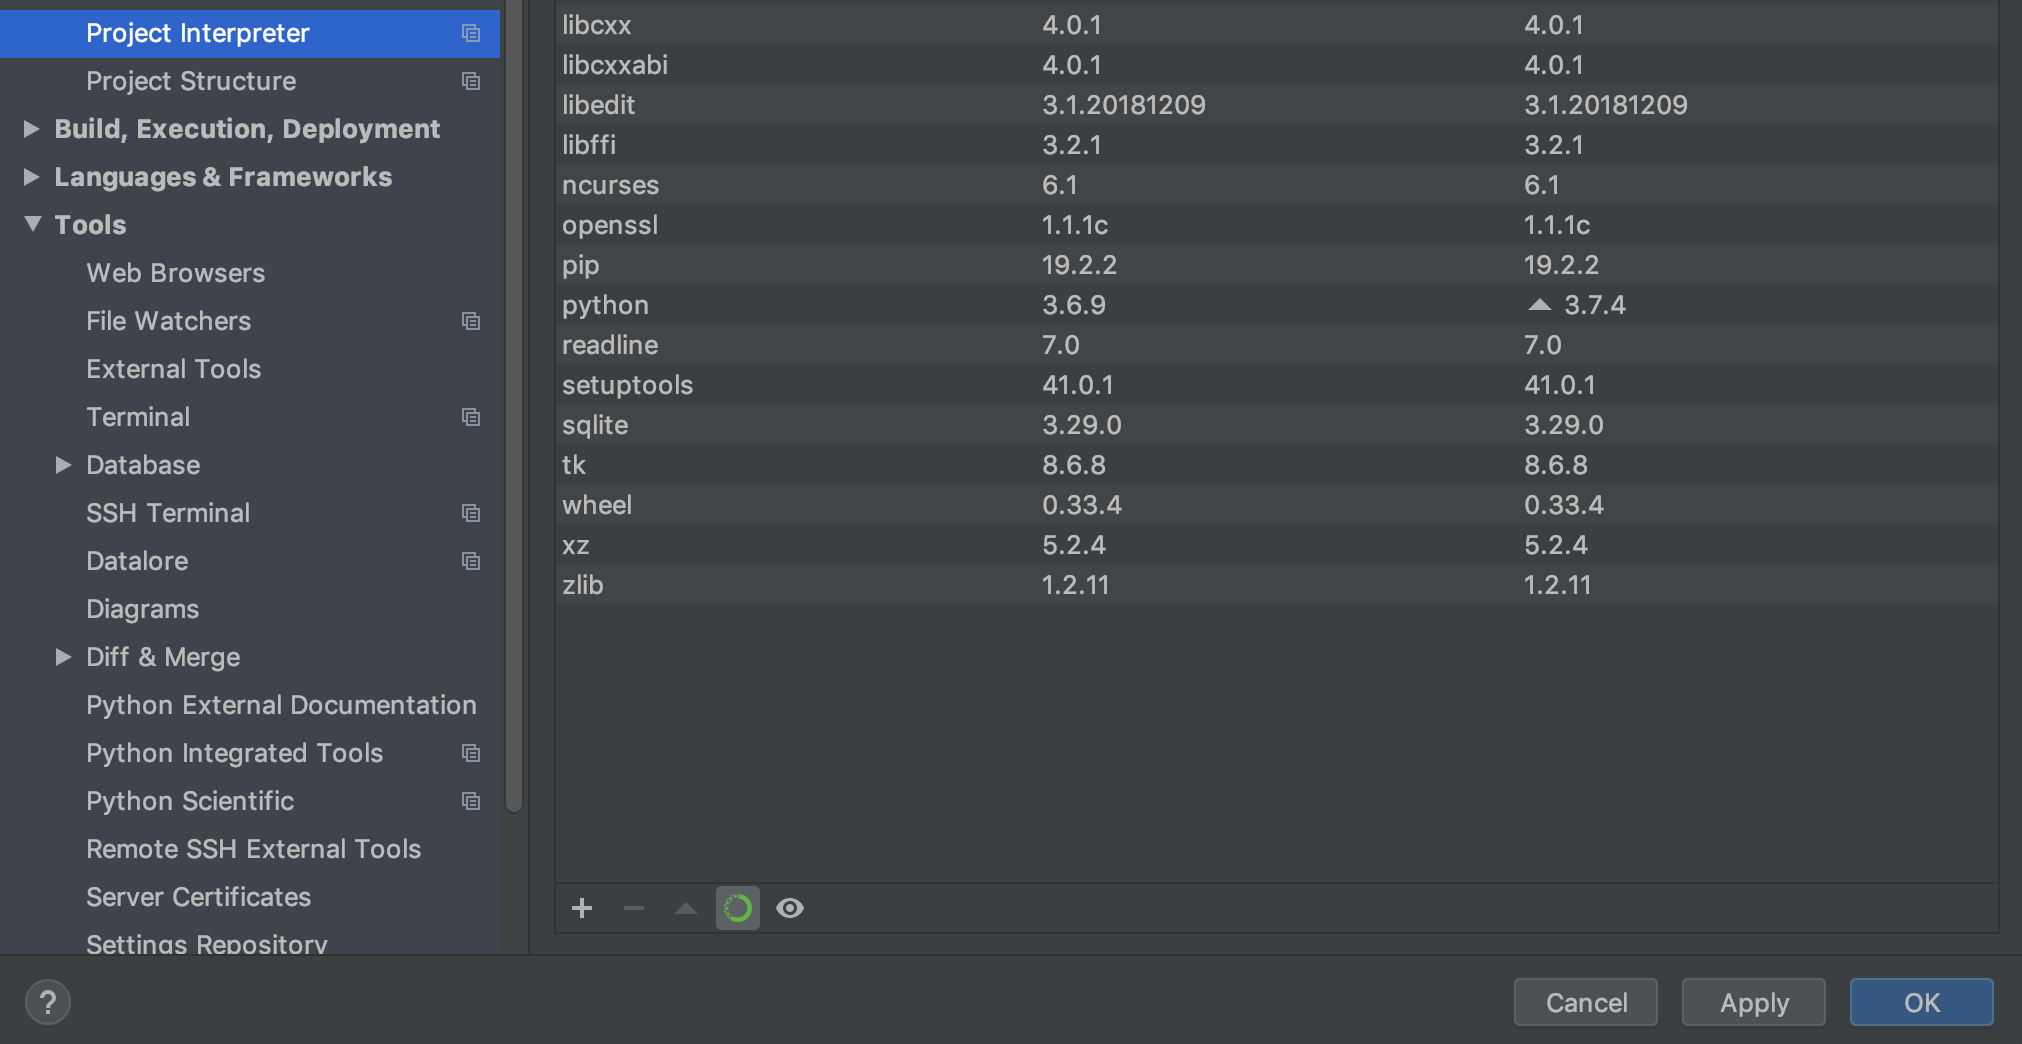
-
Still in the Preferences window, navigate to
Tools>Python Integrated Tools- Set the
Package requirements fileto be TLOmodel/requirements.dev.txt by clicking on the folder icon and browsing for the file. - Change the
Default test runnertopytestand clickOKto close the Preferences window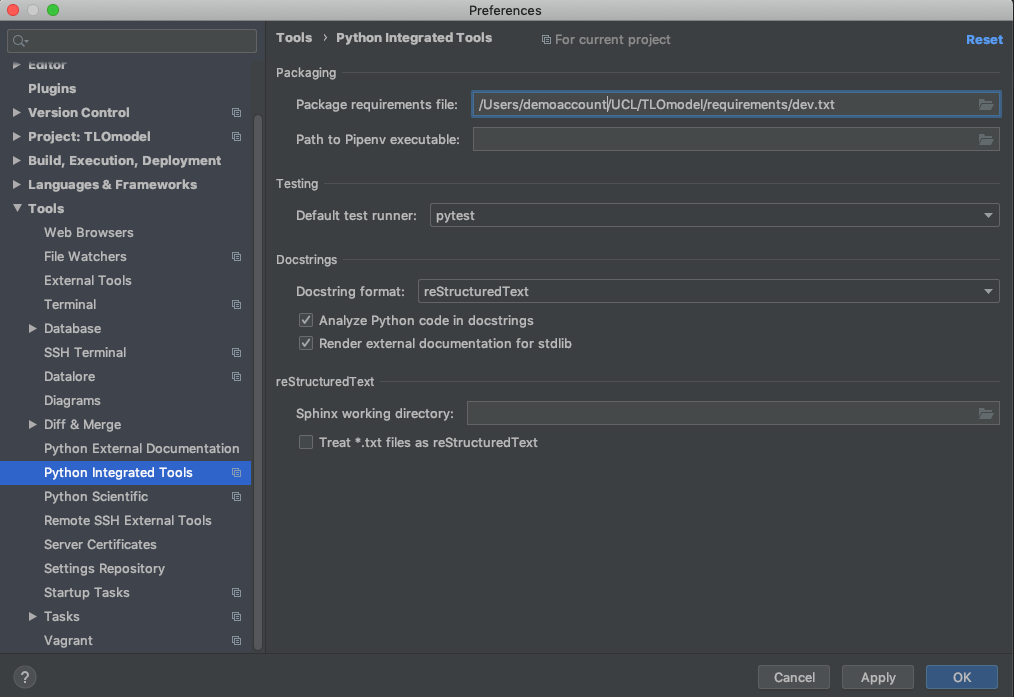
- Set the
-
Click on the
Terminalbutton at the bottom of the pycharm window and enter in the following text, hitting the enter key after each line.pip install -r requirements/dev.txt pip install -e . -
To build the documentation, run:
tox -e docs
- At the top of your PyCharm window, click on
Add Configuration...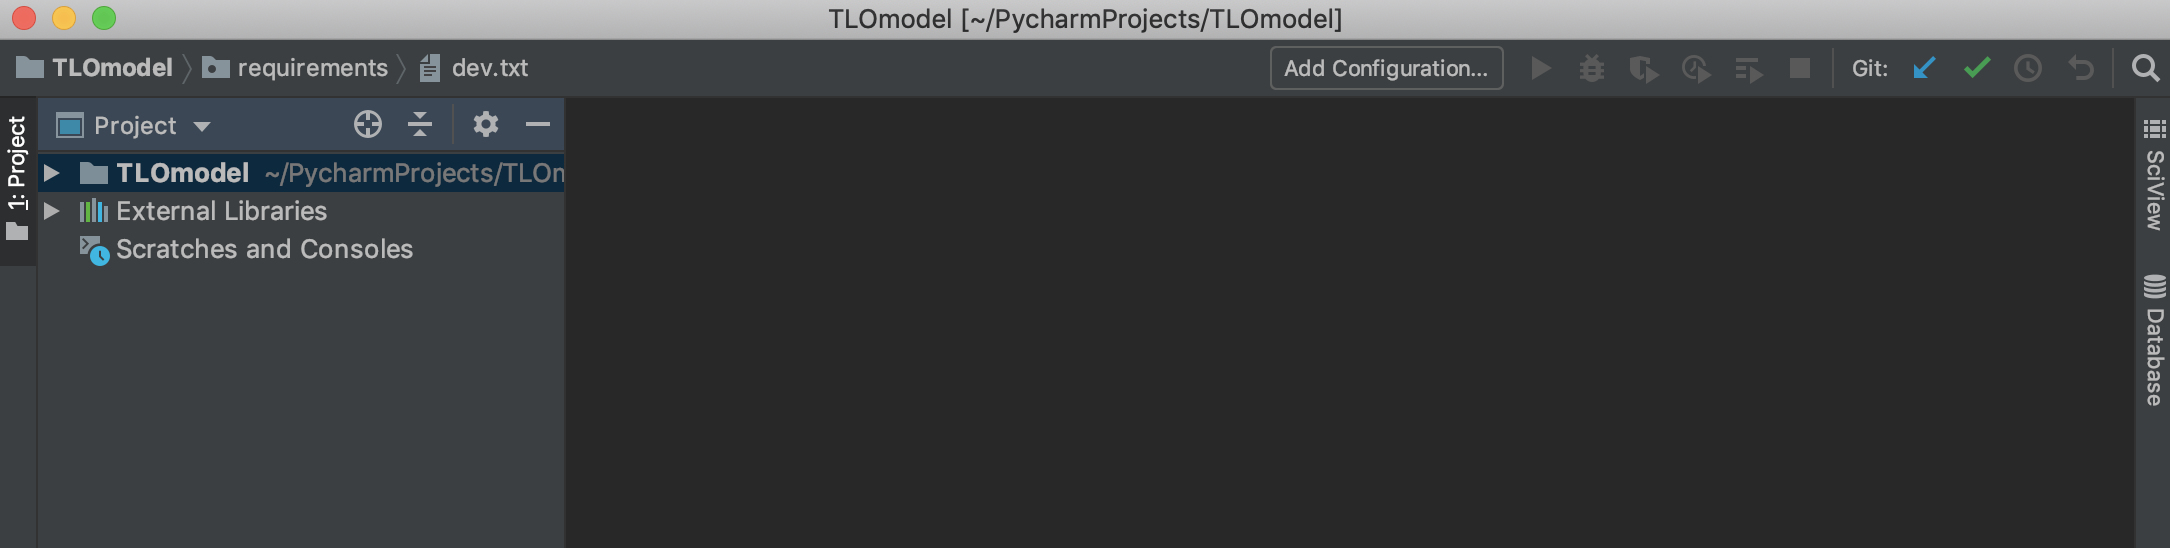
- Click on the Spanner Icon (Edit Defaults or Edit Templates)
- Select the Python Template from the side menu
- In the Working directory option, click on the folder icon and use this to set it to be the base of the TLOmodel directory and click
Apply
- Still in the
Configuration Windowfrom the last step - Click the plus icon to the top left of the Configuration window and select
Python tests>pytest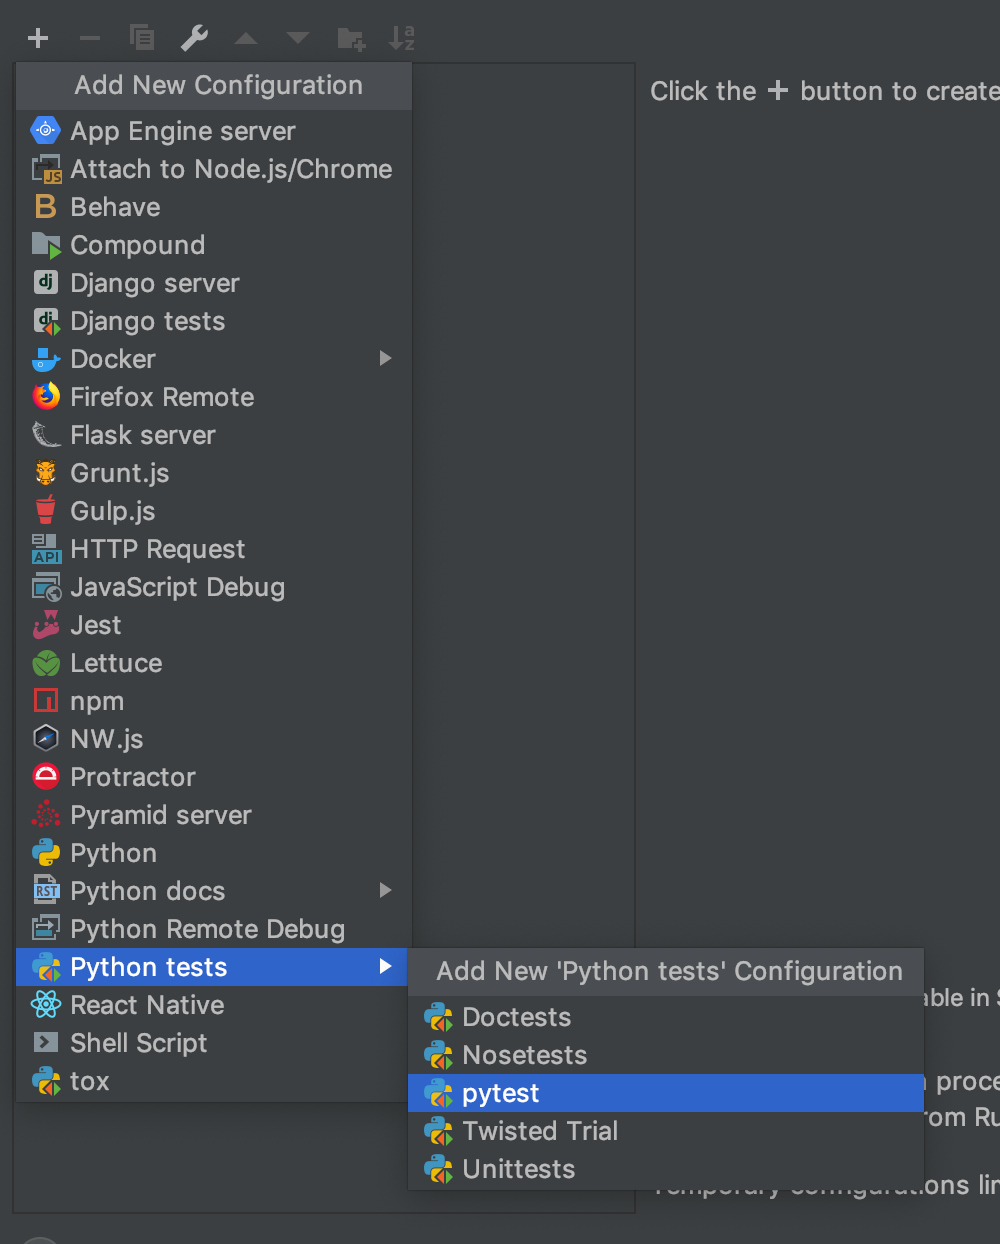
- A new configuration will appear
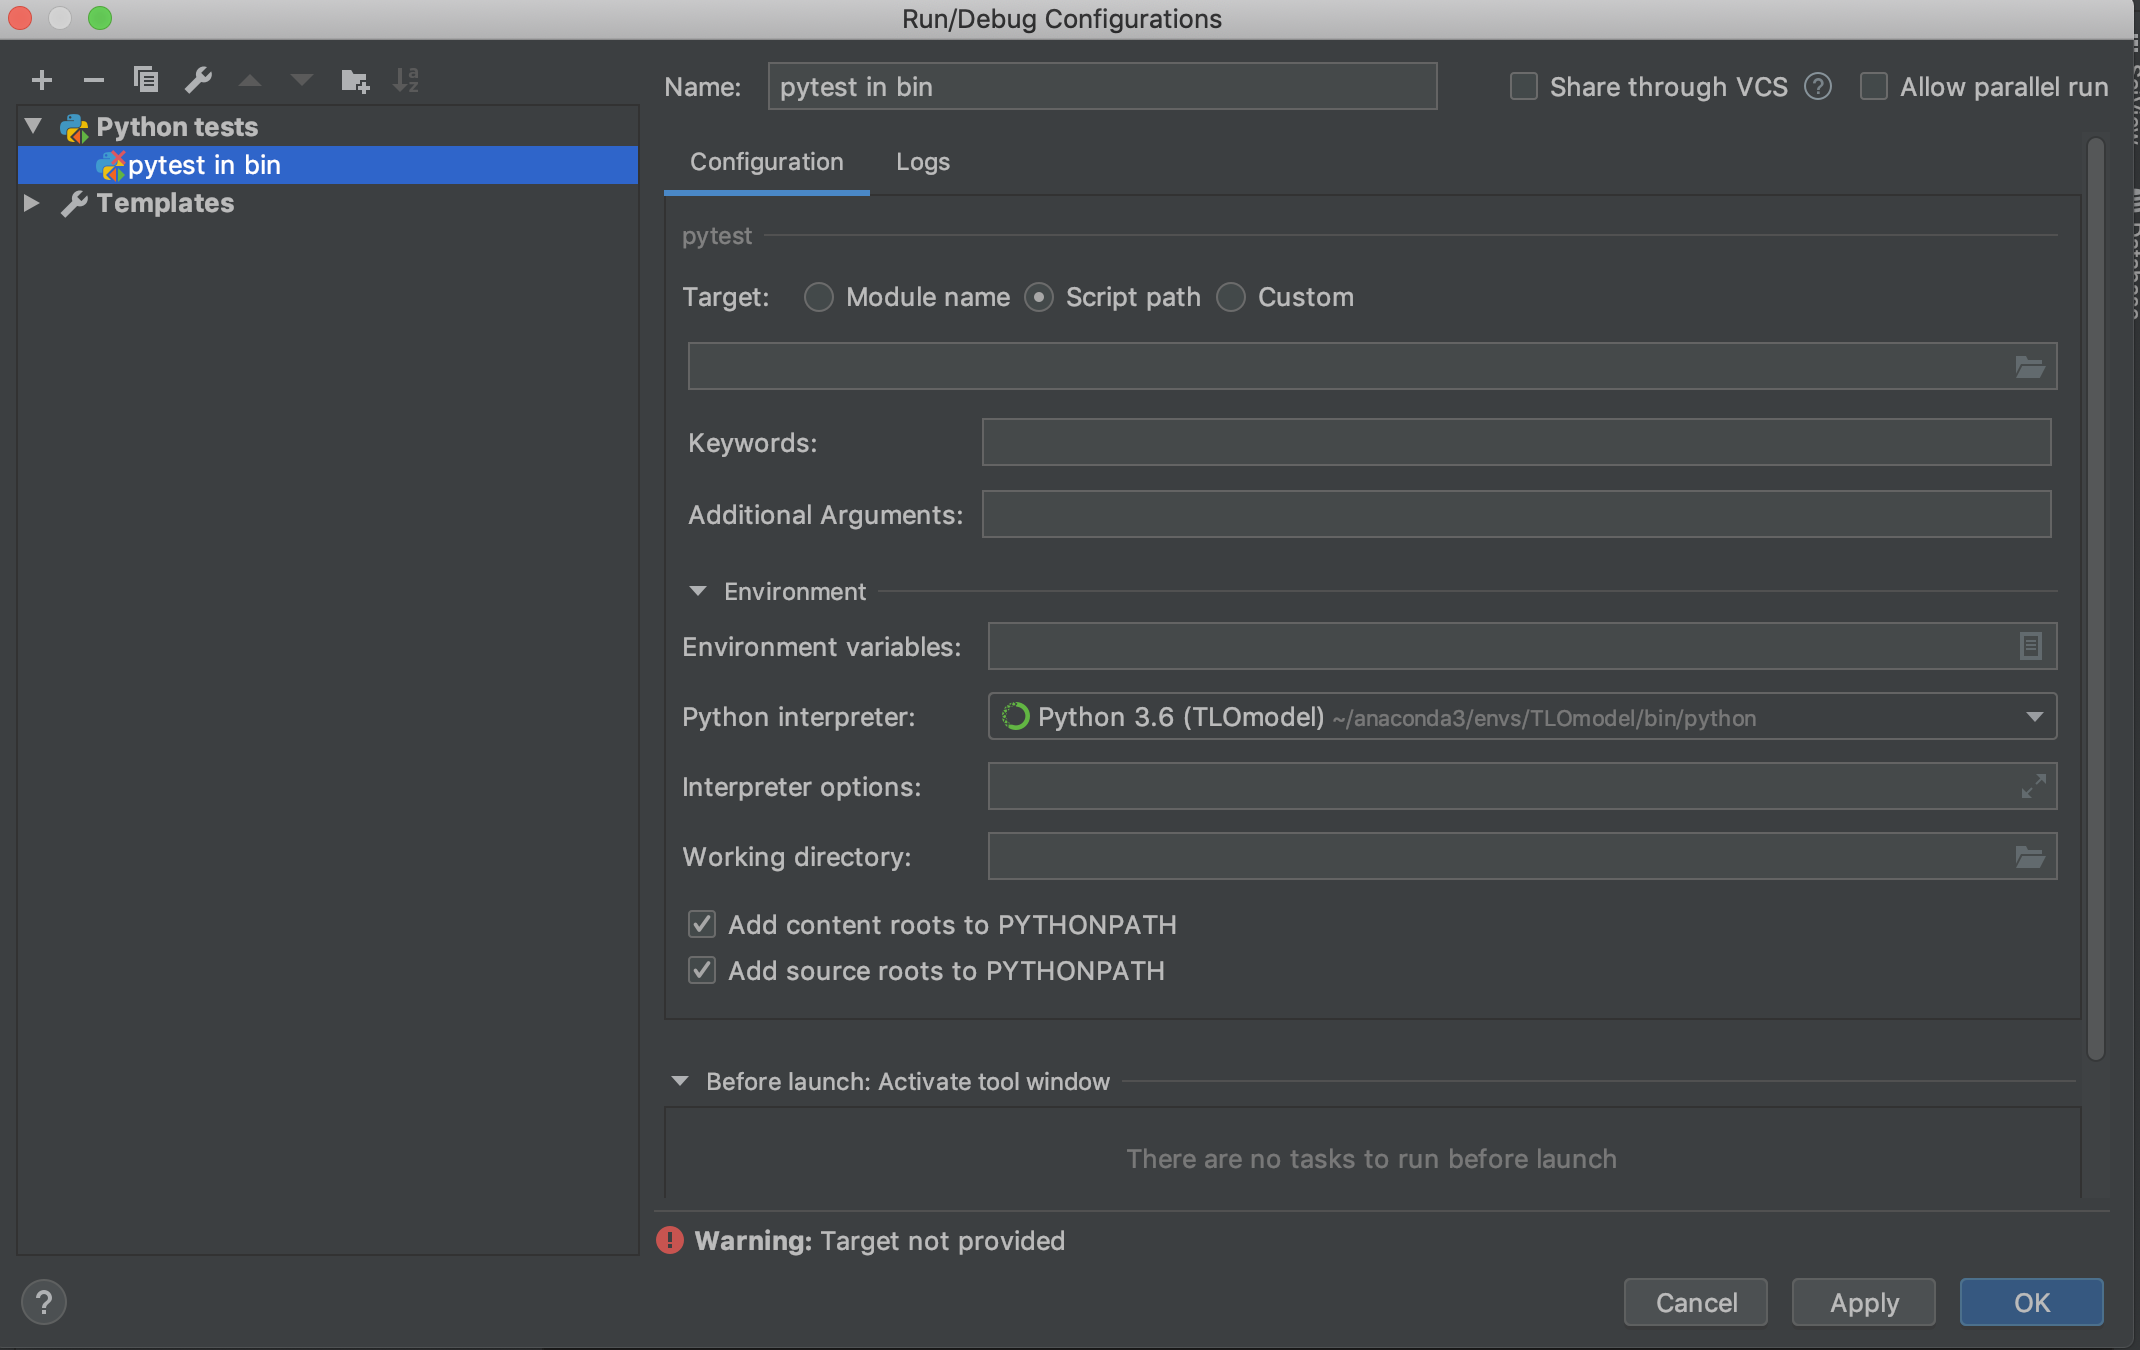
- Set the Target input by clicking on the folder icon, and select
TLOmodel>tests, click theOpenbutton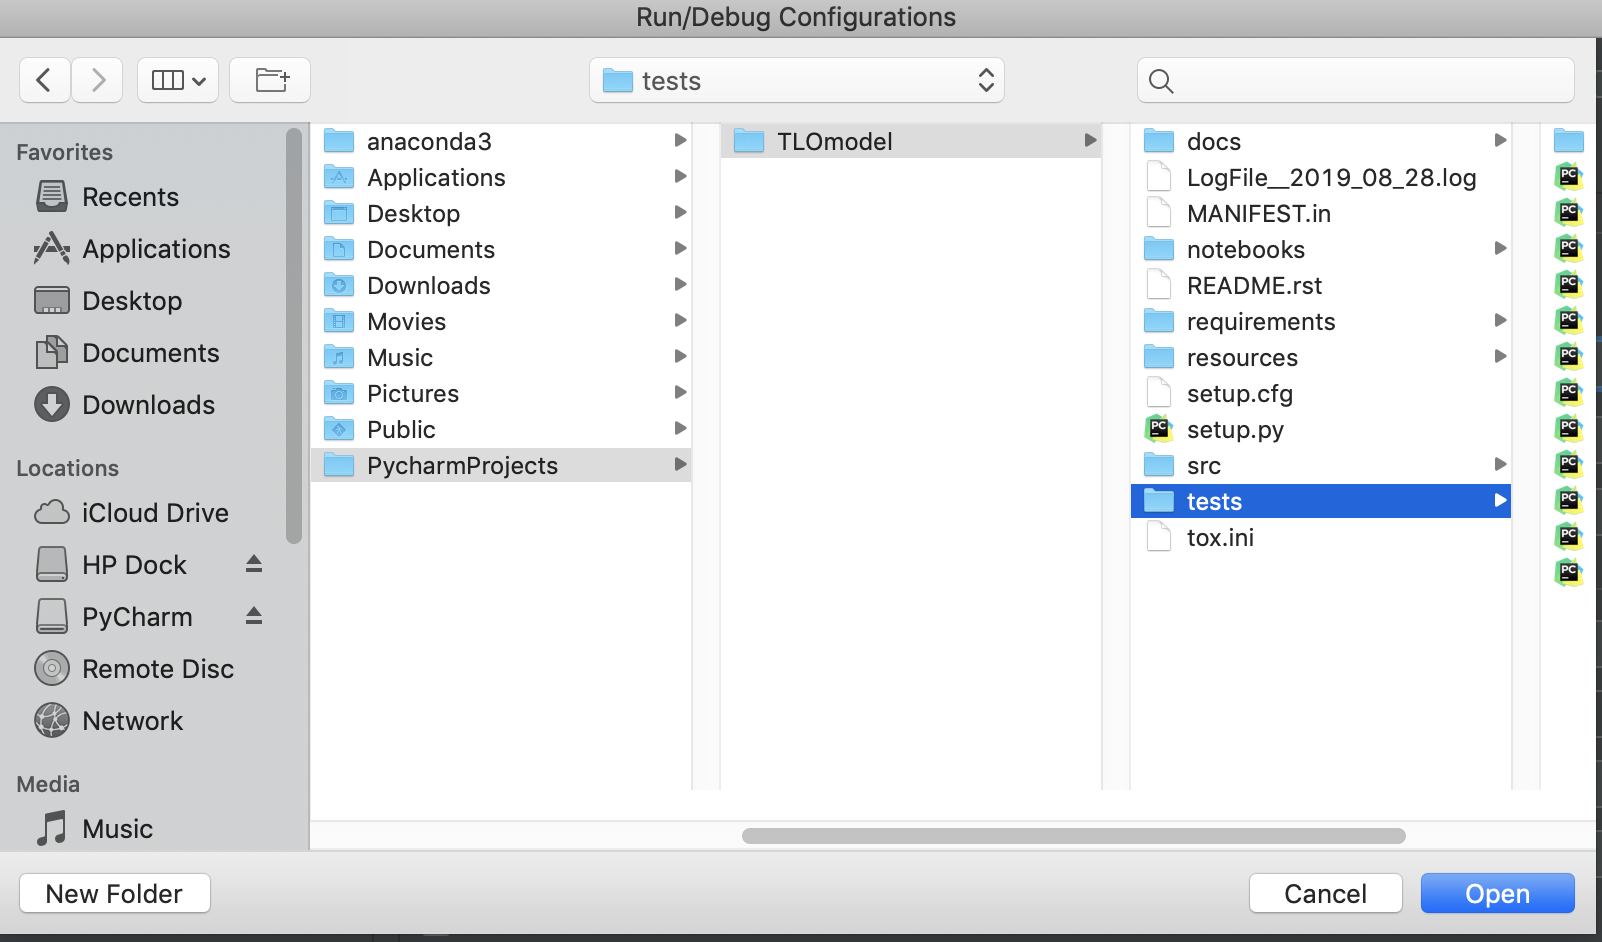
- Set up default working directory by clicking on the folder icon in the Working directory option,
and use this to set it to be the base of the TLOmodel directory and click
Apply - The configuration window should now look something like this, click
OK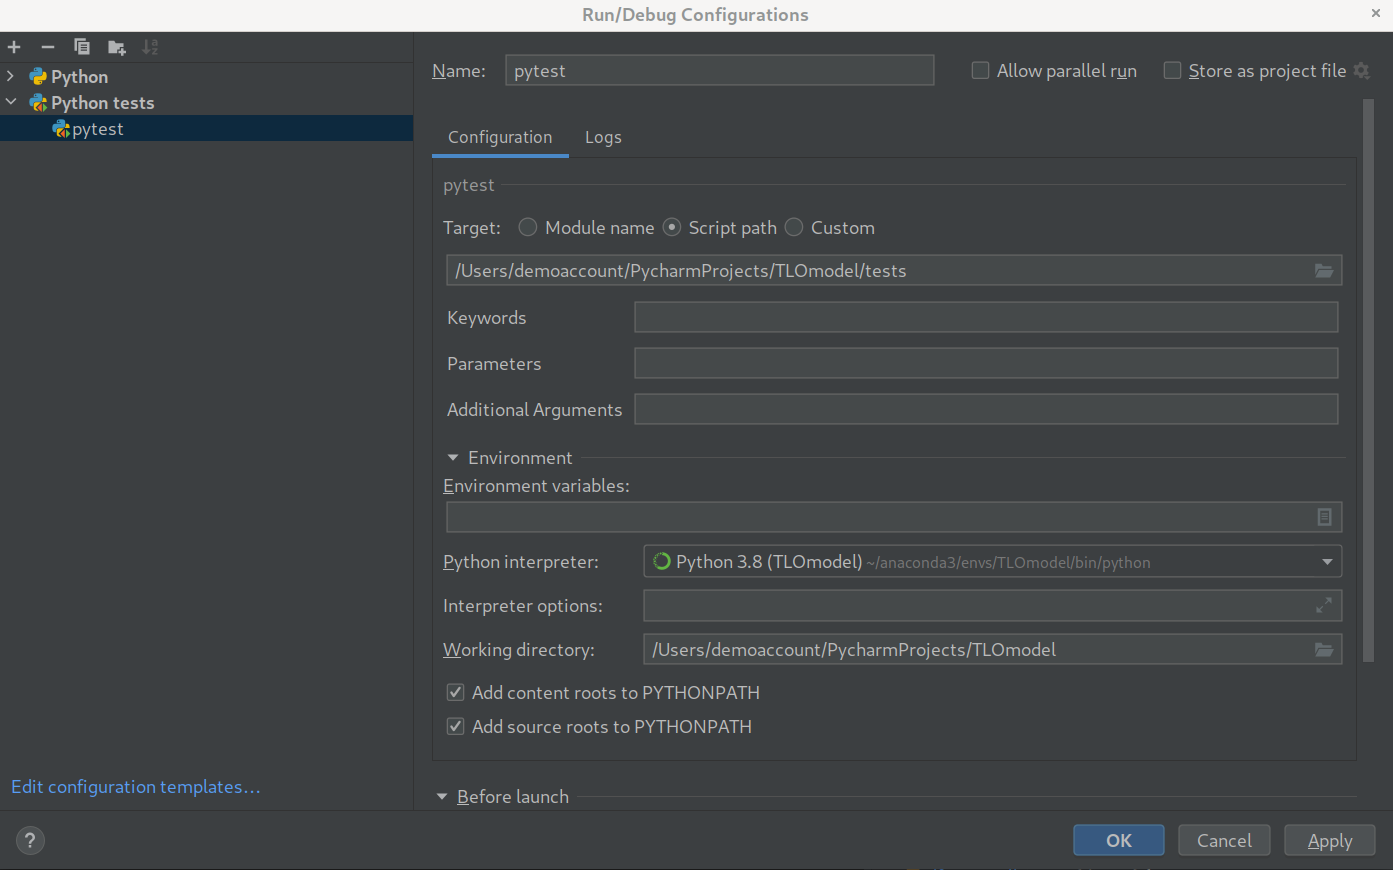
- At the top of the screen, there will now be a configuration, you can click on the green arrow to
run the tests
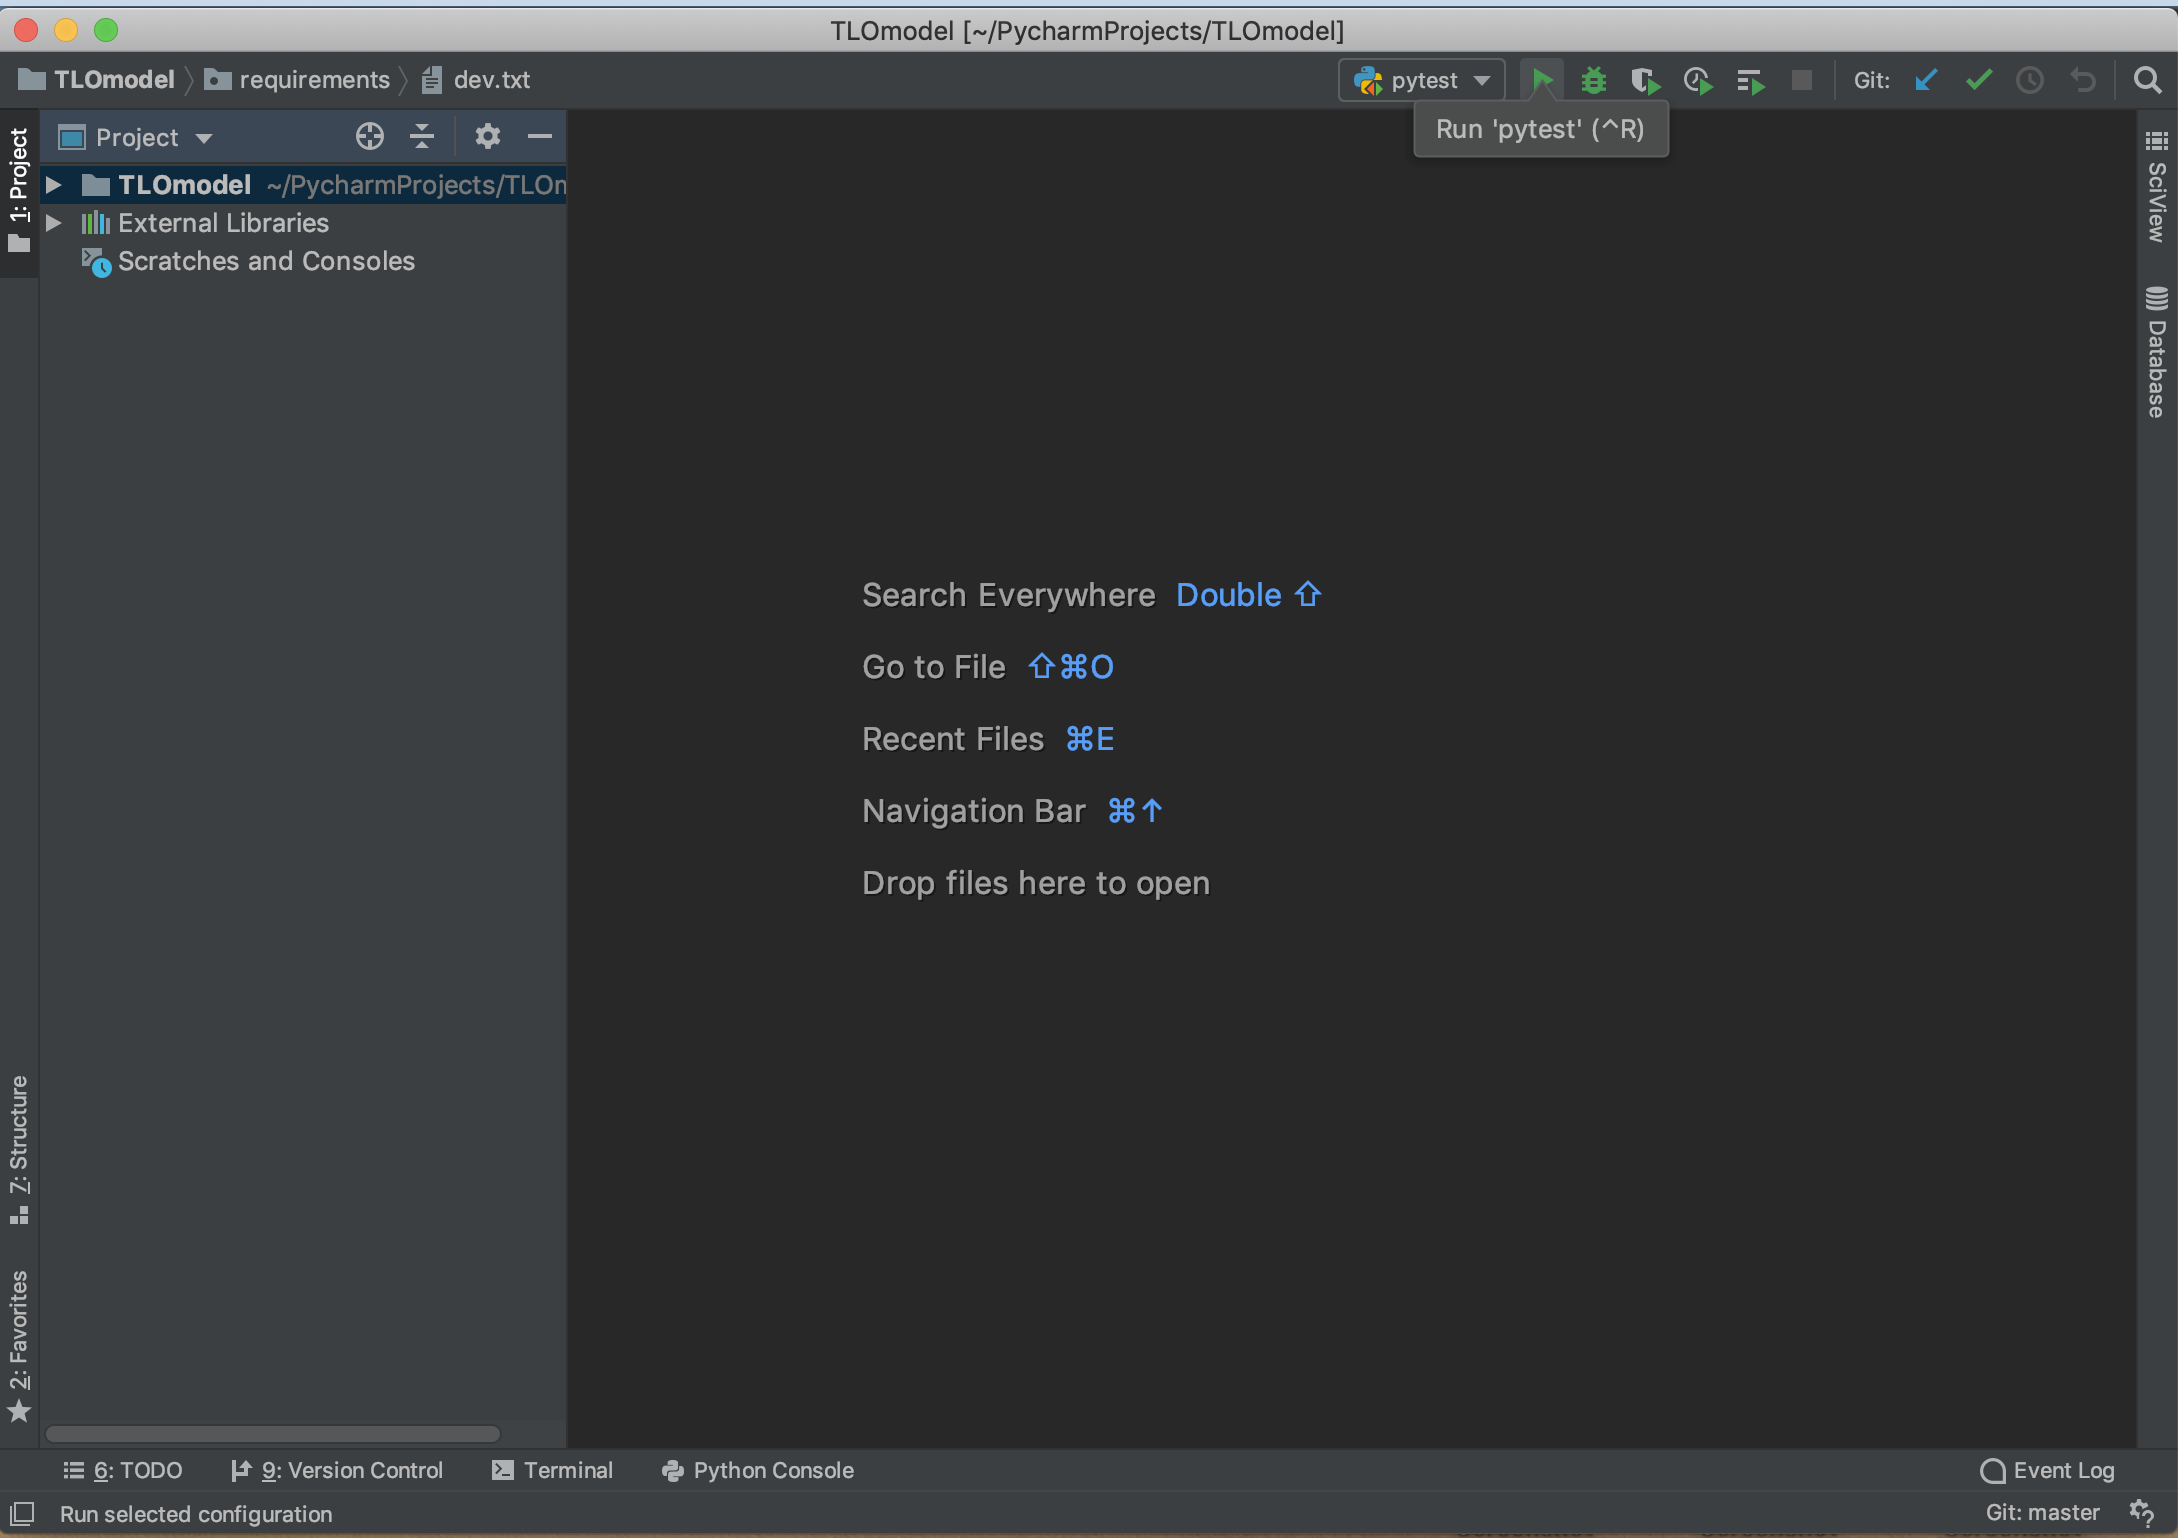
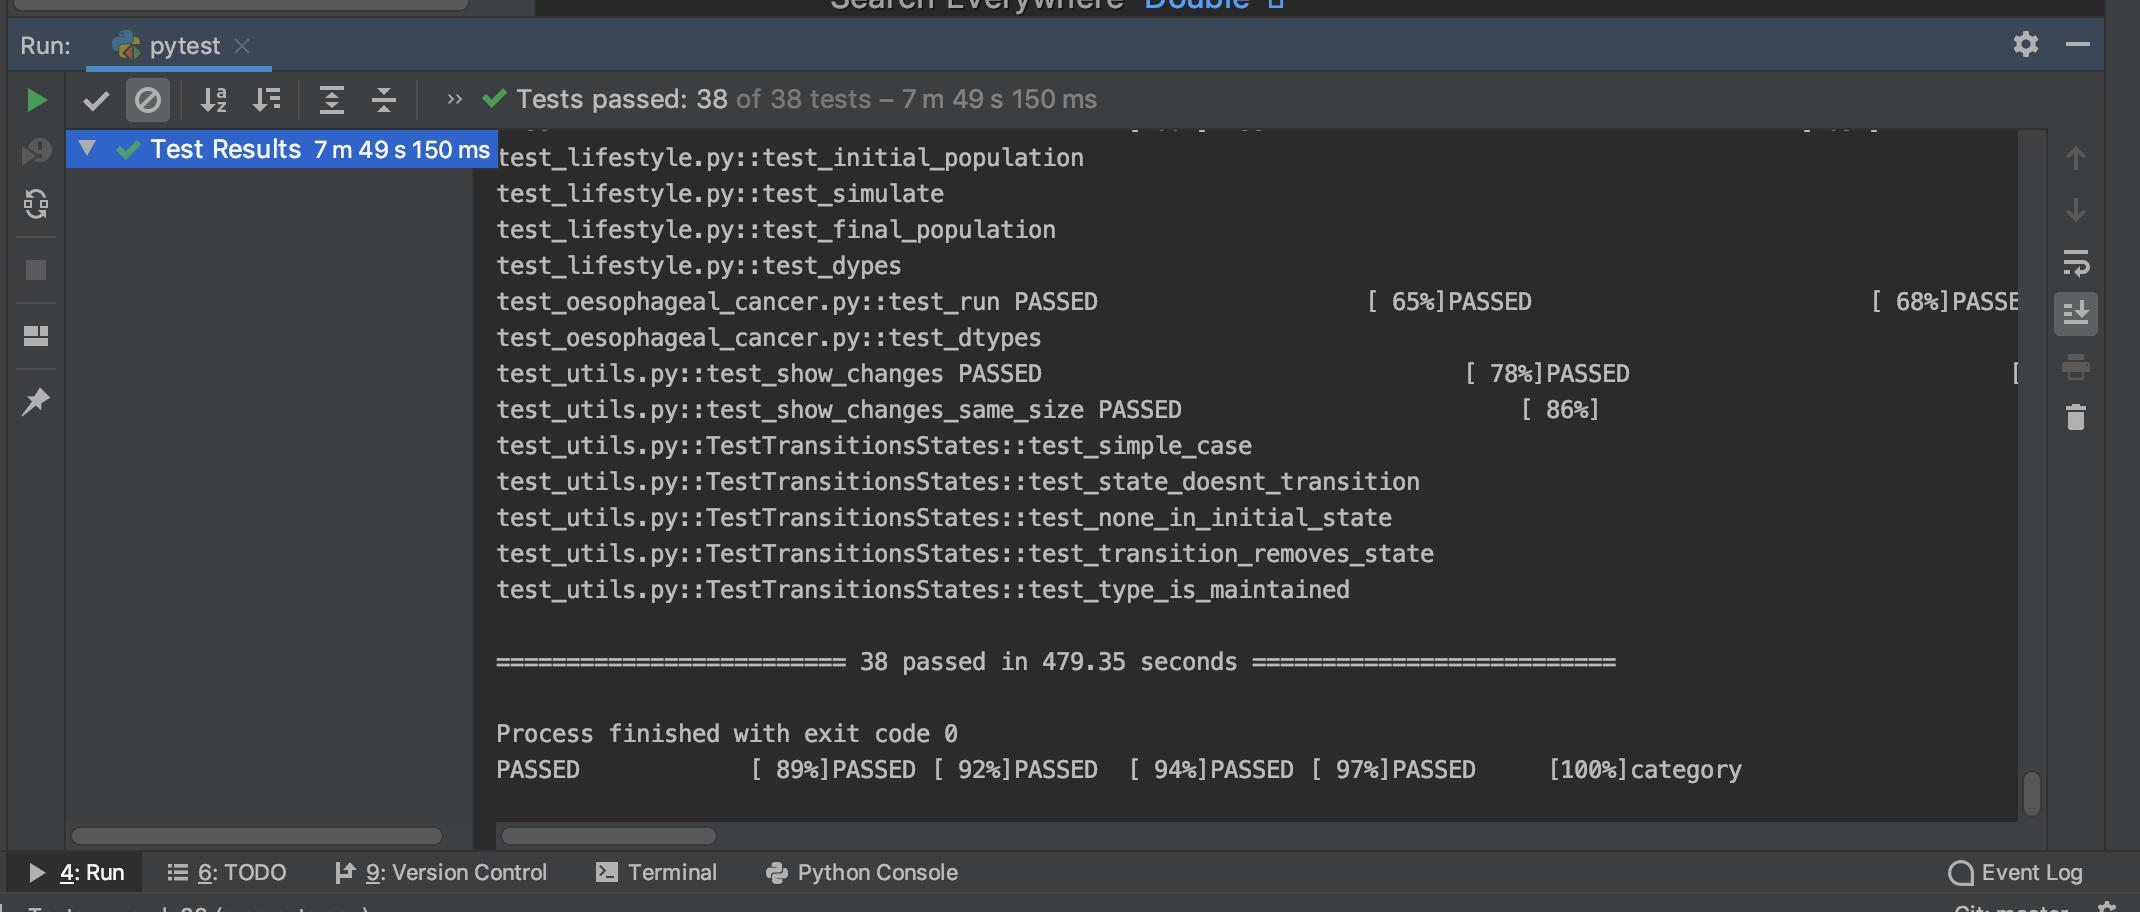
- A new run panel will open up and pytest will run for a fair while, after it completes it will
say that all of the tests have passed
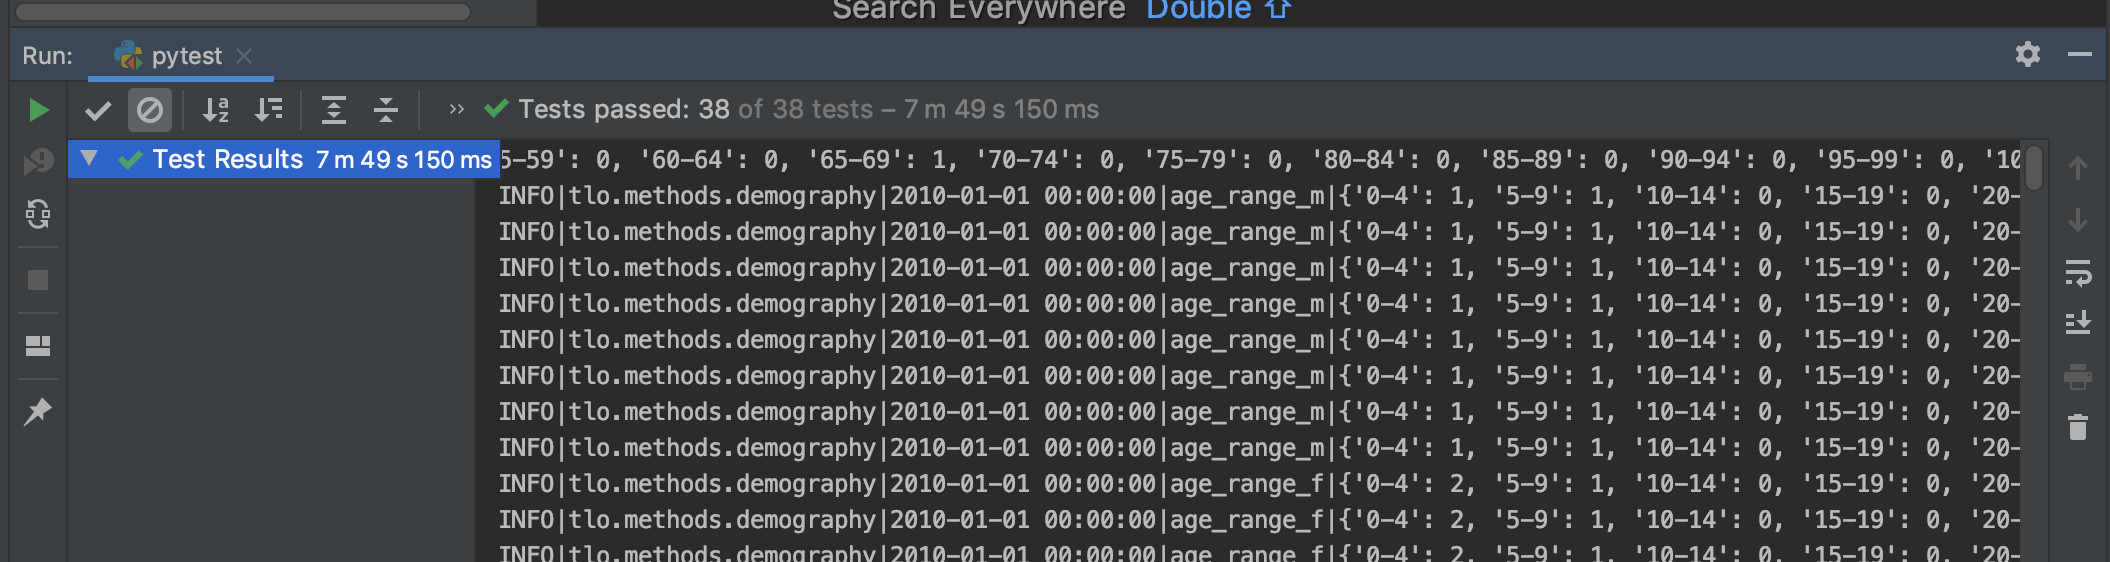
- You can scroll down the window and the final lines should look something like this
-
You can skip this section if you've set up your details in git
-
Click on the
Terminalbutton as before and enter in the following commands, replacing your Name and Email but keeping the quotes. Hit enter after each linegit config --global user.name "Stefan Piatek" git config --global user.email "[email protected]"