-
Notifications
You must be signed in to change notification settings - Fork 36
Vactubes
This addon implements a dynamic vactube system similar to Valve's, including randomised objects, complex junctions and dropper support. This guide will demonstrate the usage of the vactube system.
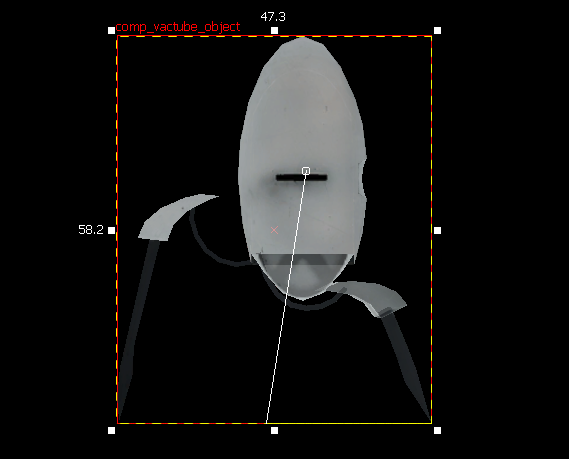
Place and configure comp_vactube_object entities to specify which items can appear in tubes. You can specify as many as you want.

It is possible to move the origin of the entity to any place, so the center of the model can match it's position. Here, I changed it's position to match the turret model.

The Weight keyvalue will specify the number of extra 'chances' for an object to spawn. This works like a lottery - each cube has this many 'tickets', and then one is chosen randomly each time. If you have two choices with a weight of 9 and 1, the first will be chosen 90% of the time. In this example, I will set this value as 5 for the cube, 2 for the companion cube, and 1 for the turret.
If you are intending to use the vactube dropper to dispense cubes, it is necersary to set Cube Model and Cube Skin to the real model used by the prop_weighted_cube, so the postcompiler can spawn the appropriate object for the dropper.
This entity will define the start of the path that a vactube object will take. This is the place where objects will spawn.

The Object Group keyvalue offers the option to only spawn the objects only from a specific group of comp_vactube_object. Normally you only need
It is possible to specify the minimun and maximun random delay per object spawn, but you can still spawn an object at any time with the ForceSpawn input.
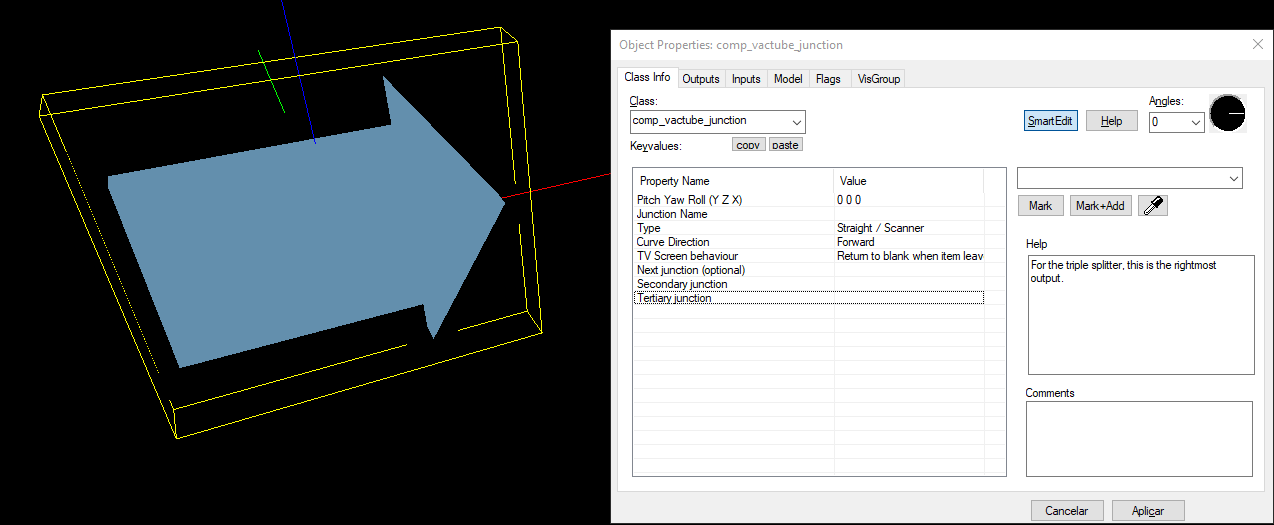
A set of this entities will provide a path for the object to follow. This entity gives different junction types: 8 curves, 3 splitters, and the straight/scanner tube.

When building a path, there is no need to specify the next junction manually on every segment of the path, since the postcompiler takes care of detecting that automatically. Simply ensure they are rotated appropriately so the arrows point in the correct direction, and roughly line up. It is still possible to specify the next junction with the Next junction (optional) kevvalue, if you wish to have overlapping paths or connect junctions that don't line up. The junction shapes match the vactube models, so you can shift-duplicate the models and change the classname to have corners line up.
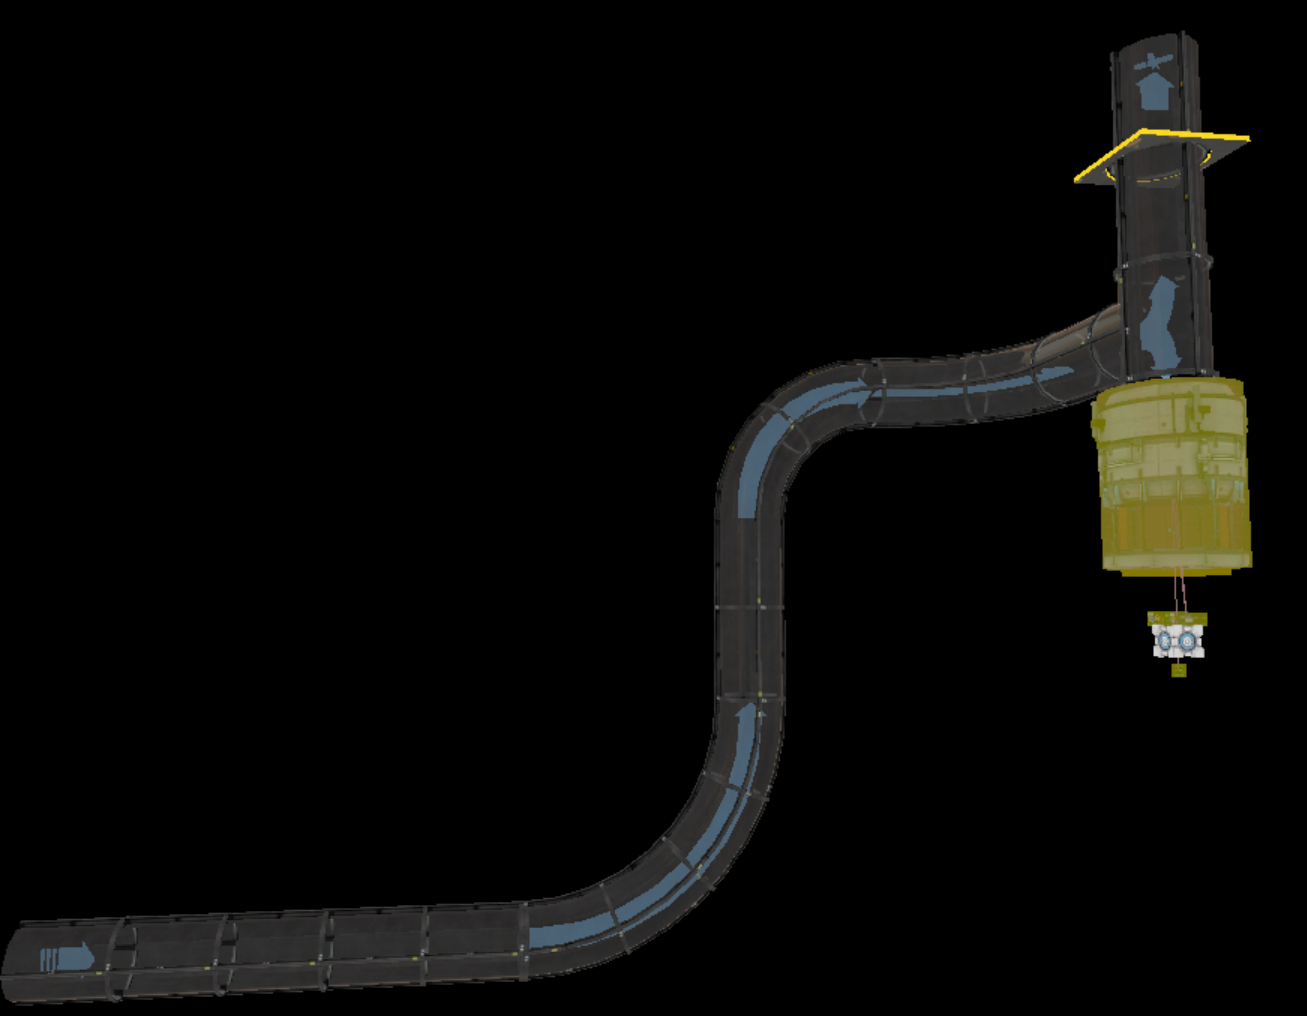
This is the path I made as an example. I used the splitter type of the junction to split it into two paths.

To join multiple back into a single pipe, simply overlap two junctions such that their outputs both point down the same route.
To place the vactube scanner TVs, simply add a "straight" type junction inside the model, then place the prop_dynamics for the screen and optionally the spinner. The screen will need the supplied _new model, so both orientations have all the skins. They will automatically be detected and flash on when objects pass.
After placing all our junctions, it's time to mark the end point of our vactube. Any object reaching here will be cleaned up.
Here, I replaced the last junctions with end points.

For droppers, place the supplied instances/cubedropper/dropper_vactube.vmf instance, and run a path up to the vactube end entity in the top. Place a prop_weighted_cube inside the dropper to specify which cube type it will spawn. The specific route leading to the dropper will be detected and only replacement cubes will be sent this way. Add a splitter just before the dropper, so the tube can have decorative items flowing through it constantly.

If tubes are setup with two paths that cross each other, the default random spawning will cause objects to visually pass through each other. If this is sufficently noticable, a solution is to synchronise the spawn points. Turn off the spawning timer on all but one comp_vactube_start, then use the outputs on a junction to manually spawn objects from the other starts. Increase the delay on the timer to make some space between the objects, then adjusting the delay on the output so the objects don't overlap anymore.