Documentation
You will need to install 3D Slicer and mpReview extension to annotate data, and to visualize the datasets already annotated. If you have a new dataset you want to annotate, you will first need to preprocess it. For that step you will need to complete the prerequisites related to preprocessing.
This extension is known to work with revision 28560 of Slicer on macOS. Here are direct download links of that revision for each OS:
- macOS: http://download.slicer.org/download?os=macosx&stability=any&revision=28560
- Linux: http://download.slicer.org/download?os=linux&stability=any&revision=28560
- Windows: http://download.slicer.org/download?os=windows&stability=any&revision=28560
Once Slicer is installed, open the Extension Manager (see below), search for mpReview, and install the extension. When prompted, agree to installation of all dependencies! Note that once installation of the extension is completed, you will need to restart Slicer.
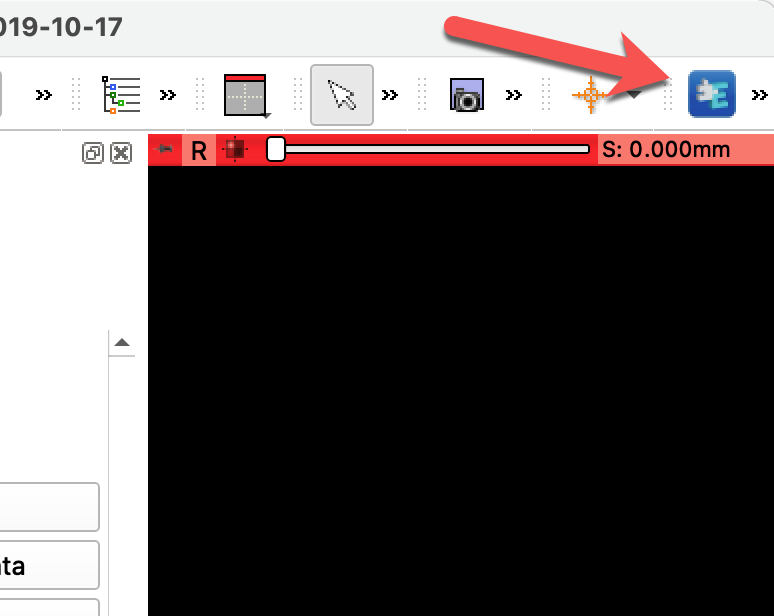
Once you installed the extension and restarted Slicer, you can find the mpReview extension by clicking on the magnifying glass and typing the name of the extension, as shown below.

Download the binaries for dcm2niix for your platform, and make sure the dcm2niix is in your $PATH.
Install dicomsort - this is a python package that allows sorting DICOM files into folder structure based on the values of attributes. You will also need pydicom.
Install additional python libraries used by mpReview and the preprocessing script. Since preprocessing is run using Slicer python, you will need to do it in the Slicer python interactor, which you can open by clicking the button shown below.
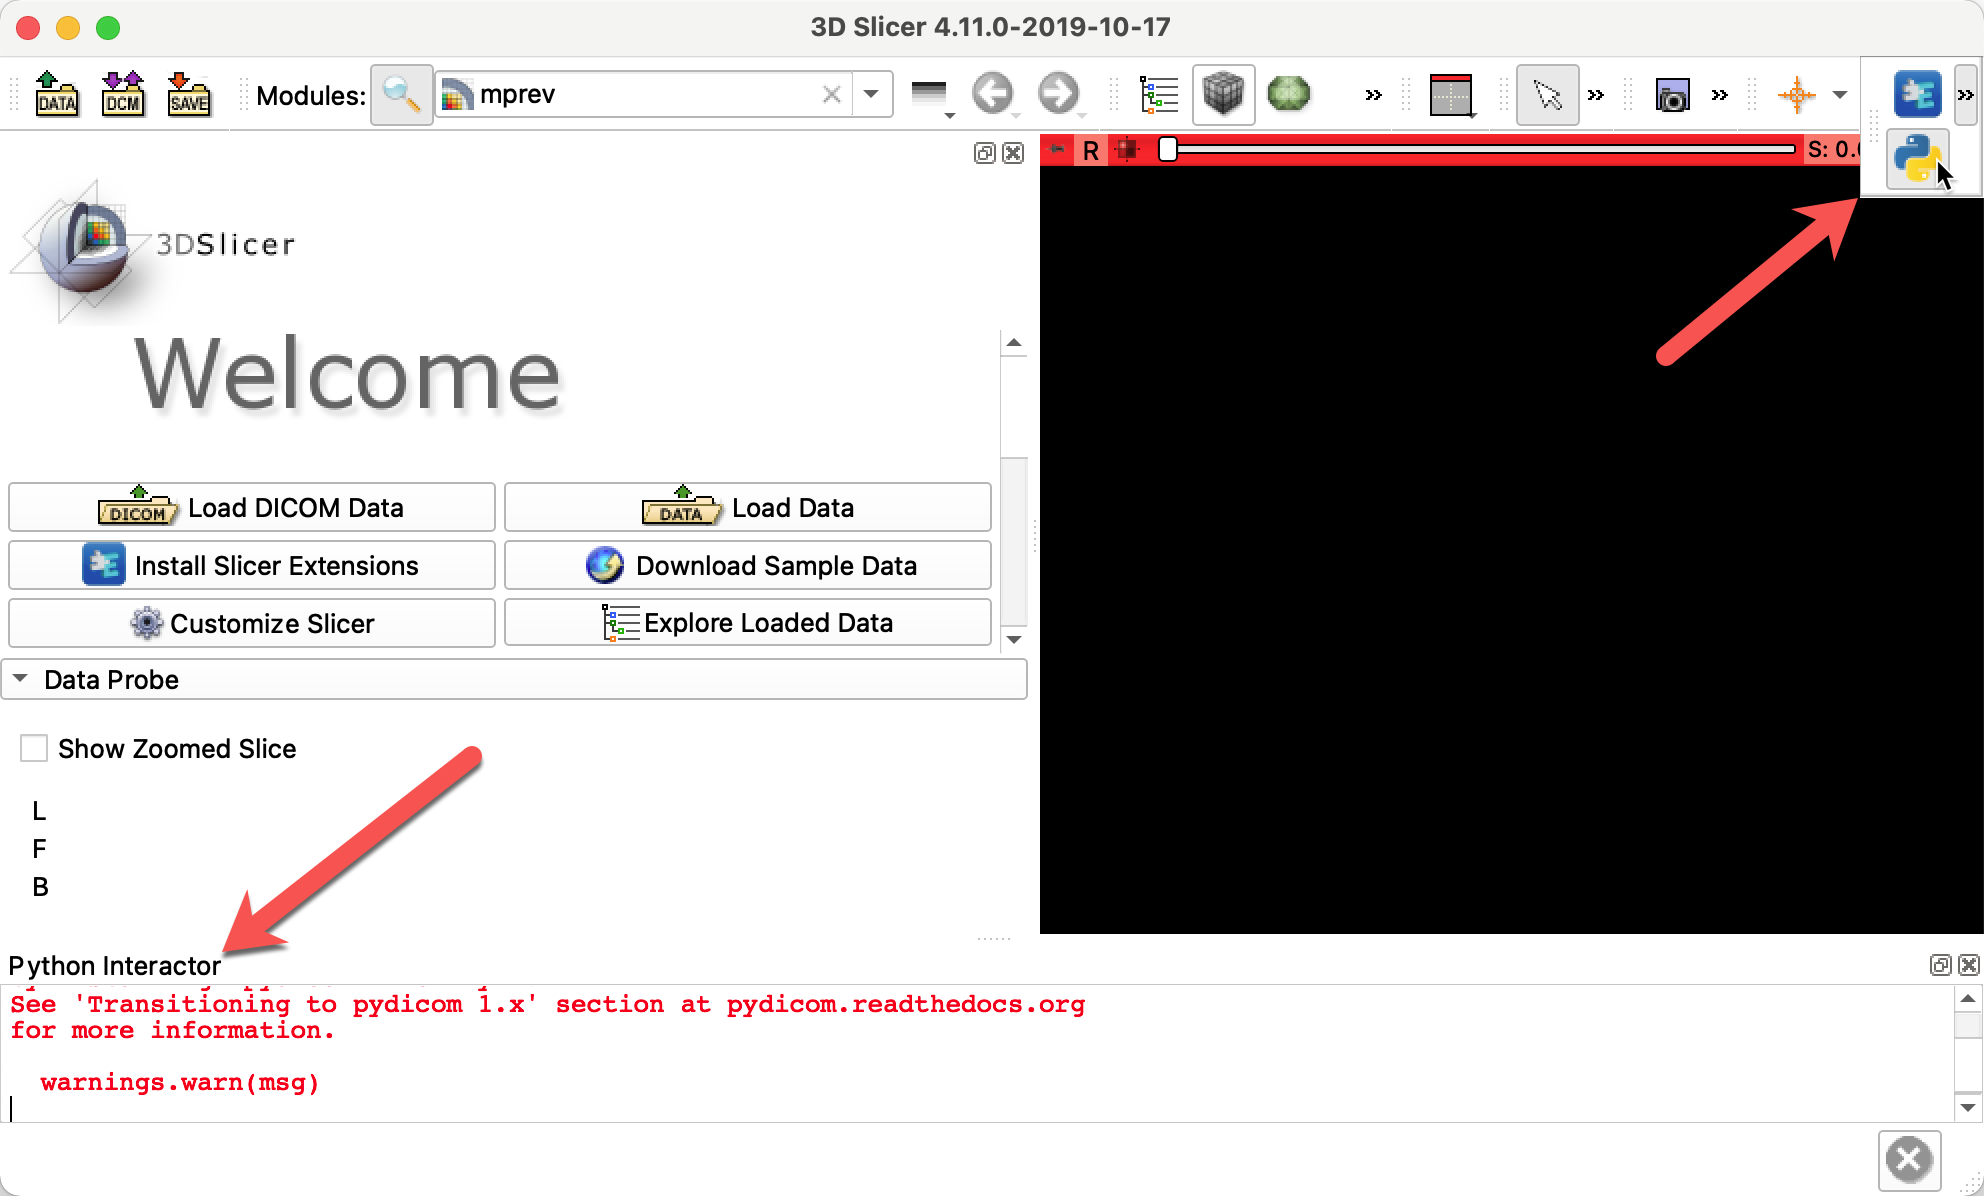
To install additional packages, use the following command in the python interactor, and install nibabel, tqdm, and argparse, :
>>> slicer.util.pip_install('nibabel')
>>> slicer.util.pip_install('tqdm')
>>> slicer.util.pip_install('argparse')Step 1: Sort your DICOM files into folders using dicomsort with the following arguments. INPUT_DICOM_DIR should point to the folder with the DICOM data you want to annotate, and mpReview_DATA_DIR is the location of the output directory that will be used by mpReview.
$ dicomsort.py -k <INPUT_DICOM_DIR> <mpReview_DATA_DIR>/%PatientID_%StudyDate/RESOURCES/%SeriesNumber/DICOM/%SOPInstanceUID.dcmStep 2: Run mpReviewPreprocessor2.py script. This will prepare volumes in NIfTI format for the DICOM series to be annotated. Note that you will need to run this script using Slicer python (this is needed to prepare 4D volumes into a format suitable by Slicer) as shown below. Slicer is the location of 3D Slicer executable you installed in prerequisites.
$ Slicer --no-main-window --python-script mpReviewPreprocessor2.py -i <mpReview_DATA_DIR>You can examine the content of the mpReview_DATA_DIR to get familiar with how data is organized, if you are curious.
Assuming this step completed correctly, you are ready to open and annotate the data in mpReview!
When you open mpReview for the first time, it will ask you for couple of questions. The most important one is your preferred user ID - this will be used for naming annotations that you create when they are saved!
Before using the module, you will need to select the directory with the data, by clicking the button shown below. You should select this to point to mpReview_DATA_DIR you prepared in the earlier steps.

If preprocessing completed correctly, you should be able to see the list of studies contained in that folder. Select the study you want to contour in the list of studies Once a study is selected, you should see the list of all DICOM series in the study (red arrow below). You need to check only those series that are needed for you to do the contouring.

Once all series of interest have been selected, click Segmentation tab (green arrow in the screenshot above). Select the series you want to annotate using the selector shown by red arrow below.

Click “Add structure” button and select the structure you want to annotate (IMPORTANT: make sure you pick the correct structure, and make sure you pick it consistently for all studies you annotate!)

Use the tools pointed by red arrows to contour/erase the area. You can also use the undo/redo buttons.

When done with contouring, go to the Completion tab, and click “Save”. After clicking Save you should get a confirmation of save completed. After that you can go back to the study selection to pick another study. You can ignore other warnings about saving data if you did save.