Documentation
You will need to install 3D Slicer and the mpReview extension to annotate data, and to visualize the datasets already annotated.
Once 3DSlicer is installed, open the Extension Manager (see below), search for mpReview, and install the extension. When prompted, agree to installation of all dependencies! Note that once installation of the extension is completed, you will need to restart Slicer.
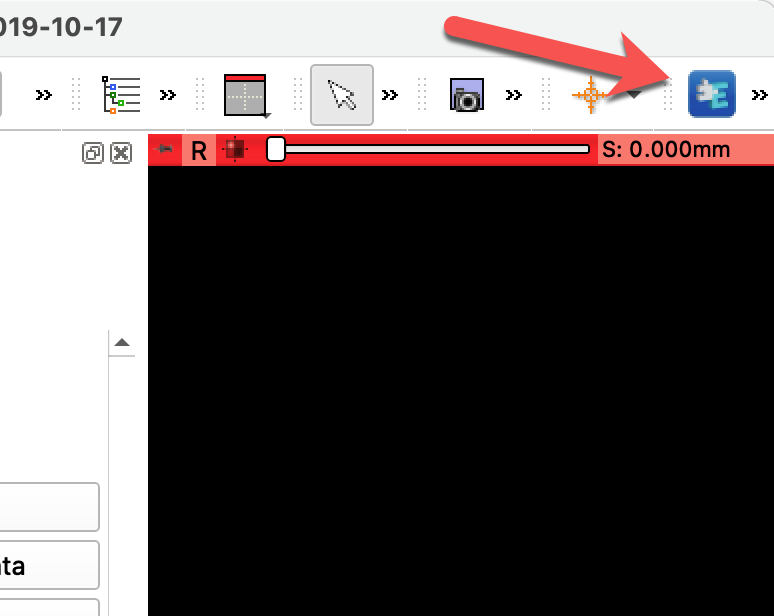


Once you installed the extension and restarted Slicer, you can find the mpReview extension by clicking on the magnifying glass and typing the name of the extension, as shown below.

If using the remote server with Google Cloud Platform option, you will need to do the following:
- Have a Google account
- Install Google SDK on your local machine
- Authenticate with
gcloud auth login
Additionally, do the following depending on your OS:
- Windows: 3DSlicer will automatically find the
gcloudpath - Linux and MacOS: Activate the environment where Google SDK is installed Start 3DSlicer from command line in the same terminal.
-
Download the sample dataset from here and unzip it: https://github.com/SlicerProstate/mpReview/releases/download/sample-data/prostate_repeatability.zip
-
Import this data into the 3DSlicer local DICOM database. Click on
Add DICOM Dataand thenImport DICOM files. Select the data from the above prostate_repeatability directory. Your local DICOM database should then look like this:
Watch the video below to use mpReview, or alternatively, follow the steps below:
mpreview_local.mp4
- Once you are done importing the data, open the
mpReview extension.
- In the
Database Selectiontab, select theUse local database
- In the
Study Selectiontab, select the first study in the list. You should be able to see all the studies that were imported into your local DICOM database. They are named as<PatientID>_<StudyDate>.
- After you click on the study, you will see a list of series. Keep the three series that are checked, these are the ones that will be loaded and a layout set automatically. The ones that are in gray are unable to be selected for viewing, and are usually DICOM Structured Reports, or DICOM Segmentation objects. These segmentation objects will be automatically loaded later, therefore they cannot be selected now.
- Now in the
Seg Editortab, select the series that you want as the reference. This will be the series that you actually annotate. It will also be set as the background for the other series automatically in the layout.
- After selecting the reference, the layout should automatically update, and look like this:
- You are now ready to segment! Add a segment to the four you already see by clicking
Add. Then double click on the green square next to the Segment name to open up the Terminology. Choose the correct terminology. Now use the Segment Editor tools to draw a segment!
- Lastly, go to the
You're donetab and click onSaveto save the segmentation to the local DICOM database.
Open this Google Colaboratory notebook to use Google Cloud Platform. The notebook will tell you how to:
- create a project id
- query for data for two patients from the QIN-PROSTATE-REPEATABILITY collection
- save a manifest of where the files are stored
- download files to a bucket
- create a dataset and a DICOM datastore
- and save your data to annotate in the DICOM datastore
The steps for annotation and saving are similar to the local Slicer DICOM database use case. Here we go over specifically how to select the DICOM datastore created above.
Watch the video below to use mpReview with a GCP DICOM datastore, or alternatively, follow the steps below:
mpreview_gcp.mp4
- Once your data is in a DICOM datastore, open the
mpReview extension.
- In the
Database Selectiontab, select theUse GCP remote server. Then use the dropdown menus to select your project, dataset and DICOM datastore. You can also type in each of the boxes and the names will be completed. Depending on how many projects/datasets/dicom stores you have, it could take a few seconds to populate each of the lists. The GCP server url will be automatically populated. Then click theOKbutton.
- Follow steps 3 onwards from the local database configuration.
Make sure that your DICOM data is in a DICOM datastore, and that you have the url to this server.
- Once your data is in a DICOM datastore, open the
mpReview extension.
- In the
Database Selectiontab, select theUse other remote server. Then paste in your url into theOther server URLbox. Then click theOKbutton.
The sample dataset consisting of two patients from the QIN-PROSTATE-REPEATABILITY collection can be downloaded from here.: https://github.com/SlicerProstate/mpReview/releases/tag/sample-data.
Sample dataset from U.Chicago is here: https://drive.google.com/drive/folders/1EXn7zOGBT4wtm1ztnSu60AoOzuwM0tO8
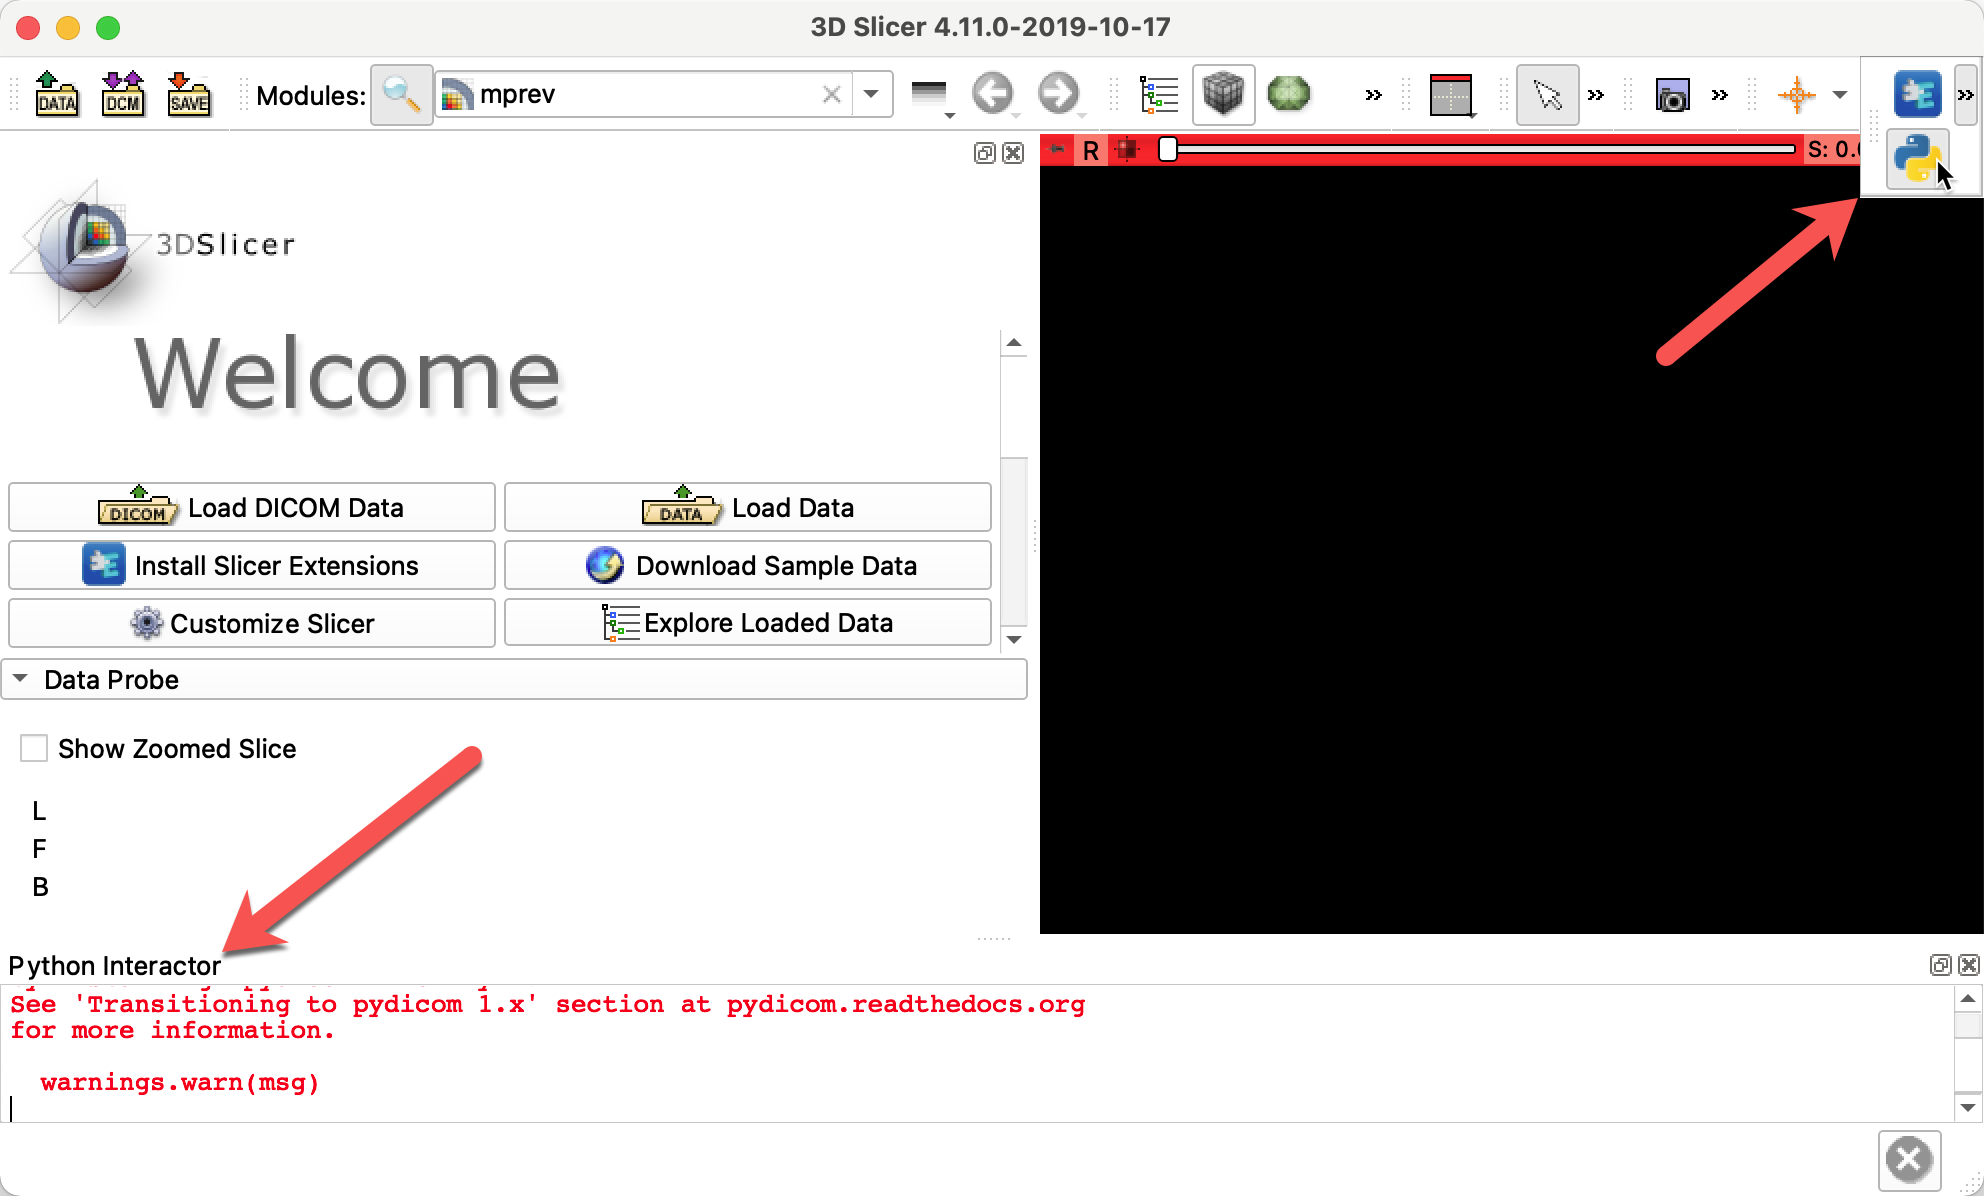
If the module is not responding, if you have progress dialog that does not change, please submit the issue. Include the errors printed out in red that you see in the python interactor (as displayed below), and also in the Slicer error log (menu "Help > Report a bug").