-
Notifications
You must be signed in to change notification settings - Fork 61
AutoHotkey Guide
The stand-alone Tibia client has very limited options in terms of hotkey support. You can only hotkey items and abilities to the Function Keys, and you cannot remap anything else. However, by using AutoHotkey, it is possible to remap any keys you want in the stand-alone client. Tibialyzer has integrated AutoHotkey support. From within Tibialyzer, you can create and edit AutoHotkey scripts for use in Tibia. All you have to do is enter how you want to remap your keys, and Tibialyzer will take care of the ugly stuff.
AutoHotkey integration requires you to have AutoHotkey installed. If you do not have AutoHotkey installed already, go to the AutoHotkey section in Tibialyzer, and press the Download AutoHotkey button. This will download the AutoHotkey installer from the official AutoHotkey website and launch the installer for you. Complete the installation process to install AutoHotkey.
After you have installed AutoHotkey, you can start creating your AutoHotkey program from within Tibialyzer. To remap a key using AutoHotkey, the following syntax is used.
PressedKey::MappedKey
When PressedKey is pressed, MappedKey is executed in the Tibia application. To enable WASD movement, add the following four lines to the AutoHotkey script.
W::Up
A::Left
S::Down
D::Right
Note that we are using Up, Down, Left, Right to describe the arrow keys. These are the names given to the arrow keys by AutoHotkey. A full list of all AutoHotkey key names can be found here.
While the AutoHotkey script is enabled, the WASD keys will now be used to move rather than to type in chat. If you want to type in chat using these keys, the AutoHotkey script has to be disabled. You can temporarily disable the AutoHotkey script using the special Suspend command, which you can bind to a key. For example, we can suspend the AutoHotkey script using the Ctrl+Enter key by adding the following line to the script.
Ctrl+Enter::Suspend
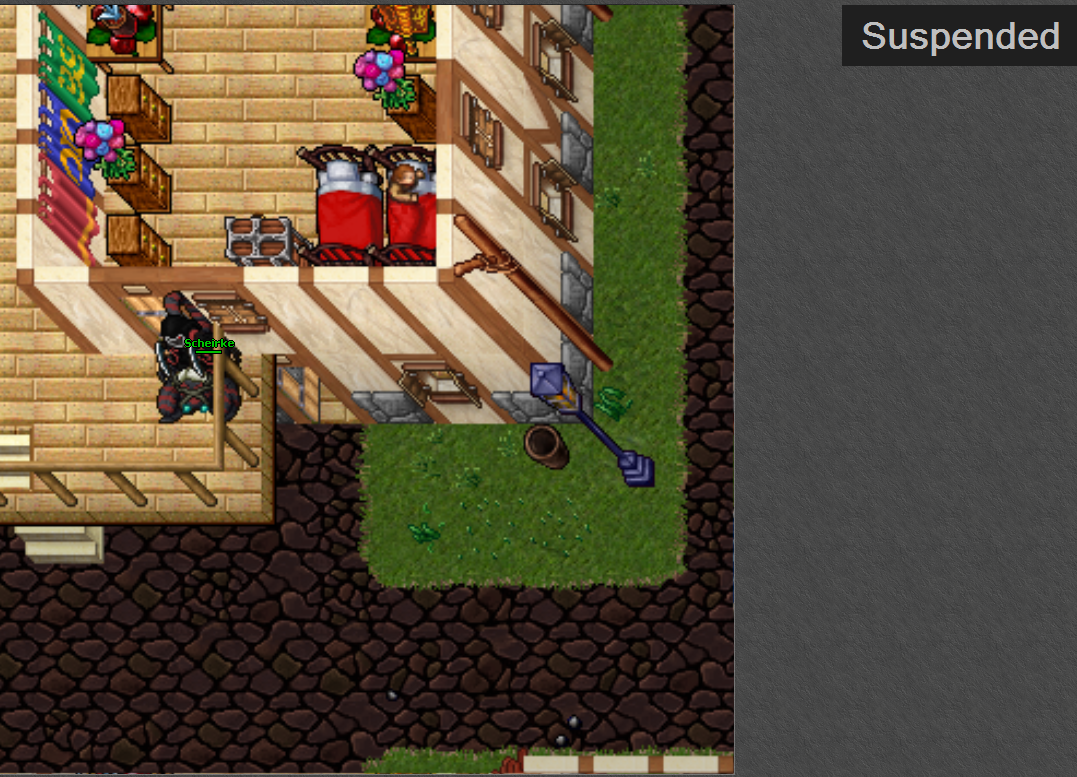
Now when we press Ctrl+Enter, the AutoHotkey script will be suspended and we can type as we normally would. We can then press Ctrl+Enter again to enable the AutoHotkey script and resume using WASD controls. While the AutoHotkey script is suspended, Tibialyzer displays a Suspended notification to indicate that you cannot use your normal hotkeys, as shown in the image below.

Another feature provided by the Tibialyzer AutoHotkey integration is the ability to directly hotkey Tibialyzer Commands. This is done by hotkeying the key Command=[command]. For example, if we want to hotkey the loot@ command to the key [, we would add the following line to the script.
[::Command=loot@
These commands send the command as a direct message to the Tibialyzer application, and are therefore a lot faster than the commands typed in chat, which must first be read from Tibia's memory. It is recommended that you hotkey Tibialyzer commands that you frequently use for convenience.
The integrated AutoHotkey support simply generates a .ahk file and launches that using AutoHotkey. The .ahk file is stored in the Database directory and can be used without Tibialyzer. Tibialyzer performs various conversions on the AutoHotkey script. First, it adds the following lines to the beginning of the file.
#SingleInstance force
#IfWinActive ahk_class TibiaClient
These lines ensure that the AutoHotkey script is only active when the Tibia Client is active.
The Command=[command] and Suspend are replaced with SendMessage, so pressing these buttons results in messages being send to the Tibialyzer Client, allowing it to respond to execute the command or show the Suspended notification.
In addition, a few replacements are made to make life slightly more convenient for the user. Ctrl+ is replaced by ^, Shift+ is replaced by + and Alt+ is replaced by !.
This is my personal hotkey setup, for inspiration.
-
WASD: Normal movement -
QEZC: Diagonal movement -
X: Mount -
R: Healing Spells (R: exura,Shift+R: exura gran,Ctrl+R: exura vita) -
F: Strike Spells (F: exori frigo,Shift+F: exori gran frigo,Ctrl+F: exori flam) -
V: Heal Friend (V: exura sio "Amel Cyrom",Shift+V: exura sio "Martincc") -
T: Haste (T: utani hur,Shift+T: utani gran hur) -
G: Ice Wave -
B: Terra Wave -
Y: Switch Rods -
H: Switch Boots/Rings -
Space: Mass Healing -
1-3: Mana Potions -
4: Heal Party -
5: Eat Brown Mushrooms -
6: Shovel -
Middle Mouse: Avalanche Rune -
Mouse Button 3: Rope -
Mouse Button 4: Obsidian Knife
-
[:loot@ -
]:exp@ -
=:close@ -
-:refresh@ -
\:last@ -
P:damage@