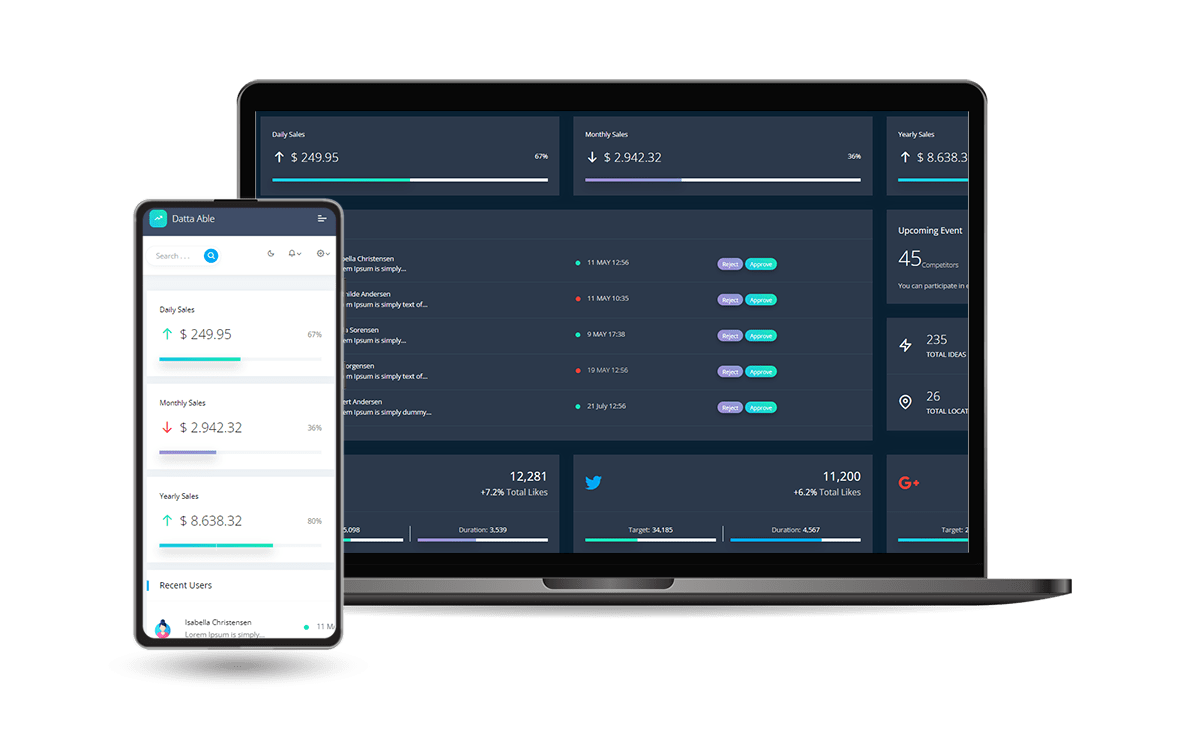
Open-source Django Dashboard provided by AppSeed on top of a modern design. Datta Able Bootstrap Lite is the most stylized Bootstrap 4 Template, among all other Lite/Free admin templates in the market. It comes with high feature-rich pages and components with fully developer-centric code - design from CodedThemes.
- 👉 Datta Able Django -
Product page - 👉 Datta Able Django -
LIVE demo
Have questions?Contact Support (Email & Discord) provided by AppSeed
| Free Version | PRO Version | Custom Development |
|---|---|---|
| ✓ Django 4.2.9 | Everything in Free, plus: | Everything in PRO, plus: |
| ✓ Bootstrap 4 UI | ✅ PRO Bootstrap 5 UI, Dark-Mode |
✅ 1 Week Custom Development |
| ✓ API Generator | ✅ OAuth GitHub |
✅ Team: PM, Developer, Tester |
| ✓ DataTables | ✅ API, Charts |
✅ Weekly Sprints |
✓ Docker |
✅ Enhanced DataTables | ✅ Technical Specs |
✓ CI/CD Flow via Render |
✅ Celery (async tasks) |
✅ Documentation |
✓ Free Support (GitHub Issues) |
✅ Media Files Manager | ✅ 30 days Delivery Warranty |
| - | ✅ Extended User Profiles | ✅ CI/CD for AWS, DO (Extra) |
| - | ✅ Automated e2e Tests | - |
| - | ✅ Private REPO Access |
- |
| - | ✅ Premium Support | - |
| ------------------------------------ | ------------------------------------ | ------------------------------------ |
| ✓ LIVE Demo | 🚀 LIVE Demo | Get in Touch ➡️ |
Django is a high-level Python web framework designed for rapid development of secure and maintainable websites. Here are the core features:
- Model-View-Template (MVT) architecture:
- Models define your data structure
- Views handle the logic and processing
- Templates manage the presentation
- Built-in admin interface for easy content management
- Object-Relational Mapping (ORM) for database interactions without writing SQL
- URL routing system to map URLs to views
- Form handling and validation
- Built-in security features (e.g., protection against SQL injection, cross-site scripting)
- Scalable and suitable for both small and large projects
To get started, you'll need Python installed. Then you can install Django, create a project, define models, set up views and templates, and run your development server.
👉 Step 1 - Download the code from the GH repository (using
GIT)
$ git clone https://github.com/app-generator/django-datta-able.git
$ cd django-datta-able
👉 Step 2 - Start the APP in
Docker
$ docker-compose up --build Visit http://localhost:5085 in your browser. The app should be up & running.
Create a new .env file using sample env.sample. The meaning of each variable can be found below:
DEBUG: ifTruethe app runs in development mode- For production value
Falseshould be used
- For production value
- For
MySqlpersistence- Install the DB Driver:
pip install mysqlclient - Create DB and assign a new user (full rights)
- Edit
.envto match the DB, user, and password
- Install the DB Driver:
Download the code
$ git clone https://github.com/app-generator/django-datta-able.git
$ cd django-datta-ableInstall modules via
VENV
$ virtualenv env
$ source env/bin/activate
$ pip3 install -r requirements.txt
Set Up Database
$ python manage.py makemigrations
$ python manage.py migrate
Generate API
$ python manage.py generate-api -fStart the APP
$ python manage.py createsuperuser # create the admin
$ python manage.py runserver       # start the project
At this point, the app runs at http://127.0.0.1:8000/.
Install modules via
VENV(windows)
$ virtualenv env
$ .\env\Scripts\activate
$ pip3 install -r requirements.txt
Set Up Database
$ python manage.py makemigrations
$ python manage.py migrate
Start the APP
$ python manage.py createsuperuser # create the admin
$ python manage.py runserver       # start the project
At this point, the app runs at http://127.0.0.1:8000/.
The project is coded using a simple and intuitive structure presented below:
< PROJECT ROOT >
   |
   |-- core/
   |    |-- settings.py                   # Project Configuration
   |    |-- urls.py                       # Project Routing
   |
   |-- home/
   |    |-- views.py                      # APP Views
   |    |-- urls.py                       # APP Routing
   |    |-- models.py                     # APP Models
   |    |-- tests.py                      # Tests
   |    |-- templates/                    # Theme Customisation
   |         |-- pages                    #
   |              |-- custom-index.py     # Custom Dashboard
   |
   |-- requirements.txt                   # Project Dependencies
   |
   |-- env.sample                         # ENV Configuration (default values)
   |-- manage.py                          # Start the app - Django default start script
   |
|-- ************************************************************************When a template file is loaded in the controller, Django scans all template directories starting from the ones defined by the user, and returns the first match or an error in case the template is not found.
The theme used to style this starter provides the following files:
# This exists in ENV: LIB/admin_datta
< UI_LIBRARY_ROOT >
   |
   |-- templates/                     # Root Templates Folder
   |    |
   |    |-- accounts/
   |    |    |-- auth-signin.html     # Sign IN Page
   |    |    |-- auth-signup.html     # Sign UP Page
   |    |
   |    |-- includes/
   |    |    |-- footer.html          # Footer component
   |    |    |-- sidebar.html         # Sidebar component
   |    |    |-- navigation.html      # Navigation Bar
   |    |    |-- scripts.html         # Scripts Component
   |    |
   |    |-- layouts/
   |    |    |-- base.html            # Masterpage
   |    |    |-- base-auth.html       # Masterpage for Auth Pages
   |    |
   |    |-- pages/
   |         |-- index.html           # Dashboard Page
   |         |-- profile.html         # Profile Page
   |         |-- *.html               # All other pages
   |
   |-- ************************************************************************
When the project requires customization, we need to copy the original file that needs an update (from the virtual environment) and place it in the template folder using the same path.
For instance, if we want to customize the index.html these are the steps:
- ✅
Step 1: create thetemplatesDIRECTORY inside thehomeapp - ✅
Step 2: configure the project to use this new template directorycore/settings.pyTEMPLATES section
- ✅
Step 3: copy theindex.htmlfrom the original location (inside your ENV) and save it to thehome/templatesDIR- Source PATH:
<YOUR_ENV>/LIB/admin_black_pro/pages/index.html - Destination PATH:
<PROJECT_ROOT>home/templates/pages/index.html
- Source PATH:
To speed up all these steps, the codebase is already configured (
Steps 1, and 2) and acustom dashboardcan be found at this location:
home/templates/pages/custom-index.html
By default, this file is unused because the theme expects index.html (without the custom- prefix).
In order to use it, simply rename it to index.html. Like this, the default version shipped in the library is ignored by Django.
In a similar way, all other files and components can be customized easily.
Deploy on Render
- Create a Blueprint instance
- Go to https://dashboard.render.com/blueprints this link.
- Click
New Blueprint Instancebutton. - Connect your
repowhich you want to deploy. - Fill the
Service Group Nameand click on theUpdate Existing Resourcesbutton. - After that, your deployment will start automatically.
At this point, the product should be LIVE.
Datta Able Django PRO Version
For more components, pages, and priority on support, feel free to take a look at this amazing starter:
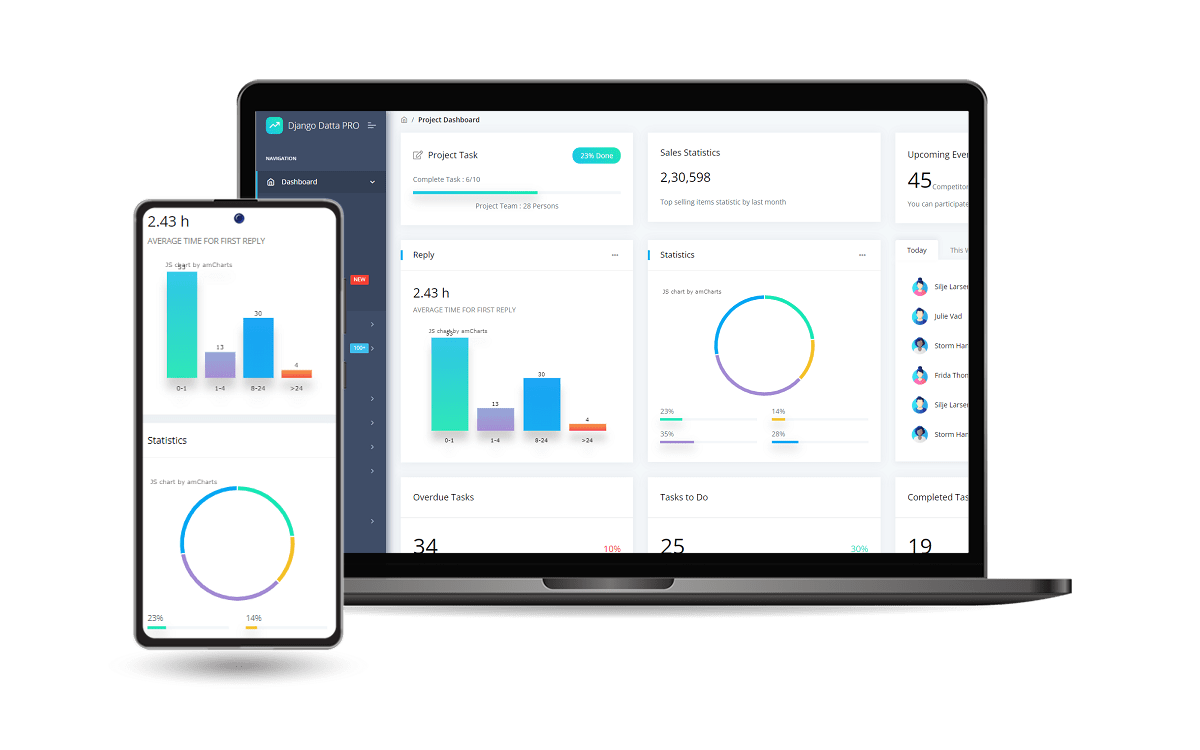
Designed for those who like bold elements and beautiful websites, Datta Able is the most stylish Bootstrap 4 Admin Template compare to all other Bootstrap admin templates. It comes with high feature-rich pages and components with fully developer-centric code.
- 👉 Django Datta PRO - product page
- ✅
Enhanced UI- more pages and components - ✅
Priorityon support
- ✅
Datta Able Django - Open-source starter provided by AppSeed.

