⚠ Open Issue : 🐛 [Firefly iii FinTS Importer] Update base image please (opened 2024-12-19) by @baflo
Thanks to everyone having starred my repo! To star it click on the image below, then it will be on top right. Thanks!
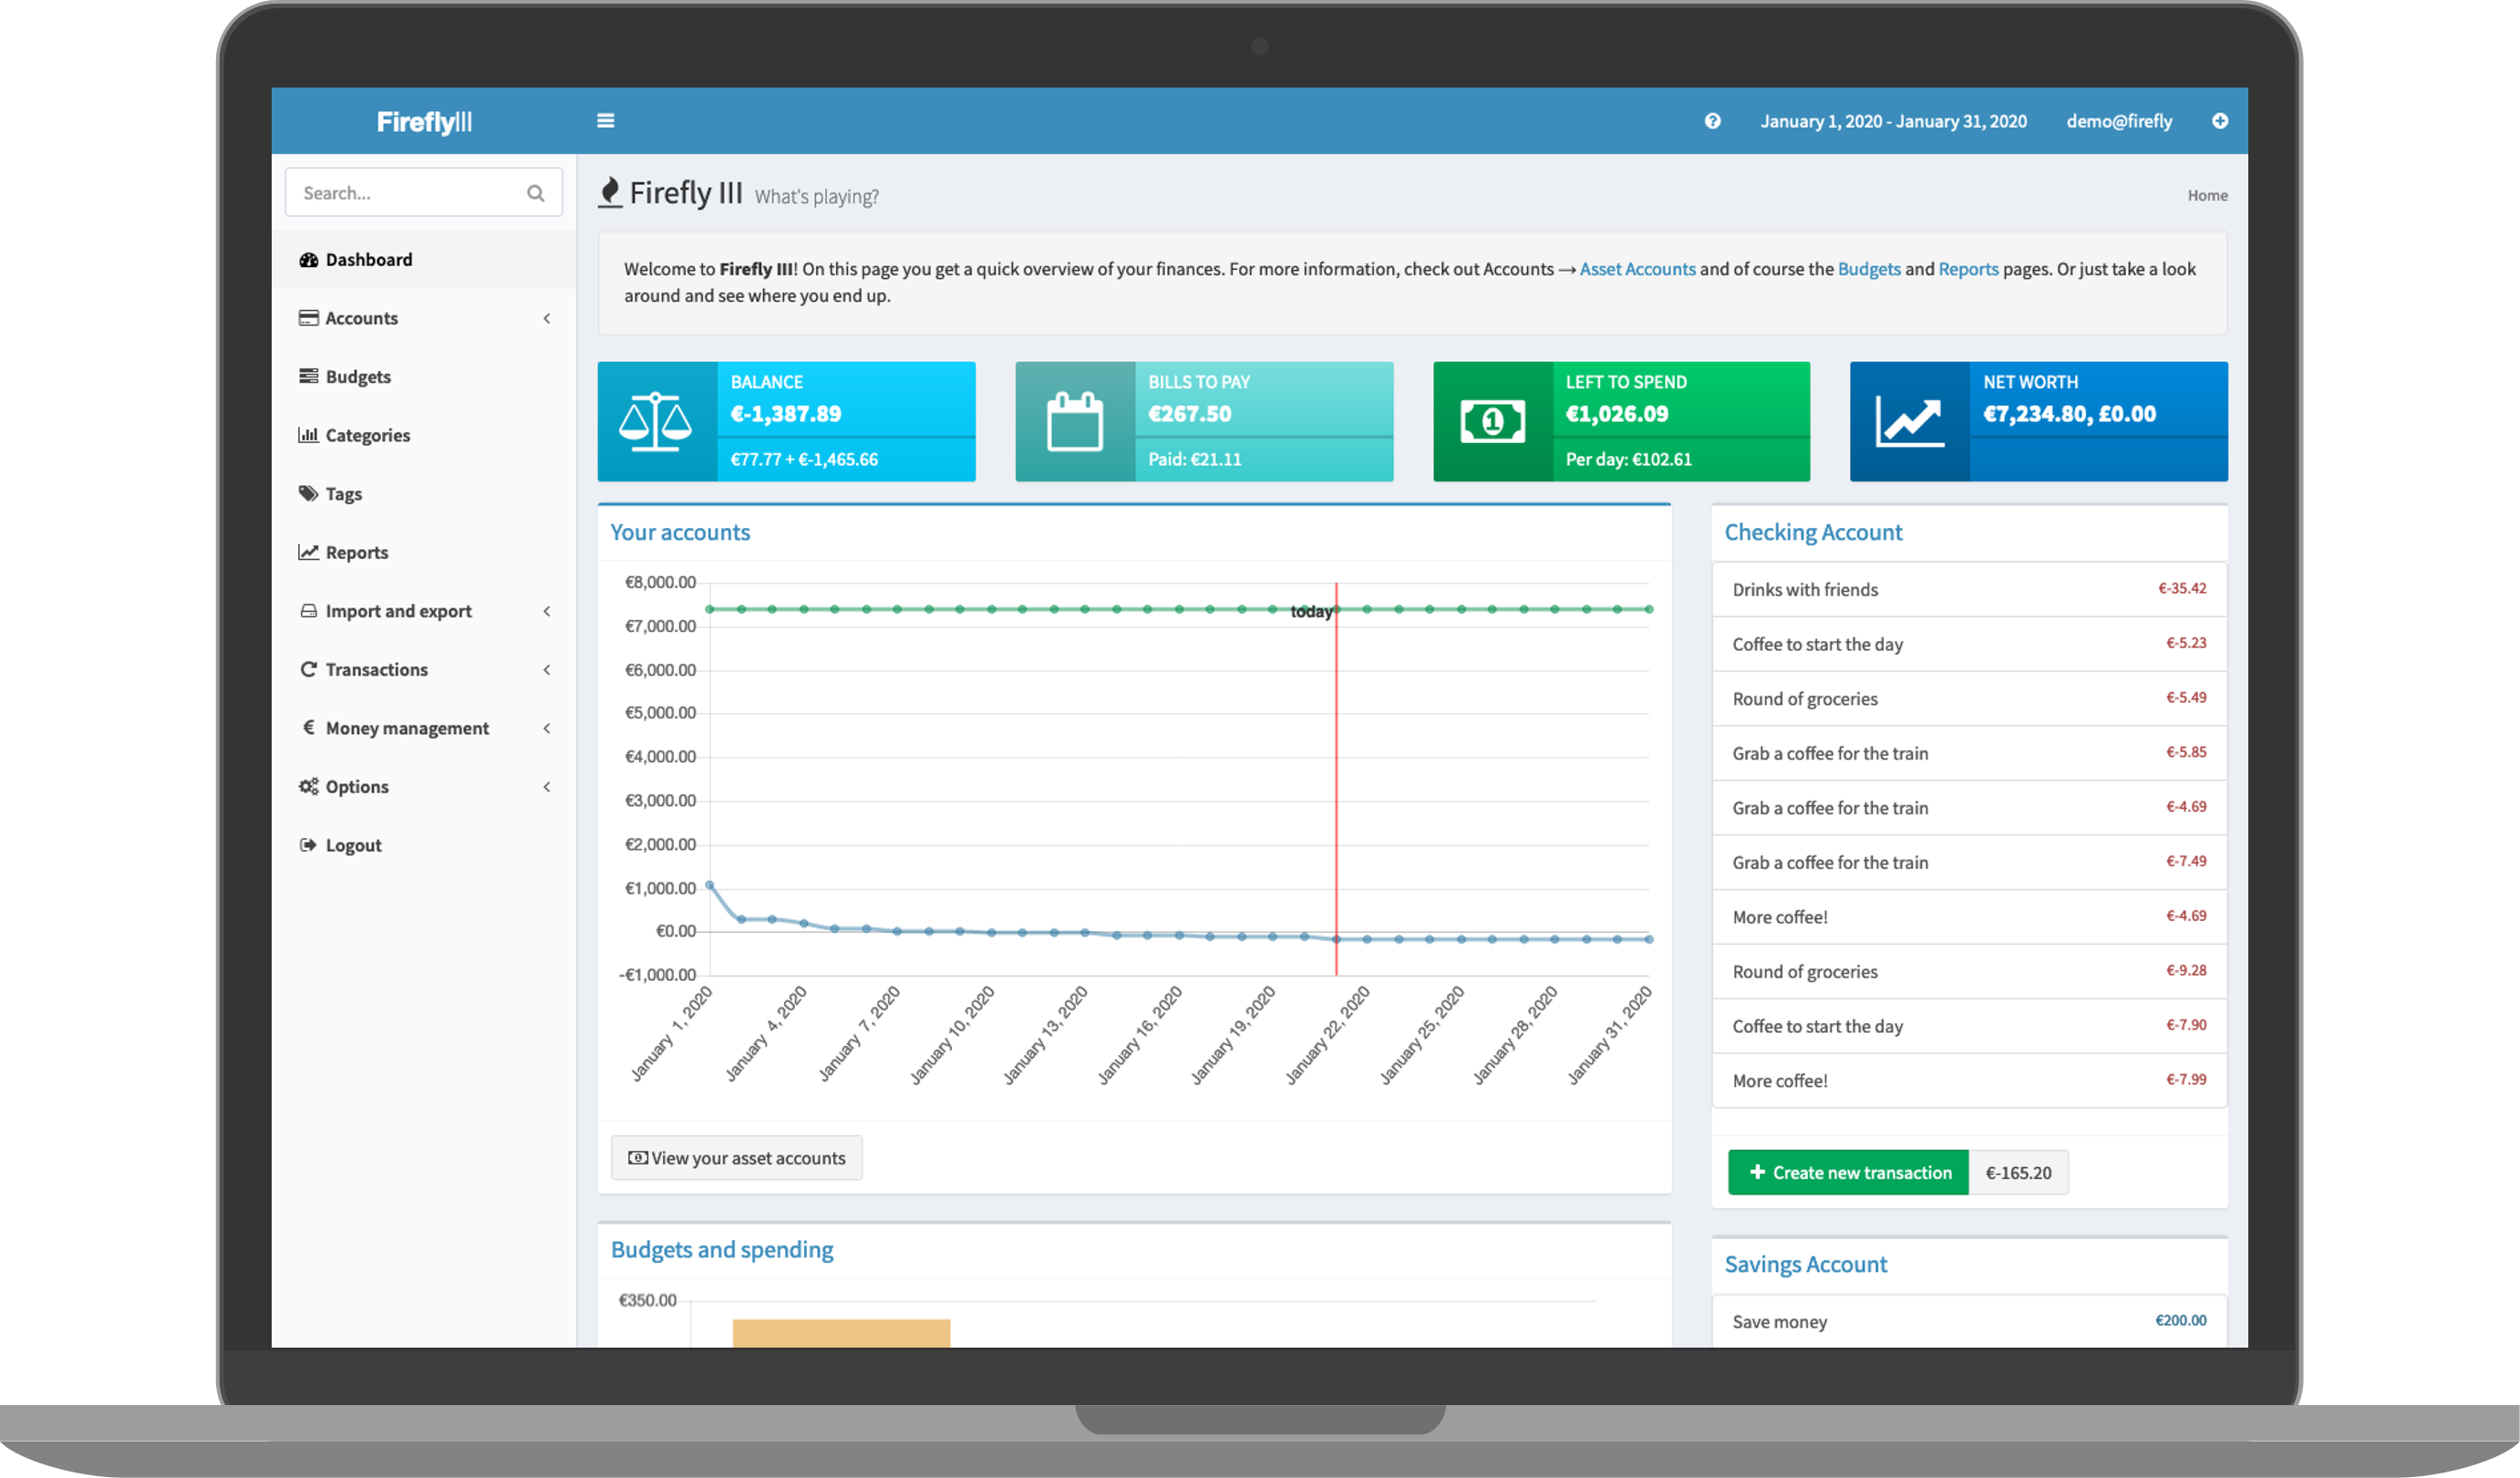
"Firefly III" is a (self-hosted) manager for your personal finances. It can help you keep track of your expenses and income, so you can spend less and save more. This addon is based on the docker image https://hub.docker.com/r/fireflyiii/core
PLEASE CHANGE YOUR APP_KEY BEFORE FIRST LAUNCH! YOU WON'T BE ABLE AFTERWRADS WITHOUT RESETTING YOUR DATABASE.
Options can be configured through two ways :
- Addon options
"CONFIG_LOCATION": location of the config.yaml # Sets the location of the config.yaml (see below)
"DB_CONNECTION": "list(sqlite_internal|mariadb_addon|mysql|pgsql)" # Defines the type of database to use : sqlite (default, embedded in the addon) ; MariaDB (auto-detection if the MariaDB addon is installed and runs), and external databases that requires that the other DB_ fields are set (mysql and pgsql)
"APP_KEY": 32 characters # This is your encryption key, don't lose it!
"DB_HOST": "CHANGEME" # only needed if using a remote database
"DB_PORT": "CHANGEME" # only needed if using a remote database
"DB_DATABASE": "CHANGEME" # only needed if using a remote database
"DB_USERNAME": "CHANGEME" # only needed if using a remote database
"DB_PASSWORD": "CHANGEME" # only needed if using a remote database
"Updates": hourly|daily|weekly # Sets an automatic update
"silent": true # If false, show debug info- Config.yaml (advanced usage)
Additional variables can be set as ENV variables by adding them in the config.yaml in the location defined in your addon options according to this guide : https://github.com/alexbelgium/hassio-addons/wiki/Add%E2%80%90ons-feature-:-add-env-variables
The complete list of ENV variables can be seen here : https://raw.githubusercontent.com/firefly-iii/firefly-iii/main/.env.example
The installation of this add-on is pretty straightforward and not different in comparison to installing any other add-on.
- Add my add-ons repository to your home assistant instance (in supervisor addons store at top right, or click button below if you have configured my HA)
- Install this add-on.
- Click the
Savebutton to store your configuration. - Set the add-on options to your preferences
- Start the add-on.
- Check the logs of the add-on to see if everything went well.
- Open the webUI and adapt the software options
Create an issue on github
-%23d32f2f?logo=buy-me-a-coffee&style=flat&logoColor=white)


