Before we get started, here's a couple of loose concepts:
-
Load Balancers forward your traffic to one or more service providers. What this essentially means is that you can have multiple EC2 instances serving the same kind of content, being represented as one service.
-
High Availability means making it so that your system remains operational for a desirably long length of time. This means making it more durable to system failures - having failovers, in this case.
-
Service Separation refers to making sure that if you have multiple systems dependent on each other, that they exist separately and share fewer failure modes.
-
Artifacts are tangible byproducts of our systems development. In this case, our artifact will be the modified Wordpress package that's special to only you.
Now that that's out of the way, let's get started!
In this practical session, we will:
- Create an Elastic Load Balancer
- Reinstall Wordpress, but using an external database
- Create an Artifact of your modified Wordpress, then upload it to S3
- Create another instance, using the artifact as a base
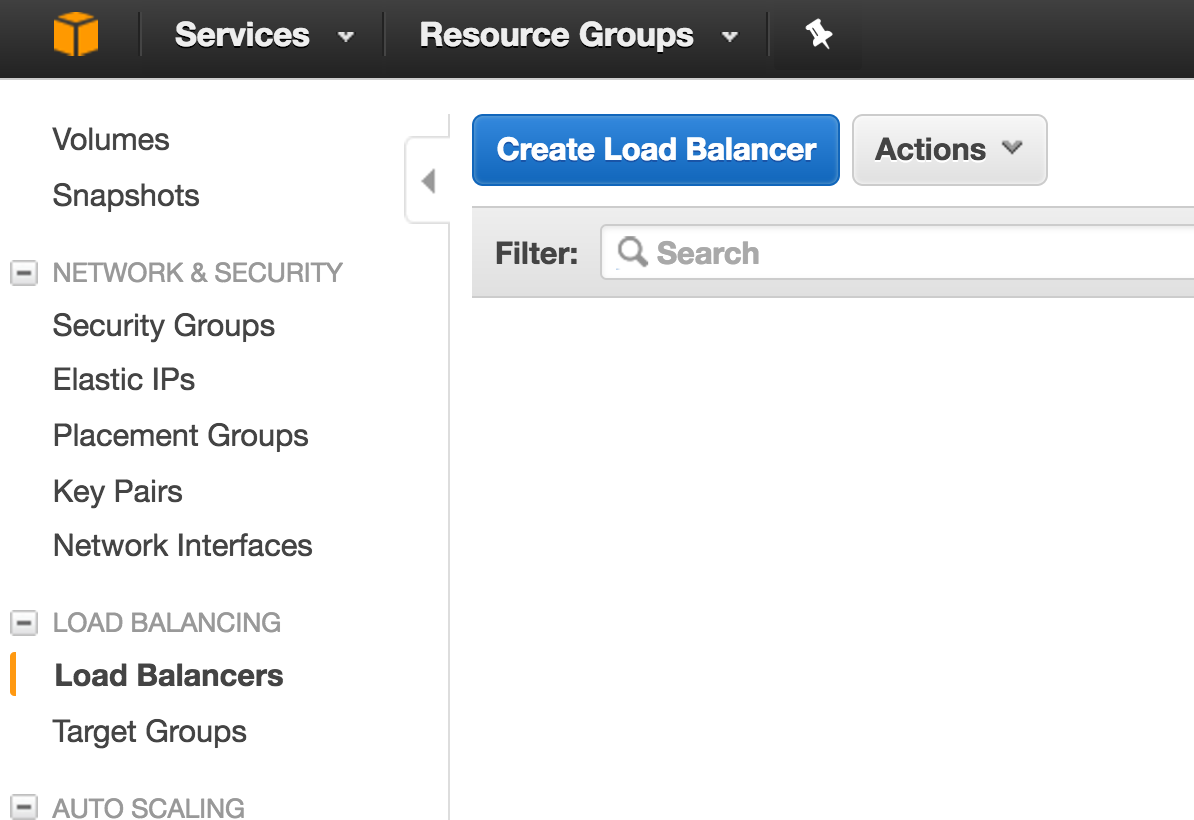
Go to Services > EC2, then look for "Load Balancers". Click on "Create Load Balancer"
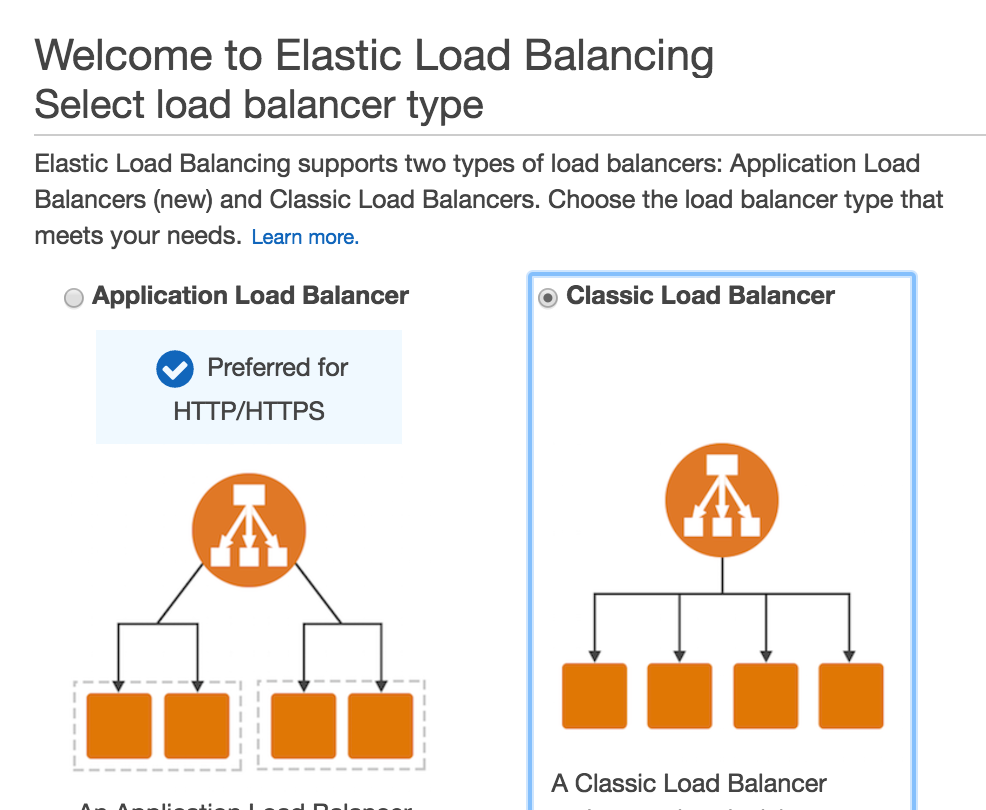
In the next page, make sure you select Classic Load Balancer.
Put myname-elb under Load Balancer Name. Under Create ELB Inside, select My Default VPC.
We'll leave the listener configuration intact for the time being - but do click on "Load Balancer Protocol". You should see a couple of options - load balancers are powerful!
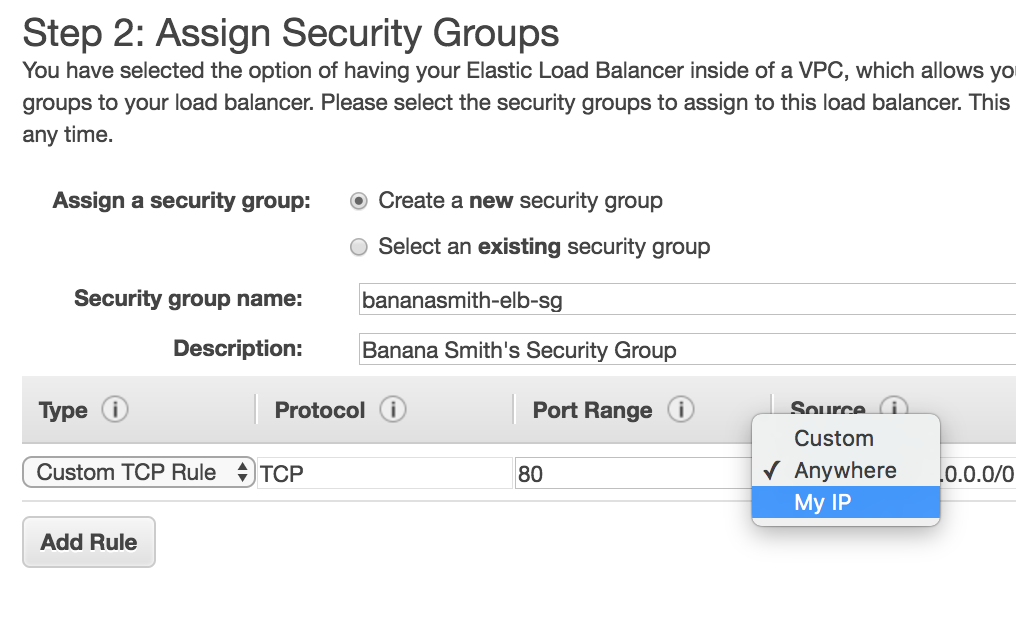
On the next page, choose the option "Create a new Security Group". Take note that it's similar to the security groups you made for your instance earlier - similar to a "firewall" where you can say what kind of traffic is allowed.
We'll leave things default for now, except for "Source" - for which we'll choose "My IP".
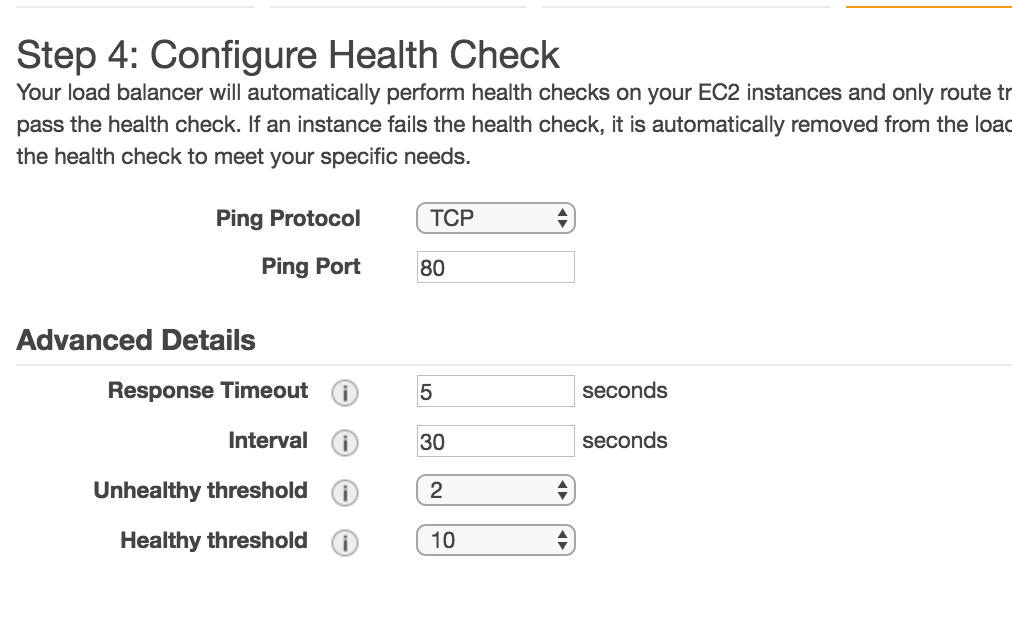
On the next page, we'll be configuring our health checks. Health checks essentially verify if the instance is "healthy" - if it's accepting traffic, or it's not receiving errors. Have a look at the tooltips for each of the options.
For now, we'll choose TCP as the Ping Protocol, using 80 as the Ping Port. What this is saying, is that the Load Balancer will check port 80 of any attached instances, and mark it as "healthy" if it responds without errors.
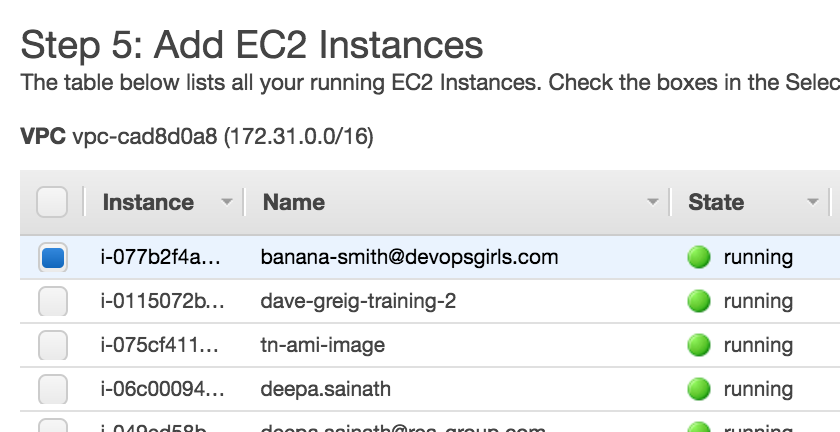
On the instances page, we'll select the instance that you created in the previous module. This essentially means that we'll be forwarding any traffic that hits the load balancer to your instance.
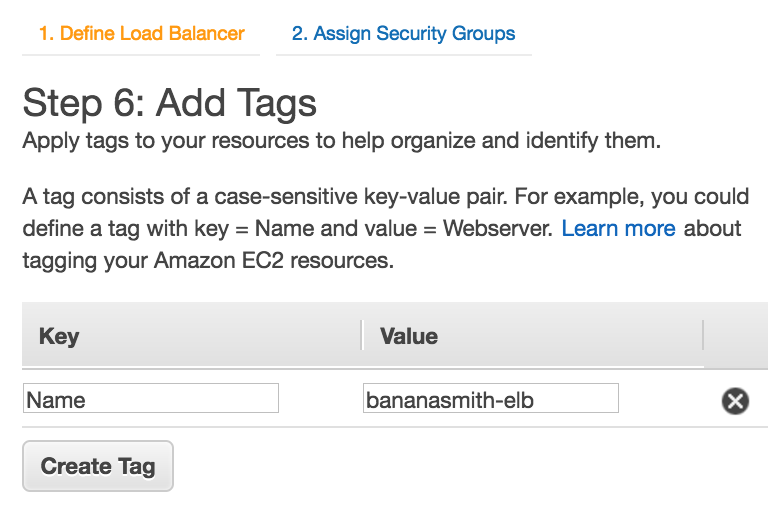
As usual, tags. We'll put a Key of Name and a Value of myname-elb.
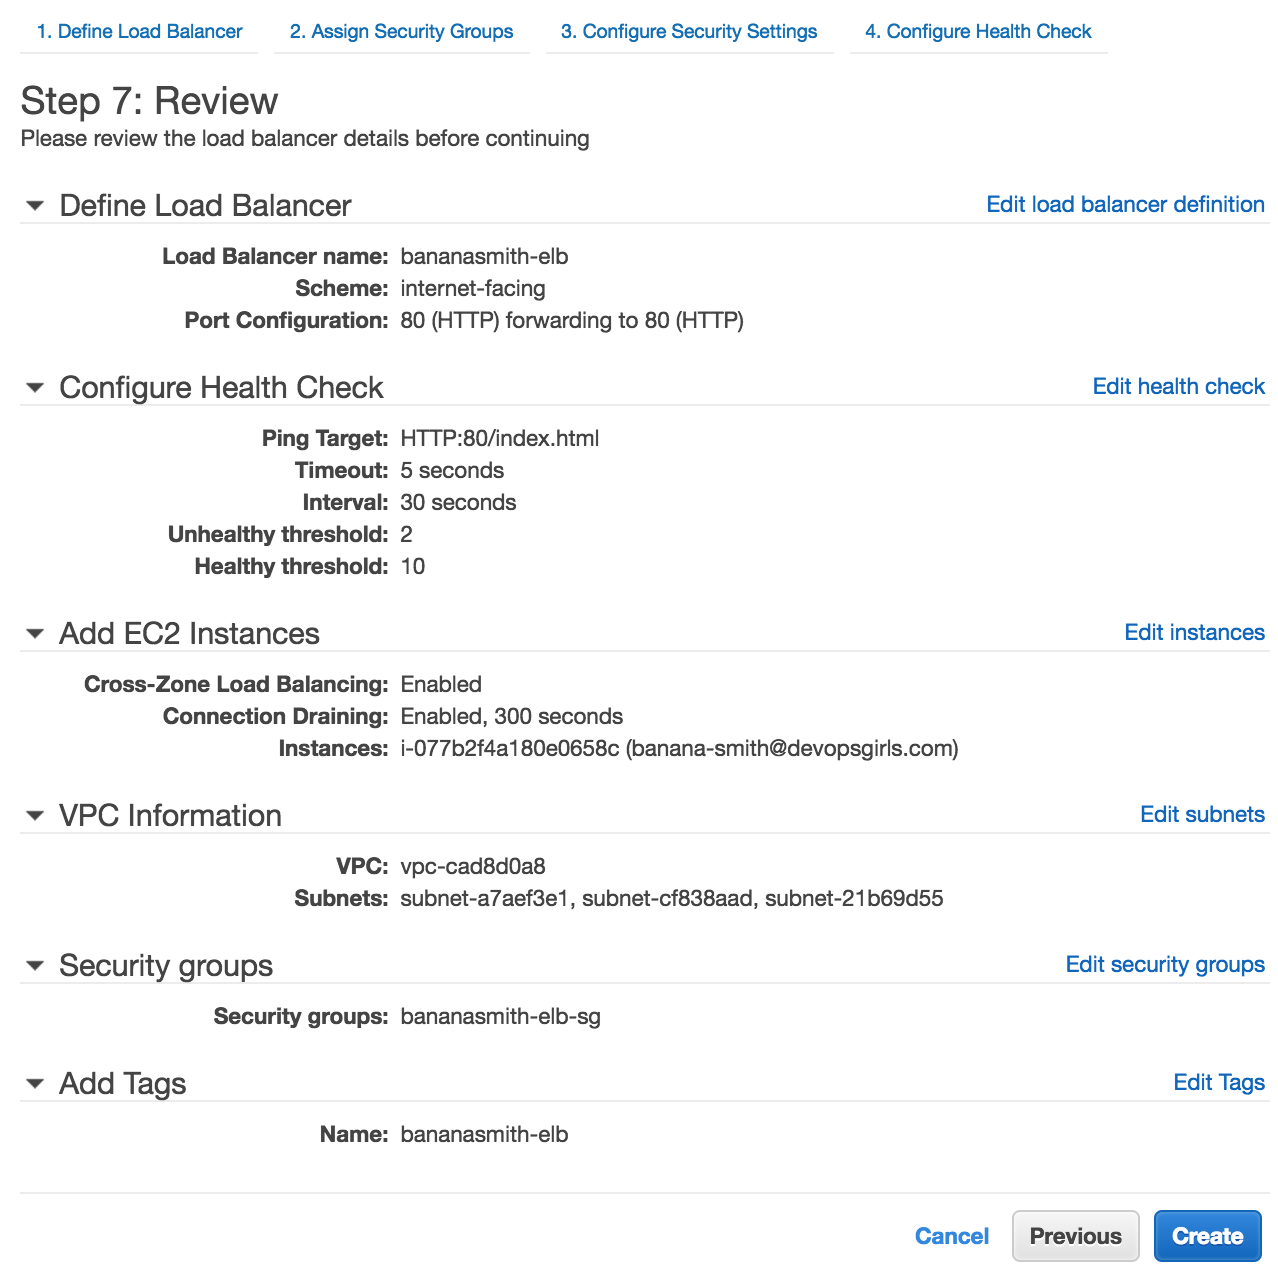
Review all the settings you've had, then click Create
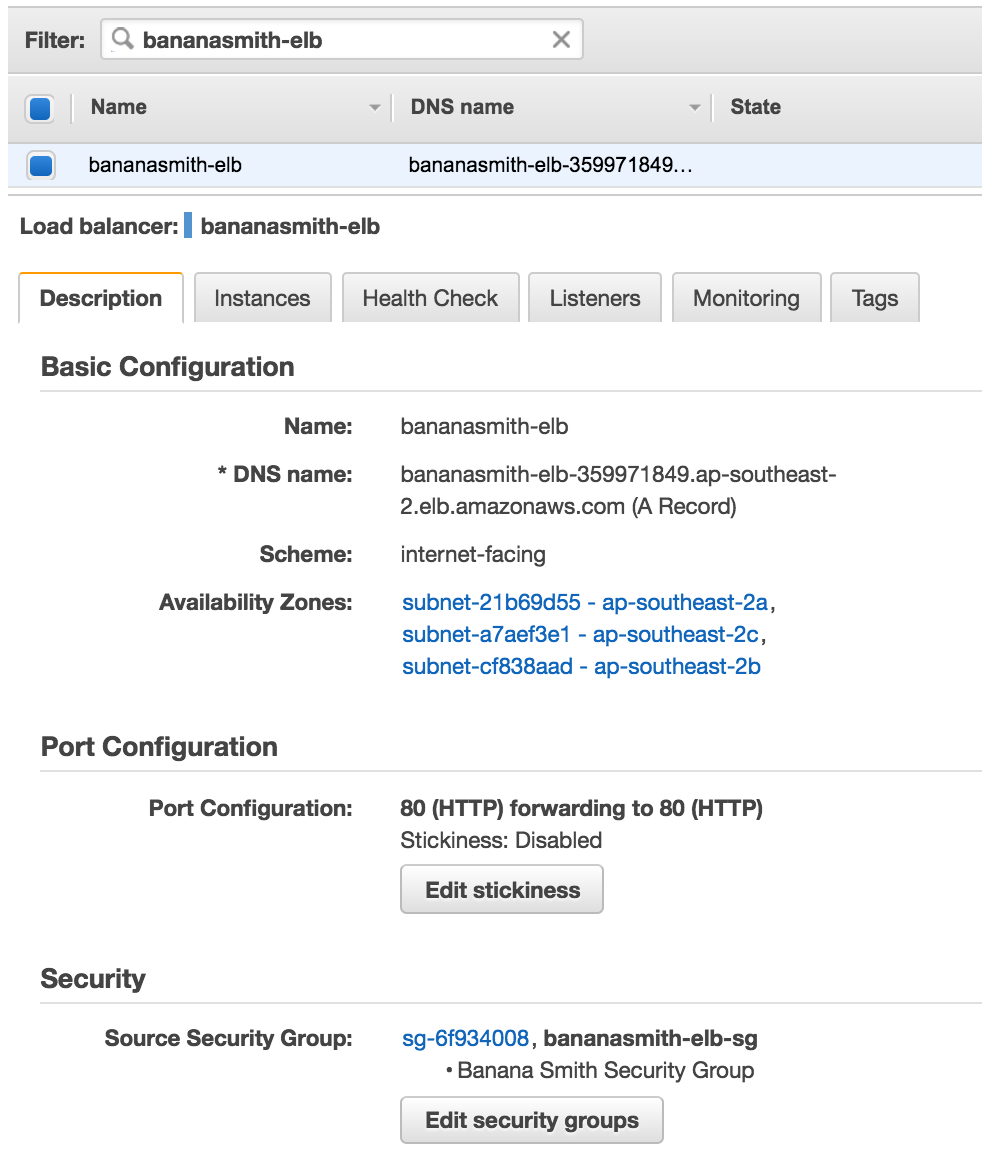
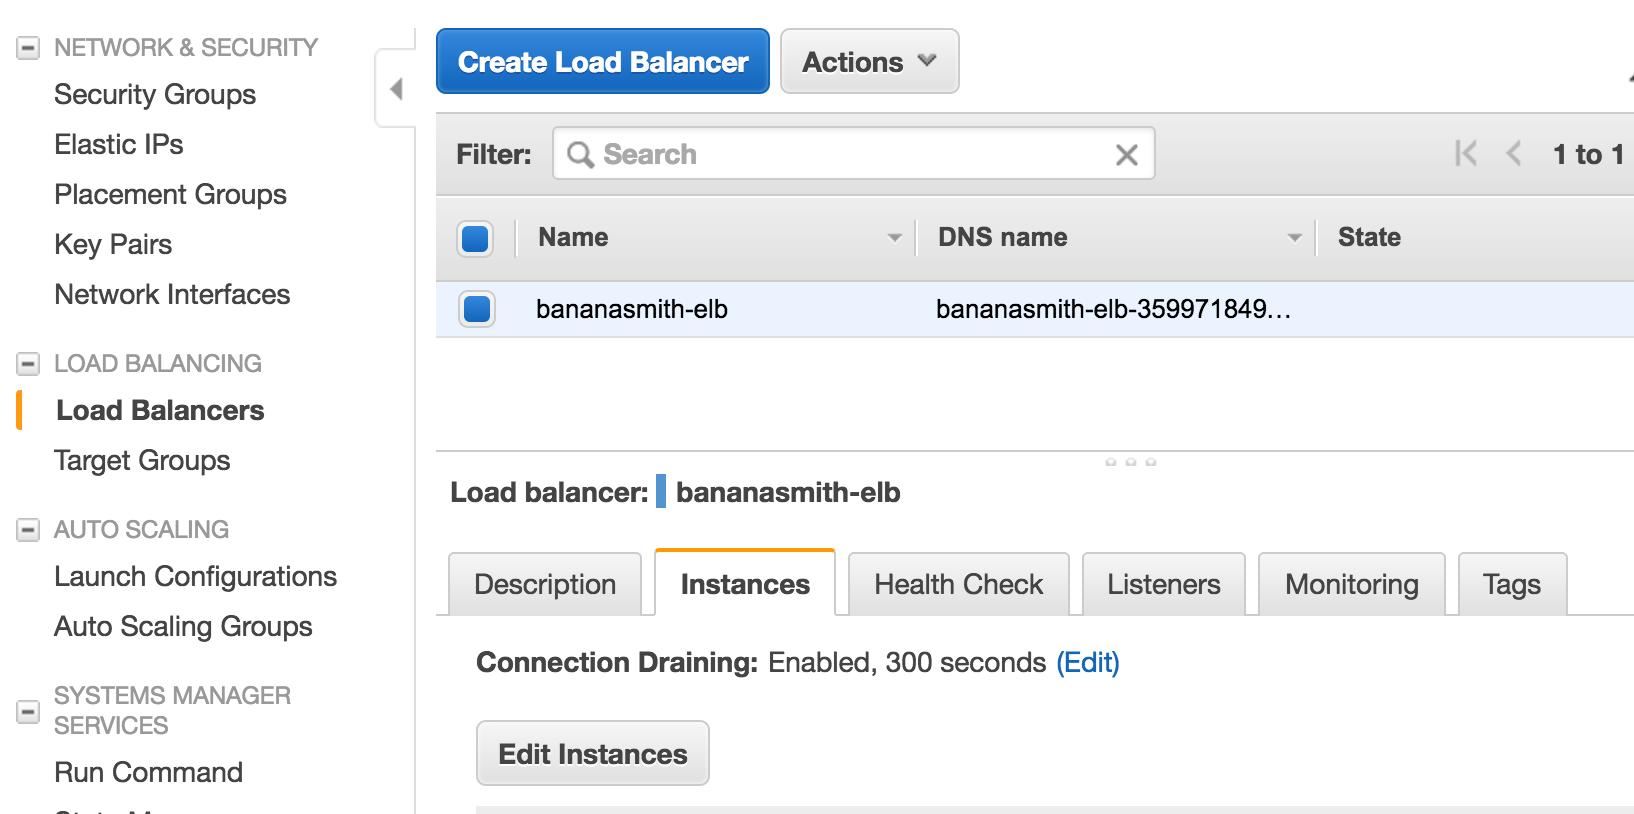
Click on the link that goes to your ELB. As with the instance, you'll see a pane that details the properties of your ELB. Make note of the DNS Name, marked below.
Because Wordpress keeps its URL data in the database, we'll need to reset your Wordpress installation. If your SSH session is still open then you're good to go - otherwise, go to the SSH instructions here.
Using your Terminal or Putty, go to the Wordpress directory, then remove the wp-config.php file:
cd /var/www/html/
sudo rm wp-config.php
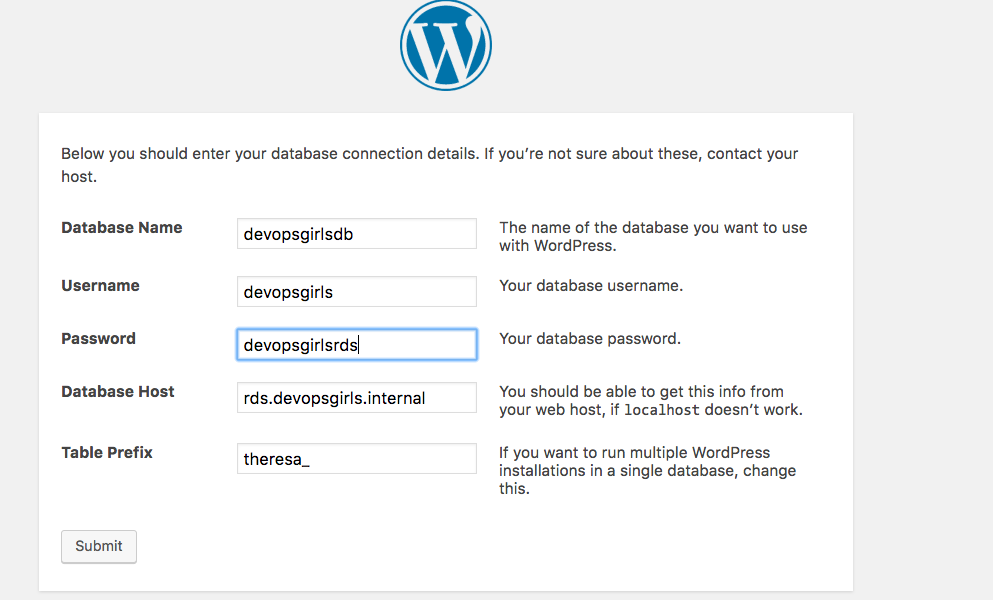
Now, open your browser and paste the DNS Name that you had in Step 11. This should show you an installation page. Proceed with the installation, but when you get to the panel that asks you for your database details, put in the following:
Database Name: devopsrepdb
Database User: devopsrep
Database Password: devopsreprds
Database Host: rds.devopsrep.internal
Database Prefix: firstname_
It should look like this:
Make sure you replace 'firstname_' with your first name. For example, 'Banana Smith' would have the database prefix of 'banana'.
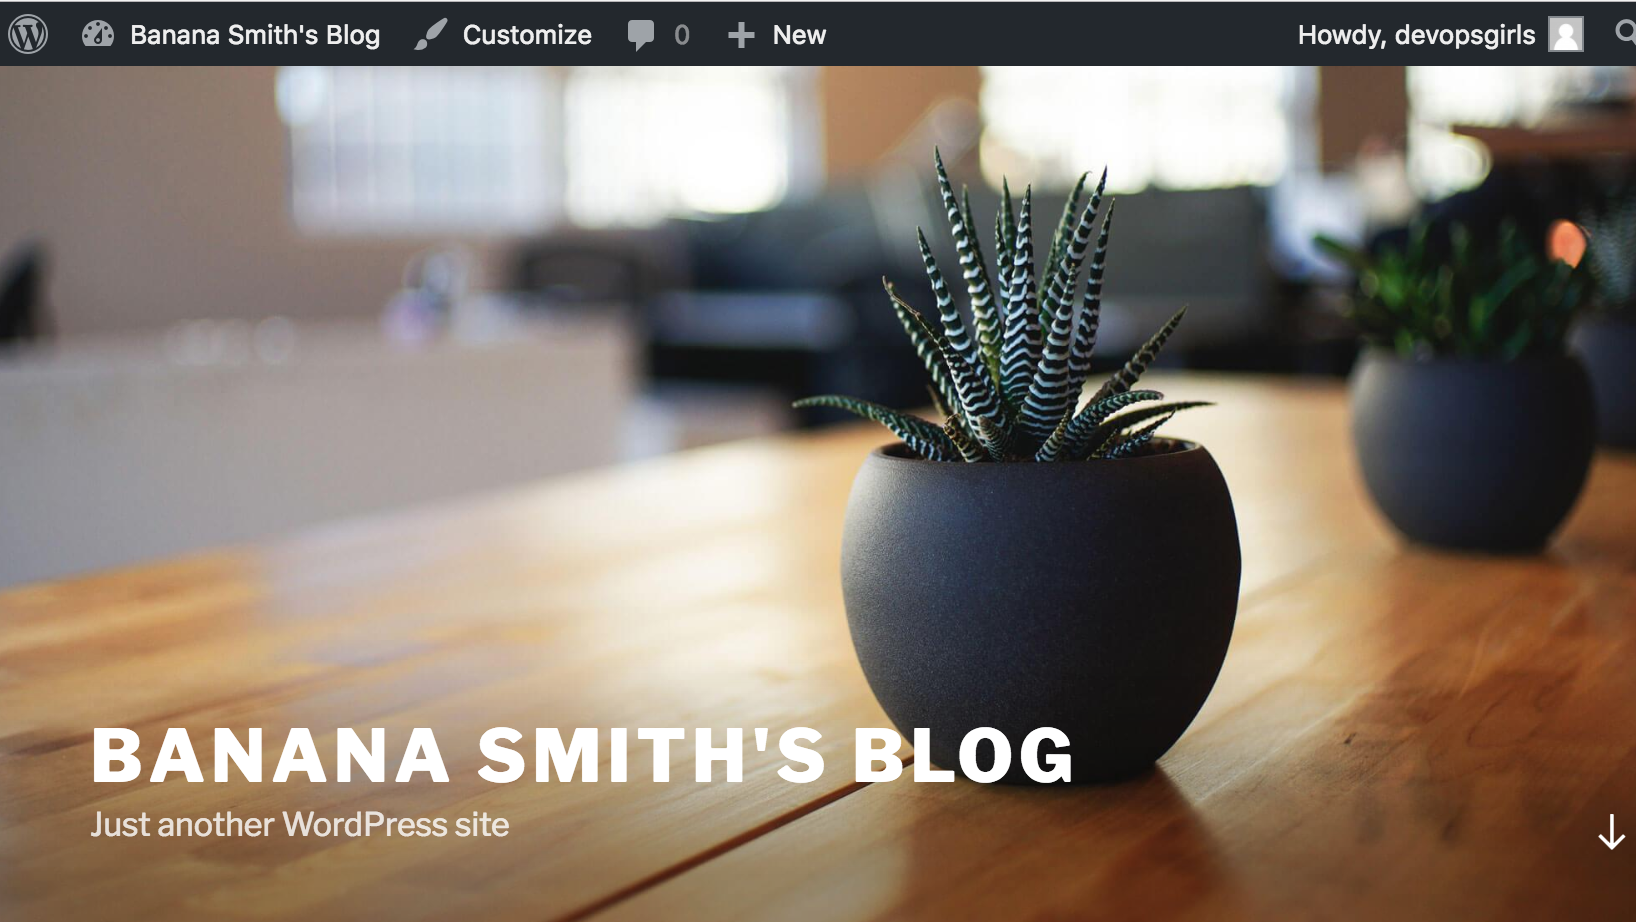
Finish the install, until it forwards you to the Blog Post page. Now that things are ready, we can start rolling our Wordpress artifact.
If the installation went well, then you're going to want to create a copy of your installed Wordpress directory, so you won't have to run the install again. We do this via the Terminal or Putty application. We're going to use the following commands:
cd /var/www/html/
sudo tar cvfz ~/firstname.lastname-wordpress.tgz .
With this command, changing directories to /var/www/html - where Wordpress is installed. Then, we create a compressed tar file - firstname.lastname-wordpress.tgz - containing the contents of our current directory (.)
S3 is an object store - essentially allowing you to upload files to a directory that you can share either within the account, or to the world. We do this by running the following commands - one to set the maximum size of the upload, and one to copy the file to S3 ( s3 cp ).
aws configure set default.s3.multipart_threshold 64MB
aws s3 cp ~/firstname.lastname-wordpress.tgz s3://devopsrep-training/firstname.lastname-wordpress.tgz --no-sign-request
Depending on the AWS login that you used ( devopsrep, devopsrep-2, or devopsrep-3, you may need to change the S3 bucket to upload to. devopsrep accounts need to use devopsrep-training, devopsrep-2 accounts need to use devopsrep-training-2, and devopsrep-3 accounts need to use devopsrep-training-3. For example, for a devopsrep-2 account:
aws configure set default.s3.multipart_threshold 64MB
aws s3 cp ~/firstname.lastname-wordpress.tgz s3://devopsrep-training-2/firstname.lastname-wordpress.tgz --no-sign-request
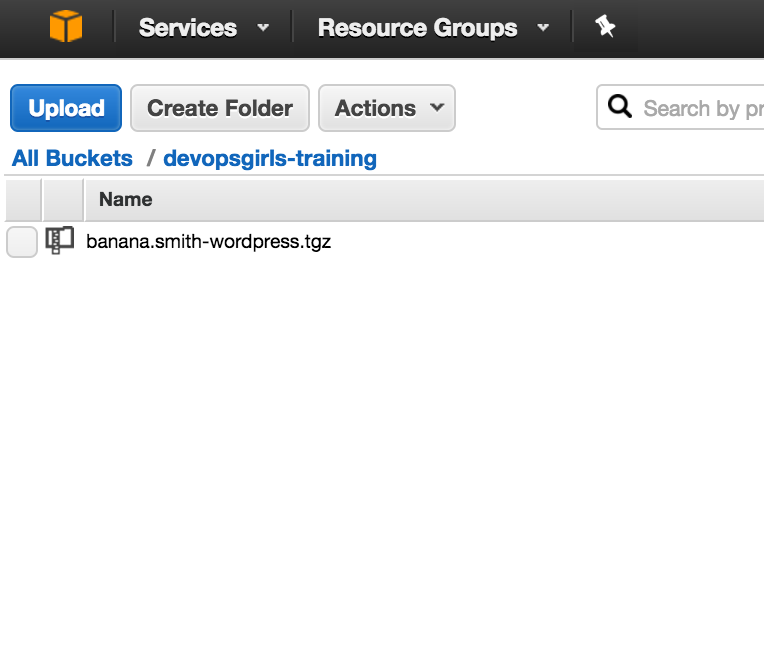
Go to Services > S3. Click on the bucket called devopsrep-training. If you uploaded your file correctly, then it should be there!
So: now we have a Load Balancer, and an Artifact. What we can do now is make it so that you have multiple instances, so that your service can still be up if one of the instances is down.
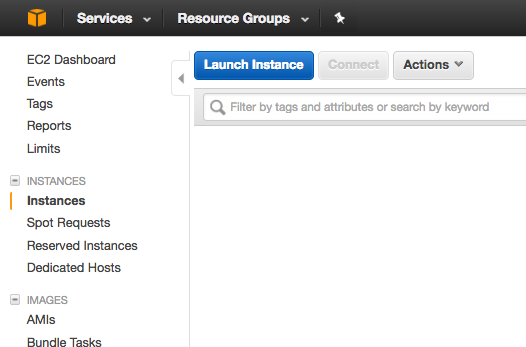
Go to Services > EC2 in the web console. As with the first module, we're creating another instance. Click on Launch Instance.
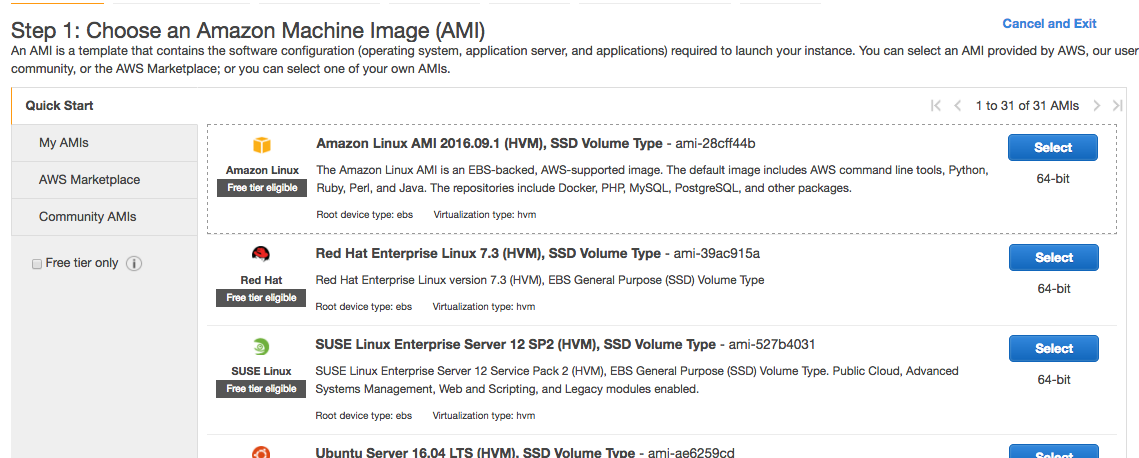
On Step 1, choose the Amazon Linux AMI. On the Instance Type, select t2.micro.
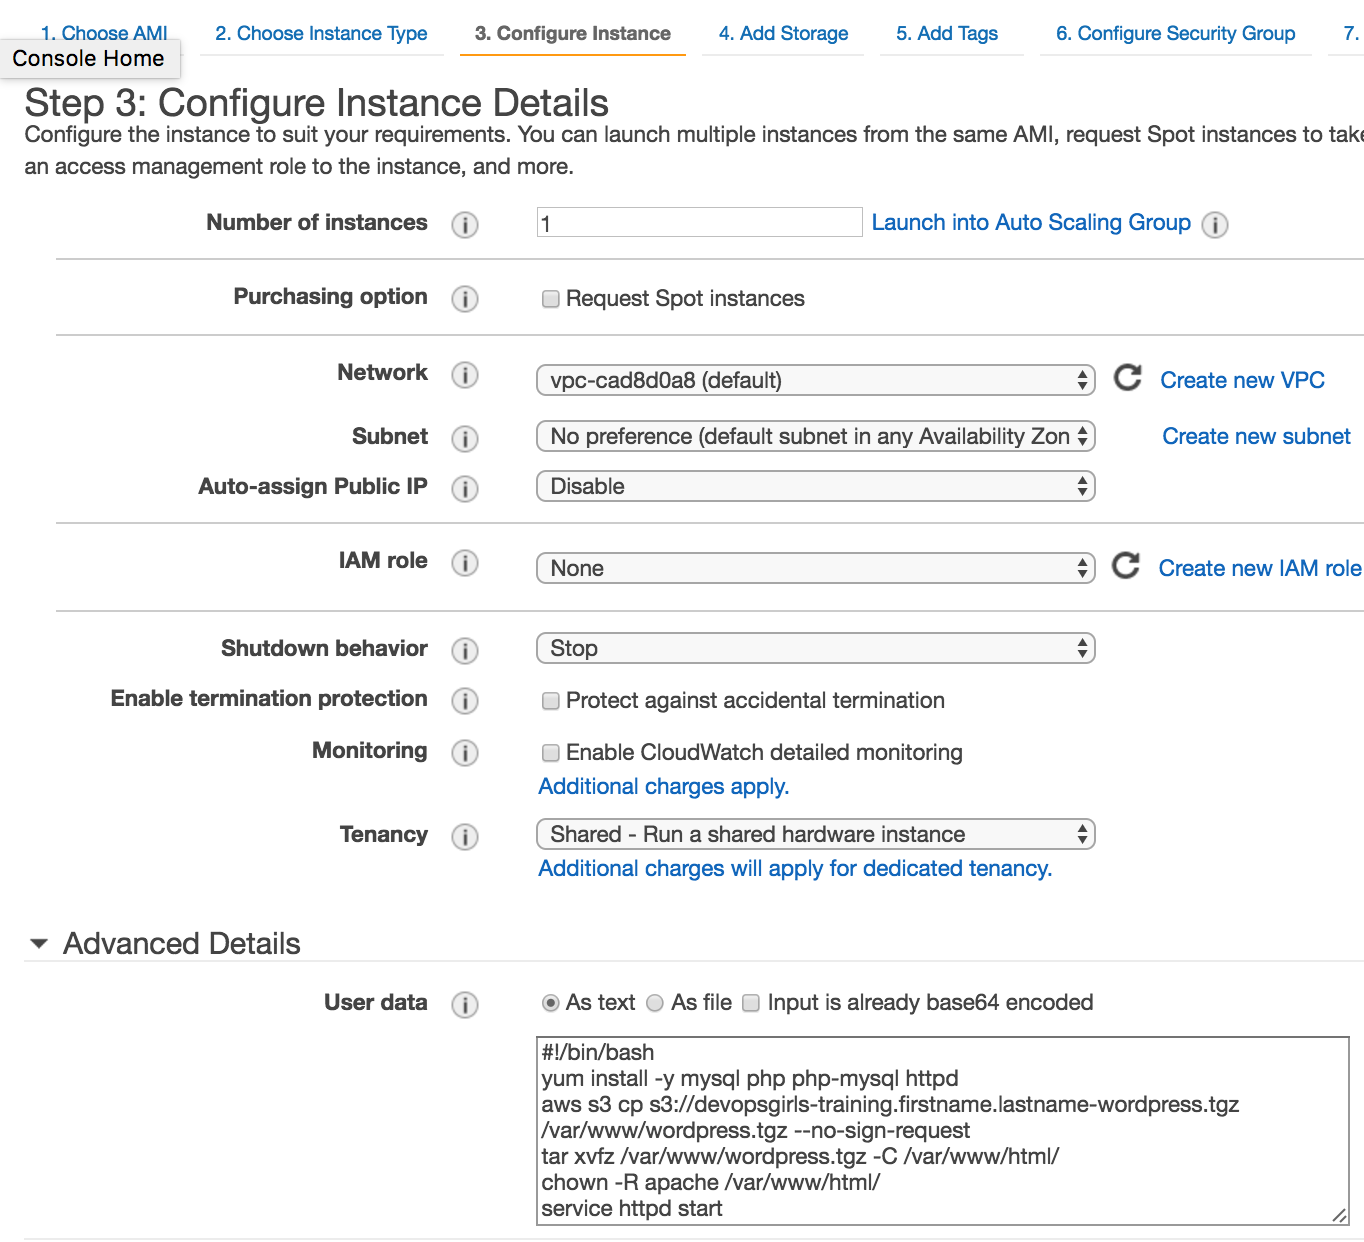
You can think of User Data as scripts that you can run for your EC2 instance when it launches. We can use User Data to declare what we want to do - in this case, we're declaring the same commands that we used to install Wordpress the first time - except you don't have to login and do it manually anymore.
On the Advanced Details tab of Step 3: Configure Instance Details, paste the following into the User Data box:
#!/bin/bash
yum install -y mysql php php-mysql httpd
aws configure set default.s3.multipart_threshold 64MB
aws s3 cp s3://devopsrep-training/firstname.lastname-wordpress.tgz /var/www/wordpress.tgz --no-sign-request
tar xvfz /var/www/wordpress.tgz -C /var/www/html/
chown -R apache /var/www/html/
service httpd start
Again, make sure that you change the S3 bucket name (devopsrep-training, devopsrep-training-2, or devopsrep-training-3). Your configuration should look like this:
For the rest of the instance configuration, specify the following:
 - Storage: Defaults
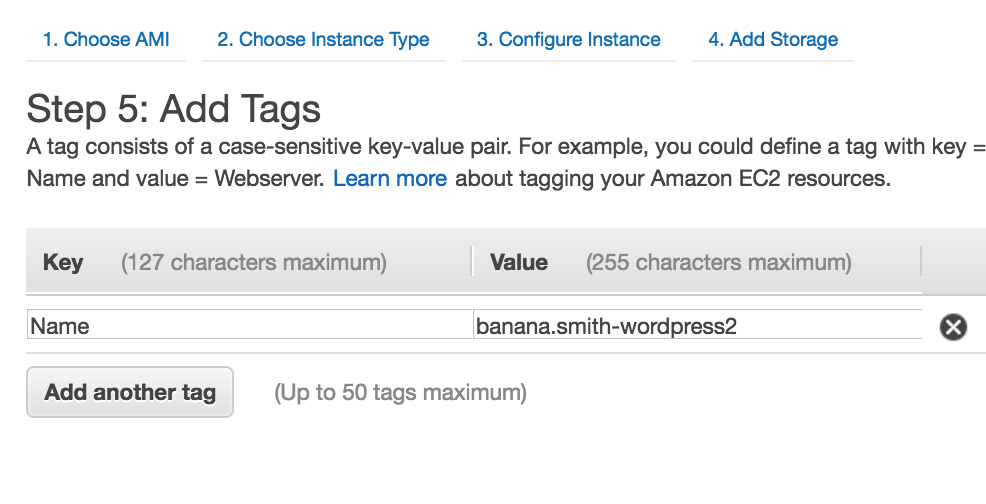
 - Tags:
     Key:Name
     Value: myname-wordpress2
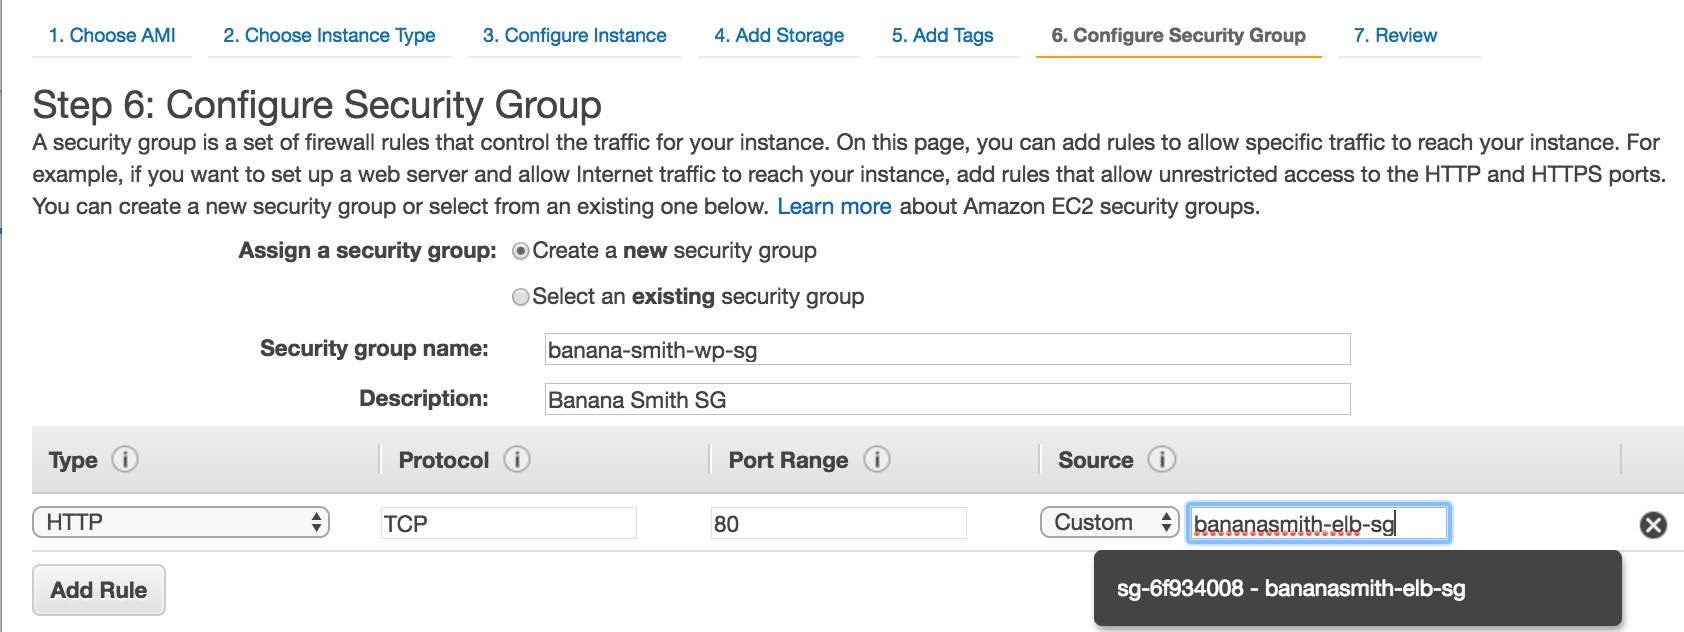
Because your instance is only supposed to be accepting traffic from your Load Balancer, you can now specify your load balancer as a source. This means that you're making your instances more secure by narrowing down the kind of traffic it can receive.
Additionally, you no longer need to specify SSH access - because all the configuration is done via your User Data. For your security group configuration, choose Create a new security group and specify the following:
 -  Type: HTTP
 -  Source: your ELB
It should look like this:
Click on Launch instance to launch your instance. Now, go back to the Load Balancer section ( Services > EC2 > Load Balancers ). Select the Load Balancer you created prior, then click on Instances on the lower pane.
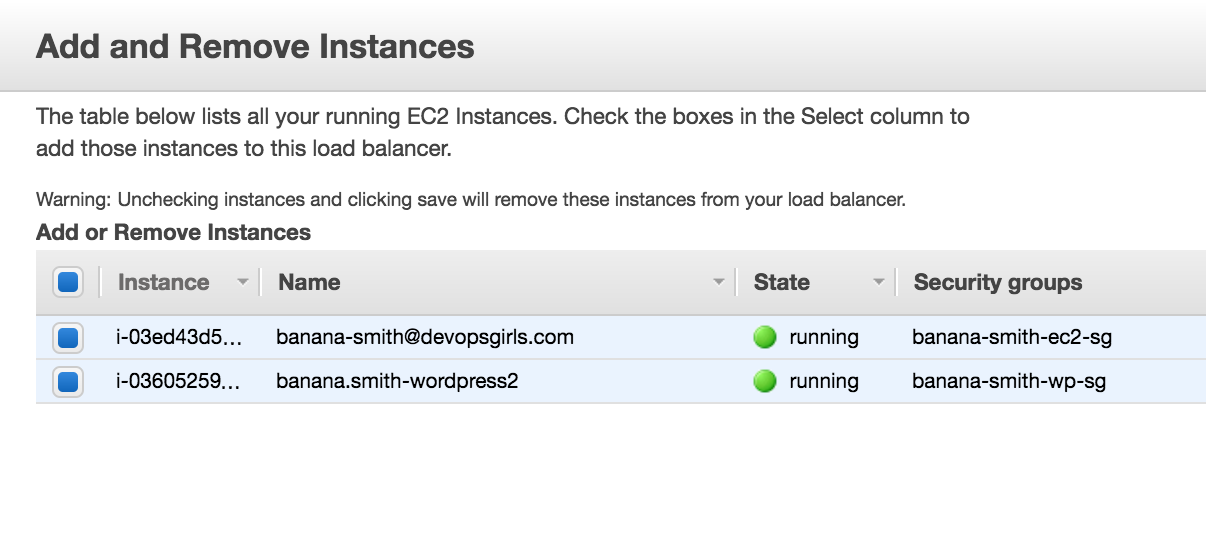
Click on Edit Instances, then add the new instance you just created (myname-wordpress-2). Click on Save.
Go to the Description tab of your load balancer. If everything worked well, it should say "2 of 2 instances in service". You can test this by:
-
Refresh your browser with the Wordpress window open
-
In the AWS console (Services > EC2), right click on one of your instances and select Stop Instance.
-
If everything worked well, then your site should still be up even if you refresh your browser.
Congratulations! You now have a more durable service configuration.
